Homemade Oreo Fudge Recipe for Chocolate Lovers
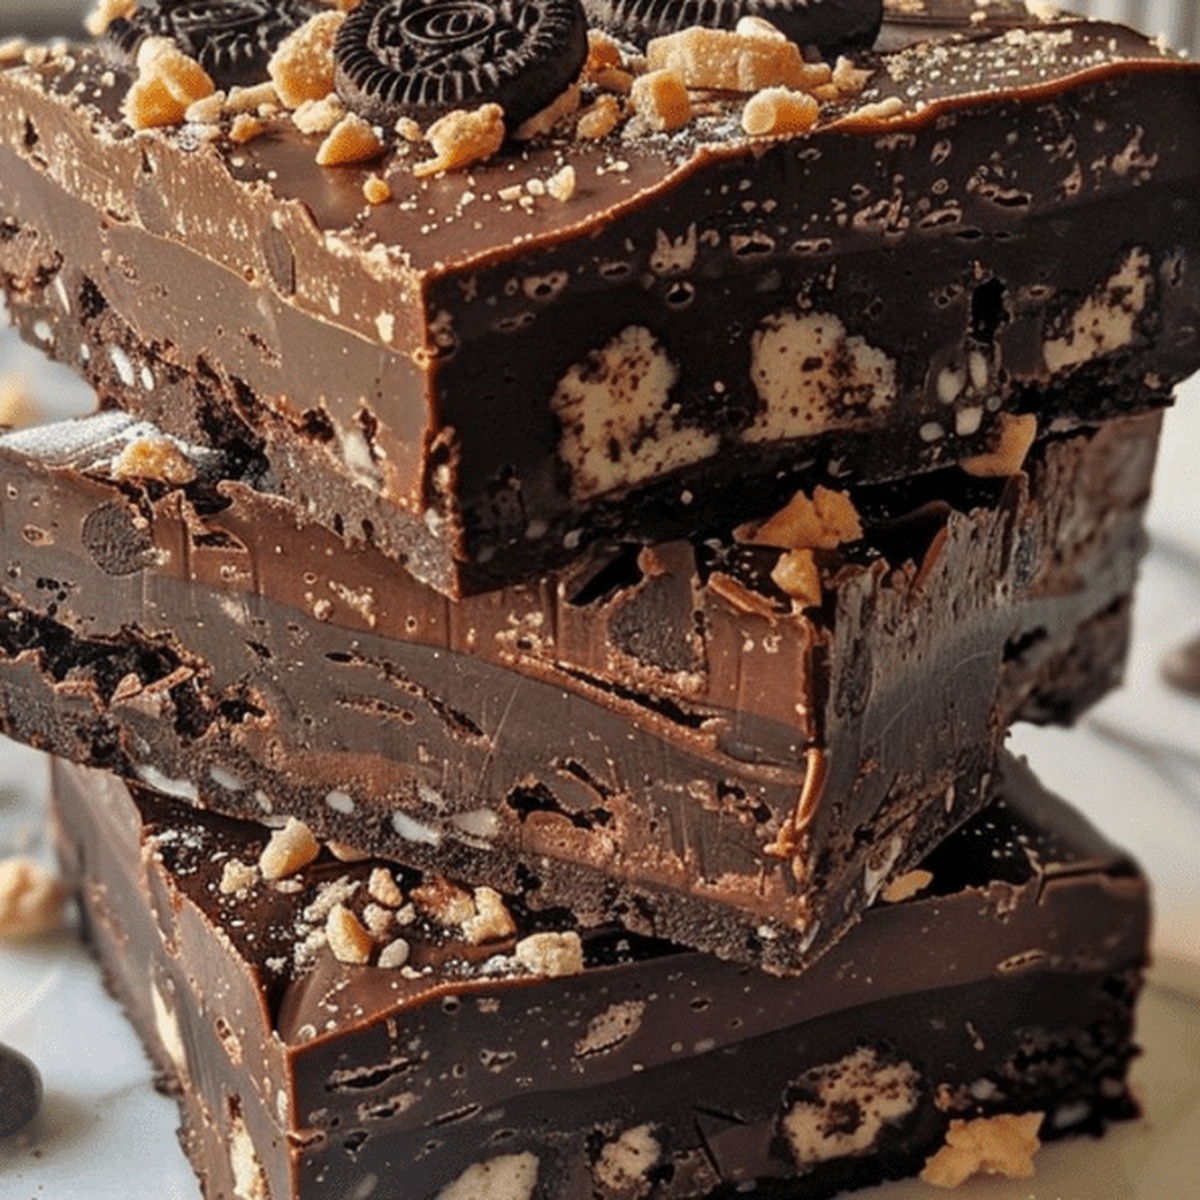
Creamy, decadent oreo fudge promises a dessert adventure that’ll make your taste buds dance with joy.
Sweet crumbles of chocolate cookies melt into rich, velvety layers of pure indulgence.
Unexpected textures create a symphony of flavor that surprises and delights.
Minimal ingredients come together in a quick, foolproof process anyone can master.
Simple kitchen magic transforms classic treats into something extraordinary.
Chocolate lovers will find themselves enchanted by this irresistible confection.
You won’t be able to resist another piece of this delightful fudge.
Why Oreo Fudge Is an Irresistible Treat

Ingredients Needed for Oreo Fudge
Base Ingredients:Flavor Enhancers:Pan Preparation:How to Make Oreo Fudge
Step 1: Prep Your Baking Canvas
Line an 8-inch square pan with parchment paper, letting the edges hang over the sides so you can easily lift out your delicious creation later.
Step 2: Create the Creamy Base
In a medium saucepan, combine:Melt these ingredients over medium heat, stirring constantly until the mixture becomes silky smooth and free of any lumps.
Step 3: Boost the Flavor
Take the pan off the heat and stir in vanilla extract to give your fudge an extra layer of deliciousness.
Step 4: Crush and Mix Oreo Magic
Gently fold crushed Oreo cookies into the creamy mixture. Make sure the cookie pieces are evenly distributed for a perfect crunch in every bite. If you’re feeling extra indulgent, sprinkle in some mini chocolate chips.
Step 5: Smooth and Spread
Pour the fudge mixture into your prepared pan. Use a spatula to spread it evenly, creating a perfectly smooth surface.
Step 6: Chill and Set
Pop the pan into the refrigerator and let it hang out for at least 2 hours. The fudge needs time to firm up and become delightfully solid.
Step 7: Slice and Serve
Once the fudge is completely set, use the parchment paper to lift it out of the pan. Slice into squares and watch everyone’s eyes light up with excitement.
Helpful Tips for Oreo Fudge
Variations of Oreo Fudge
Best Pairings for Oreo Fudge
Proper Storage for Oreo Fudge
FAQs on Oreo Fudge
The key ingredients are white chocolate chips, sweetened condensed milk, butter, vanilla extract, and Oreo cookies. Mini chocolate chips are optional but can add extra richness.
No, this Oreo Fudge is very easy to prepare. It requires simple ingredients and basic cooking skills. The process involves melting ingredients, mixing, and chilling, making it beginner-friendly.
The active preparation time is about 15 minutes. After mixing the ingredients, you’ll need to chill the fudge for at least 2 hours until it sets completely.
Print
Oreo Fudge Recipe
- Total Time: 2 hours 20 minutes
- Yield: 16 1x
Description
Irresistible Oreo Fudge brings creamy chocolate magic straight from sweet dessert dreams. Chocolate lovers will melt for this simple, no-bake treat that combines classic cookie crunch with silky smooth fudge perfection you cannot resist.
Ingredients
Main Ingredients:
- 2 cups (480 ml) white chocolate chips
- 1 can (14 ounces/397 grams) sweetened condensed milk
- 12 Oreo cookies, coarsely crushed
Binding Ingredients:
- 1/4 cup (57 grams) unsalted butter
- 1 teaspoon (5 ml) vanilla extract
Optional Garnish:
- 1/4 cup (45 grams) mini chocolate chips
Instructions
- Prepare the workspace by lining an 8-inch square baking pan with parchment paper, ensuring excess paper hangs over the edges for easy extraction.
- Create a smooth melting base by combining white chocolate chips, sweetened condensed milk, and butter in a medium saucepan. Heat over medium temperature, continuously stirring until the mixture transforms into a completely uniform, glossy liquid.
- Enhance the flavor profile by removing the saucepan from heat and integrating vanilla extract, stirring thoroughly to distribute the aromatic essence.
- Introduce textural complexity by gently folding crushed Oreo cookies into the molten mixture, ensuring even distribution throughout the creamy foundation. If desired, incorporate mini chocolate chips for additional depth.
- Transfer the decadent fudge mixture into the prepared pan, using a spatula to spread the contents evenly and create a smooth, level surface.
- Allow the fudge to solidify by refrigerating for approximately 2 hours, or until the mixture becomes completely firm and maintains its structured shape.
- Complete the process by extracting the fudge from the pan using the parchment paper overhang, then slice into precise, bite-sized squares for serving.
Notes
- Ensure the parchment paper extends beyond the pan’s edges for effortless fudge removal without breaking.
- Crush Oreos into varied sizes for interesting texture – some fine crumbs, some chunky pieces create delightful mouthfeel.
- Use low, steady heat when melting ingredients to prevent scorching or separating the chocolate mixture.
- Customize by experimenting with different Oreo flavors like mint, peanut butter, or birthday cake for unique twists.
- Prep Time: 15 minutes
- Cook Time: 5 minutes
- Category: Desserts, Snacks
- Method: Simmering
- Cuisine: American
Nutrition
- Serving Size: 16
- Calories: 230
- Sugar: 22 g
- Sodium: 40 mg
- Fat: 12 g
- Saturated Fat: 7 g
- Unsaturated Fat: 4 g
- Trans Fat: 0.2 g
- Carbohydrates: 28 g
- Fiber: 1 g
- Protein: 2 g
- Cholesterol: 15 mg
Sarah Mitchell
Content Specialist & Home Cooking Enthusiast
Expertise
Education
Asheville-Buncombe Technical Community College – Asheville, NC
American Fitness Professionals & Associates – Online
Sarah’s passion for food was sparked by weekend trips to the farmers’ market and her belief that healthy meals should never feel boring.
After earning her culinary diploma and becoming a certified Nutrition and Wellness Consultant, she set out to help others fall in love with simple, wholesome cooking.
She’s all about celebrating the small wins in the kitchen: a colorful yogurt bowl, a new twist on a classic dish, or a homemade snack that feels just a little extra special.
Outside the kitchen, Sarah is a gardener at heart, a yoga enthusiast, and a believer that fresh herbs can brighten any meal, and any day.