
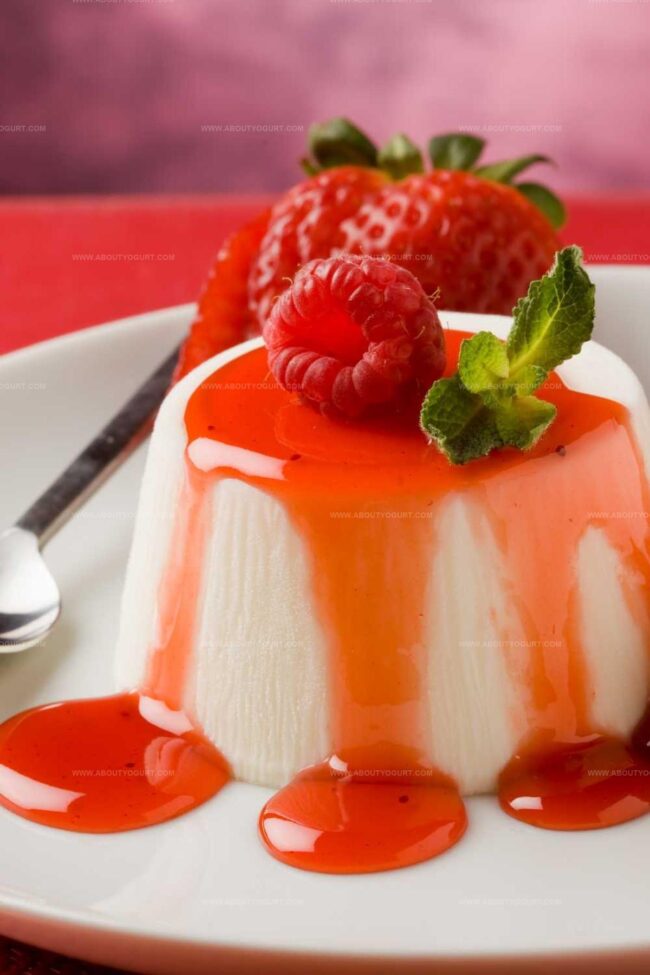
Panna Cotta Recipe with Silky Italian Elegance
Creamy Italian panna cotta delights taste buds with its silky, luxurious texture.
Whispers of vanilla dance across each spoonful, creating a dessert that feels like pure indulgence.
Sweet memories of Mediterranean kitchens come flooding back with this simple yet elegant treat.
Minimal ingredients blend together to create something magical and sophisticated.
Rich cream transforms into a delicate, trembling masterpiece that melts on your tongue.
Chefs and home cooks alike find joy in crafting this classic dessert.
One bite promises to transport you to the sun-drenched coastlines of italy.
Let’s uncover the secrets behind this irresistible culinary magic.
Why Mary Berry Panna Cotta Recipe Is Light And Elegant
What You’ll Need For Mary Berry Panna Cotta Recipe
Base Ingredients:Binding and Flavoring Ingredients:Optional Ingredient:Easy Steps To Make Mary Berry Panna Cotta Recipe

Step 1: Bloom The Gelatin
Scatter gelatin powder over cold water in a small saucepan. Allow it to sit and absorb liquid for about 1 minute, creating a soft, spongy texture.
Step 2: Dissolve Gelatin Mixture
Place the saucepan on low heat. Gently warm the gelatin until it completely dissolves, stirring carefully to prevent any clumping. Remove from heat once smooth.
Step 3: Create Creamy Base
In a large saucepan, combine:Bring the mixture to a soft boil, watching carefully to prevent scorching.
Step 4: Blend Flavor Components
Remove cream mixture from heat. Stir in:Mix thoroughly to ensure even distribution of ingredients.
Step 5: Smooth The Mixture
Optional step to ensure ultimate silkiness: strain the mixture through a fine-mesh sieve to remove any potential lumps.
Step 6: Prepare And Chill
Pour the liquid into individual ramekins. Allow to cool at room temperature, then transfer to refrigerator. Chill for minimum 4 hours until set and firm.
Step 7: Elegant Unmolding
Briefly dip ramekins in hot water for 3 seconds. Run a thin knife around the edge of each dessert. Carefully invert onto serving plates, allowing panna cotta to release smoothly.
Tips That Help With Mary Berry Panna Cotta Recipe

Simple Variations For Mary Berry Panna Cotta Recipe

Best Pairings For Mary Berry Panna Cotta Recipe
Store Mary Berry Panna Cotta Recipe The Right Way
Mary Berry Panna Cotta Recipe Questions Answered
Yes, you can substitute with whole milk or a combination of milk and heavy cream, but the texture and richness might slightly change.
Absolutely. Gelatin provides the signature smooth, jiggly texture that defines panna cotta and helps it set properly.
When gently shaken, a properly set panna cotta will have a slight wobble but hold its shape, similar to a soft jelly.
Yes, panna cotta can be prepared 1-2 days ahead and stored in the refrigerator, which actually helps develop its flavor and texture.
Print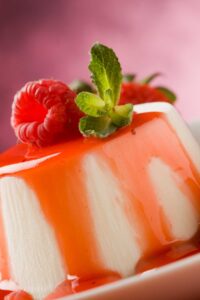
Panna Cotta Recipe
- Total Time: 4 hours 15 minutes
- Yield: 4 1x
Description
Silky smooth Italian Panna Cotta dances with delicate cream and vanilla, promising pure dessert elegance. Cool vanilla custard melts gracefully on your palate, inviting sweet satisfaction with each luxurious spoonful.
Ingredients
Main Ingredients:
- 2 cups heavy cream
- 1 cup half and half
- 1/3 cup sugar
Gelatin:
- 1 envelope (about 1 tablespoon) unflavored gelatin
- 2 tablespoons cold water
Flavoring:
- 1 1/2 teaspoons vanilla extract
Instructions
- Dissolve gelatin by sprinkling over cold water in a small saucepan, allowing it to bloom for 60 seconds.
- Gently warm the mixture until gelatin completely liquefies, then remove from heat source.
- Combine cream, half and half, and sugar in a separate large saucepan, bringing the liquid to a precise boiling point.
- Immediately remove dairy mixture from heat and incorporate the dissolved gelatin along with vanilla extract, stirring until fully integrated.
- Optional refinement involves straining the mixture through a fine-mesh sieve to ensure ultimate smoothness and eliminate potential gelatin clumps.
- Distribute the silky liquid evenly across 8 ramekins, allowing the dessert to stabilize at room temperature before transferring to refrigeration.
- Chill the panna cotta for a minimum of 4 hours or overnight to achieve optimal setting and texture.
- When ready to serve, prepare a quick unmolding technique by briefly submerging ramekins in hot water for 3 seconds.
- Carefully run a thin knife around the dessert’s inner edge to loosen, then invert onto a serving plate with a swift, confident motion.
Notes
- Bloom gelatin slowly to prevent clumping and ensure smooth texture.
- Use fresh, high-quality vanilla for the most intense flavor profile.
- Experiment with alternative milk options like coconut milk for dairy-free version.
- Chill ramekins beforehand to help panna cotta release cleanly when unmolding.
- Prep Time: 5 minutes
- Cook Time: 10 minutes
- Category: Desserts
- Method: Simmering
- Cuisine: Italian
Nutrition
- Serving Size: 4
- Calories: 409 kcal
- Sugar: 26 g
- Sodium: 45 mg
- Fat: 38 g
- Saturated Fat: 24 g
- Unsaturated Fat: 12 g
- Trans Fat: 0.5 g
- Carbohydrates: 27 g
- Fiber: 0 g
- Protein: 4 g
- Cholesterol: 125 mg
Michael Thompson
Founder & Recipe Developer
Expertise
Education
Cascade Culinary Institute – Bend, OR
ServSafe Food Handler Certification – Portland, OR
Focus: Certified in core food safety and hygiene principles for both home and professional kitchens, with emphasis on ingredient handling, kitchen cleanliness, and safe preparation methods.
Mike’s kitchen journey began with a single goal: to make everyday meals feel like something worth celebrating.
After earning his Certificate in Culinary Arts from Cascade Culinary Institute, he spent years working with local farmers and small kitchens across Oregon, learning the beauty of seasonal, small-batch cooking.
Mike’s approach is simple, cook with what’s fresh, keep it approachable, and always leave room for a little creativity. When he’s not testing yogurt marinades or designing single-serving meals, you’ll find him hiking trails or hunting down the best berries at local markets.