
Sweet & Snappy Peanut Brittle Recipe: Homemade Joy in Every Bite
Sweet memories of grandma’s kitchen come flooding back with this delightful peanut brittle that promises a nostalgic crunch.
Childhood treats often carry magical moments of joy and connection.
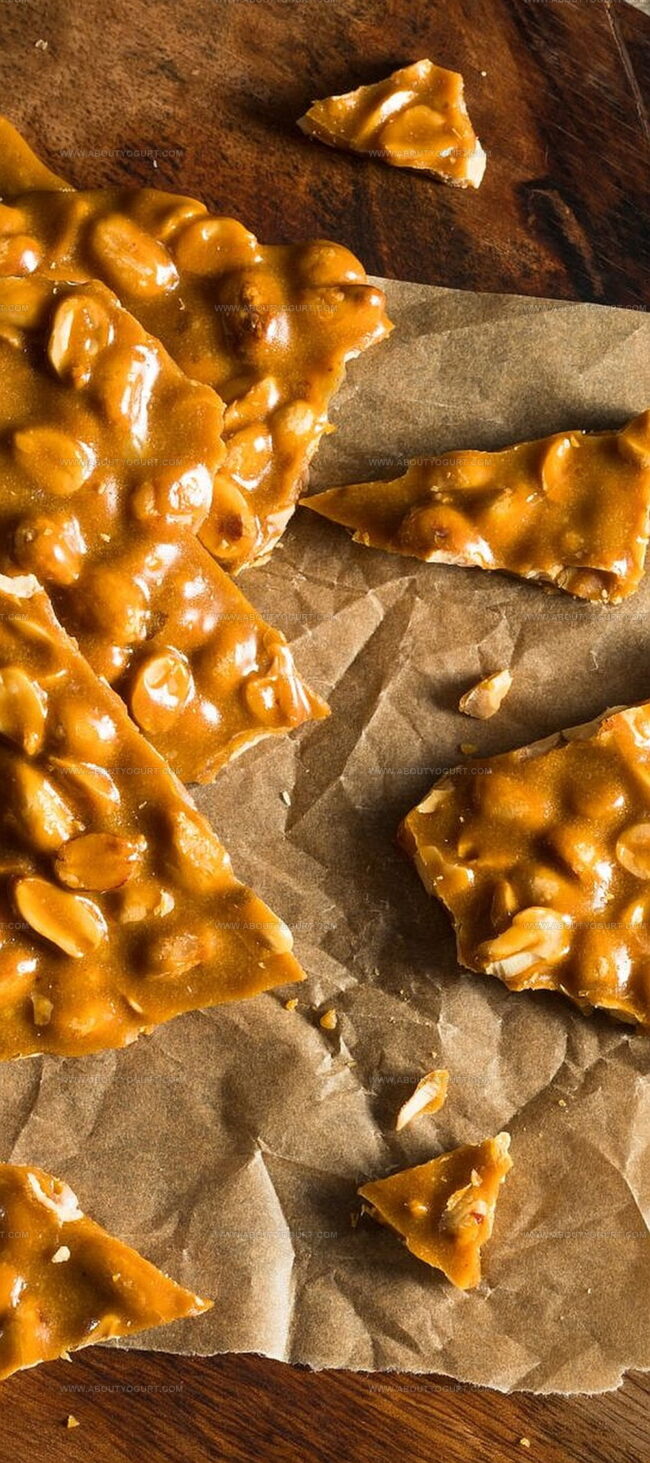
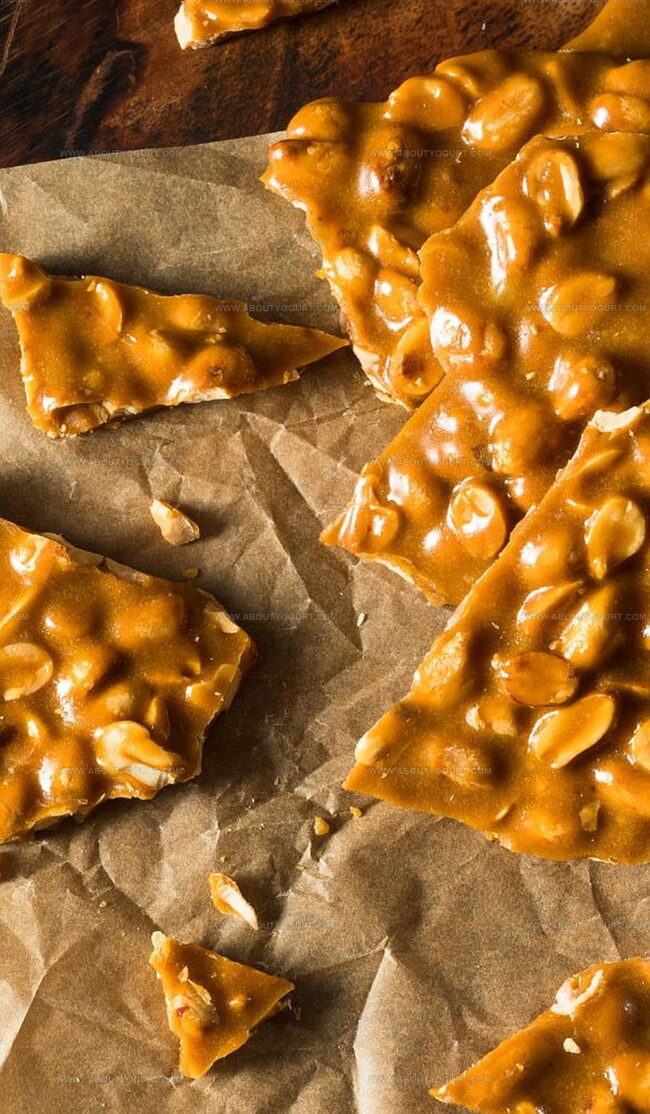
Crisp caramel studded with golden roasted nuts creates a delectable symphony of flavor and texture.
Crafting this classic confection requires minimal ingredients and simple techniques anyone can master.
Each bite transports you to warm gatherings where laughter and sweetness intertwine.
Simple yet sophisticated, this recipe bridges generations with its timeless appeal.
Crack into a piece and let the rich, buttery essence whisk you away to pure culinary bliss.
Why Mary Berry Peanut Brittle Is A Crunchy Favorite

Mary Berry Peanut Brittle Ingredient List
Main Ingredients:Supporting Ingredients:Preparation Ingredients:Steps To Make Mary Berry Peanut Brittle

Step 1: Prepare Baking Surface
Grab a baking tray and line it with parchment paper, ensuring the entire surface is covered smoothly and evenly to prevent sticking.
Step 2: Create Sugar Syrup Base
In a sturdy saucepan, combine:Blend these ingredients together until they form a smooth mixture.
Step 3: Heat and Transform Syrup
Gradually warm the sugar mixture, controlling the temperature carefully. Heat gently until the mixture reaches 250°F, then continue heating while stirring consistently until it reaches 300°F.
Step 4: Introduce Nutty Crunch
When the syrup hits 300°F, quickly add peanuts to the pan. Stir constantly to ensure even coating and prevent burning.
Step 5: Elevate Flavor Profile
Remove the pan from heat and swiftly incorporate:Stir these ingredients quickly to create a light, airy texture.
Step 6: Spread and Cool
Immediately pour the hot mixture onto the prepared parchment-lined tray. Spread rapidly and evenly, allowing the brittle to cool completely at room temperature.
Step 7: Break and Store
Once fully cooled, break the brittle into irregular, delightful shards. Store in an airtight container to maintain crispness and prevent moisture absorption.
Pro Tips For Mary Berry Peanut Brittle
Tasty Spins On Mary Berry Peanut Brittle
What Goes Well With Mary Berry Peanut Brittle
How To Store Mary Berry Peanut Brittle Properly
Questions Answered About Mary Berry Peanut Brittle
Corn syrup prevents sugar from crystallizing, creating a smooth, glossy texture and preventing graininess in the final candy.
Use a candy thermometer. The critical temperatures are 250F (hard-ball stage) and 300F (hard-crack stage), which determine the brittle’s final texture.
Absolutely! Almonds, cashews, or pecans work great. Just ensure they’re raw and unsalted for the best caramelization and flavor.
Baking soda creates tiny air bubbles, making the brittle light, crisp, and slightly foamy instead of dense and hard.
Print
Peanut Brittle Recipe
- Total Time: 25 minutes
- Yield: 8 1x
Description
Crunchy homemade “Grandma’s Classic Peanut Brittle” delivers nostalgic sweet memories from Southern kitchens. Caramelized sugar and roasted peanuts combine for a delightful candy that will satisfy cravings and spark childhood joy.
Ingredients
Main Ingredients:
- 2 cups sugar
- 2 cups salted roasted peanuts
- 1 cup light corn syrup
Liquid Ingredients:
- 1/2 cup water
- 2 tablespoons butter
- 1 1/2 teaspoons vanilla extract
Leavening Agent:
- 1 1/2 teaspoons baking soda
Instructions
- Prepare a baking sheet by lining it with parchment paper, ensuring complete coverage to prevent sticking.
- In a heavy-bottomed saucepan, merge sugar, corn syrup, and water, creating a smooth preliminary mixture.
- Apply medium heat, allowing the solution to gradually warm without stirring, monitoring temperature carefully until reaching 250°F.
- Continue heating, gently swirling the pan to distribute heat evenly, until the temperature climbs to precisely 300°F.
- Immediately introduce raw peanuts into the molten sugar mixture, stirring vigorously to coat each nut thoroughly and prevent burning.
- Remove the pan from heat source and rapidly incorporate butter, creating an instant flavor transformation.
- Quickly fold in baking soda and vanilla extract, watching the mixture dramatically foam and become lighter in color and texture.
- Swiftly pour the caramelized mixture onto the prepared parchment-lined tray, using a heat-resistant spatula to spread it thinly and evenly.
- Allow the brittle to cool completely at room temperature, which typically takes approximately 30-45 minutes.
- Once solidified, fracture the brittle into irregular, rustic shards using gentle hand pressure.
- Store the peanut brittle in an airtight container, preserving its crisp texture and preventing moisture absorption.
Notes
- Toast peanuts beforehand to enhance their nutty flavor and add extra crunch to the brittle.
- Use a candy thermometer for precise temperature control, ensuring the perfect caramelization without burning.
- Prepare all ingredients in advance, as the final steps require quick action and timing.
- For a gluten-free version, verify that all ingredients are certified gluten-free, especially the vanilla extract and corn syrup.
- Prep Time: 10 minutes
- Cook Time: 15 minutes
- Category: Snacks, Desserts
- Method: Boiling
- Cuisine: American
Nutrition
- Serving Size: 8
- Calories: 357
- Sugar: 48 g
- Sodium: 131 mg
- Fat: 14 g
- Saturated Fat: 3 g
- Unsaturated Fat: 11 g
- Trans Fat: 0 g
- Carbohydrates: 54 g
- Fiber: 2 g
- Protein: 7 g
- Cholesterol: 5 mg
Michael Thompson
Founder & Recipe Developer
Expertise
Education
Cascade Culinary Institute – Bend, OR
ServSafe Food Handler Certification – Portland, OR
Focus: Certified in core food safety and hygiene principles for both home and professional kitchens, with emphasis on ingredient handling, kitchen cleanliness, and safe preparation methods.
Mike’s kitchen journey began with a single goal: to make everyday meals feel like something worth celebrating.
After earning his Certificate in Culinary Arts from Cascade Culinary Institute, he spent years working with local farmers and small kitchens across Oregon, learning the beauty of seasonal, small-batch cooking.
Mike’s approach is simple, cook with what’s fresh, keep it approachable, and always leave room for a little creativity. When he’s not testing yogurt marinades or designing single-serving meals, you’ll find him hiking trails or hunting down the best berries at local markets.