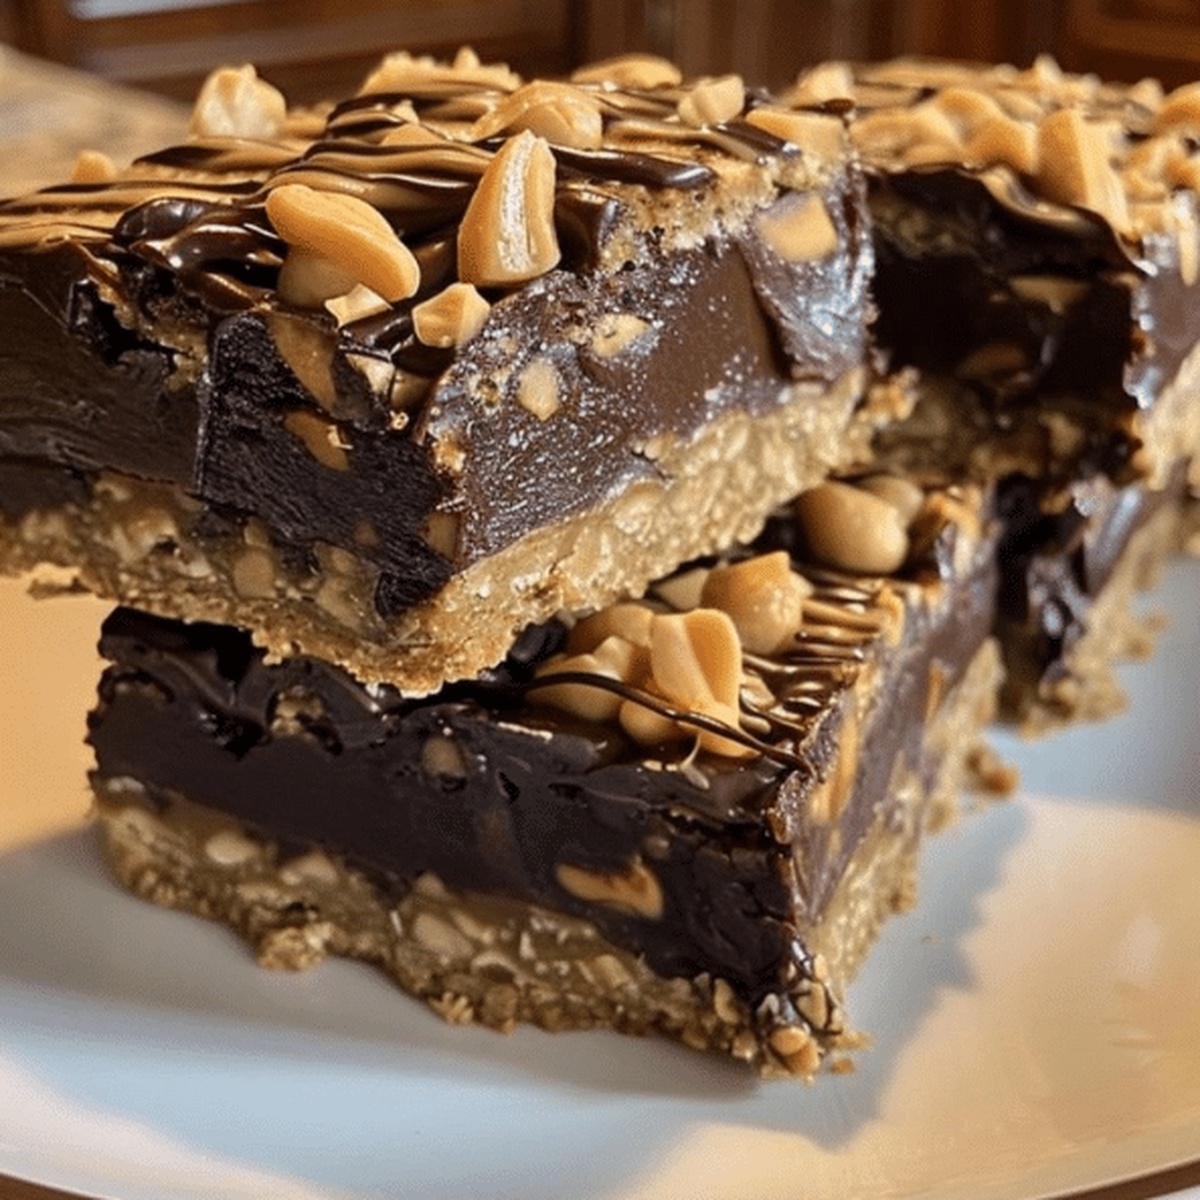
Easy Peanut Butter Blossom Bars Recipe: Sweet Homemade Joy
Soft, chewy peanut butter blossom bars promise a delightful twist on the classic cookie.
Memories of childhood swirl through each delectable bite.
Comfort and nostalgia blend perfectly in this simple dessert.
Chocolate kisses nestled atop rich, buttery squares create an irresistible treat.
Baking enthusiasts will adore how quickly these bars come together.
Sweet and salty notes dance across your palate with every crumb.
You cannot resist the temptation of these mouthwatering delights – so grab your mixing bowl and let’s start baking!
Why Peanut Butter Blossom Bars Are a Timeless Classic

Ingredients for Peanut Butter Blossom Bars
Bars Base:Sweeteners:Binding Ingredients:Dry Ingredients:Topping:Step-by-Step Guide to Baking Peanut Butter Blossom Bars
Step 1: Prepare the Oven and Baking Pan
Get your oven ready by heating it to 350F (175C). Grab a 9×13-inch baking pan and either grease it thoroughly or line it with parchment paper for easy removal.
Step 2: Create a Creamy Butter Mixture
In a large mixing bowl, blend together:Whip these ingredients until they become light and fluffy, creating a smooth base for your bars.
Step 3: Add Moisture and Flavor
Crack in an egg and pour in vanilla extract. Beat the mixture until everything is perfectly combined and looks silky.
Step 4: Combine Dry Ingredients
In a separate bowl, grab your whisk and mix:Slowly incorporate these dry ingredients into your wet mixture, stirring gently until just combined. Avoid overmixing to keep the bars tender.
Step 5: Spread the Batter
Transfer the peanut butter mixture into your prepared baking pan. Use a spatula to spread it evenly, creating a smooth surface.
Step 6: Bake to Perfection
Slide the pan into the preheated oven and bake for 20-25 minutes. You’ll know they’re done when the edges turn a beautiful golden brown and a toothpick comes out clean from the center.
Step 7: Add Chocolate Kiss Finale
The moment the bars come out of the oven, gently press chocolate kisses into the warm surface. Let the bars cool completely before slicing into delightful squares.
Tips for Perfectly Soft and Chewy Peanut Butter Blossom Bars
Creative Variations to Spice Up Peanut Butter Blossom Bars
Perfect Pairings for Peanut Butter Blossom Bars
Storage Instructions for Peanut Butter Blossom Bars
FAQs on Peanut Butter Blossom Bars
Yes, you can substitute chocolate kisses with chocolate chips, chocolate squares, or even different flavored chocolate like milk or dark chocolate to personalize the bars.
Both sugars contribute to the texture and flavor. Granulated sugar provides sweetness, while brown sugar adds moisture and a deeper caramel-like taste to the bars.
The bars are done when the edges turn golden brown and a toothpick inserted in the center comes out clean. This typically takes 20-25 minutes in a preheated oven.
Print
Peanut Butter Blossom Bars Recipe
- Total Time: 35-40 minutes
- Yield: 24 1x
Description
Craving a sweet twist on classic peanut butter blossoms, this bar version delivers nostalgic comfort with a modern bakery-style touch. Chocolate-kissed peanut butter squares promise pure indulgence for cookie enthusiasts seeking a delightful dessert you’ll want to savor again and again.
Ingredients
Main Ingredients:
- 3/4 cup (177 ml) creamy peanut butter
- 1/2 cup (113 g) unsalted butter, softened
- 1 large egg
- 1 1/2 cups (188 g) all-purpose flour
- 2025 chocolate kisses
Sweeteners:
- 1/2 cup (100 g) granulated sugar
- 1/2 cup (110 g) brown sugar, packed
Seasonings and Leavening Agents:
- 1 teaspoon vanilla extract
- 1/2 teaspoon baking soda
- 1/4 teaspoon salt
Instructions
- Heat oven to 350F (175C) and prepare a 9×13-inch pan by greasing or lining with parchment paper.
- Combine butter, peanut butter, granulated sugar, and brown sugar in a large mixing bowl, beating until smooth and airy.
- Incorporate egg and vanilla extract, mixing thoroughly until well blended.
- In a separate bowl, sift together flour, baking soda, and salt, then gently fold dry ingredients into the wet mixture until just incorporated.
- Transfer the dough evenly into the prepared baking pan, smoothing the surface with a spatula.
- Bake for 20-25 minutes, monitoring until edges turn golden and a toothpick inserted near the center emerges clean.
- Immediately after removing from the oven, gently press chocolate kisses into the warm surface of the bars.
- Allow bars to cool completely at room temperature before slicing into individual squares for serving.
Notes
- Softening butter and peanut butter at room temperature ensures smooth, creamy mixing without lumps.
- Use creamy peanut butter for consistent texture, avoiding natural or chunky varieties that might affect bar structure.
- Avoid overmixing the dough to prevent tough, dense bars; stop mixing when ingredients are just combined.
- Place chocolate kisses gently into warm bars to prevent cracking or breaking the surface, creating a perfect chocolate-to-bar ratio.
- Prep Time: 15 minutes
- Cook Time: 20-25 minutes
- Category: Desserts, Snacks
- Method: Baking
- Cuisine: American
Nutrition
- Serving Size: 24
- Calories: 220
- Sugar: 13 g
- Sodium: 120 mg
- Fat: 14 g
- Saturated Fat: 4 g
- Unsaturated Fat: 9 g
- Trans Fat: 0.1 g
- Carbohydrates: 20 g
- Fiber: 2 g
- Protein: 5 g
- Cholesterol: 25 mg
Sarah Mitchell
Content Specialist & Home Cooking Enthusiast
Expertise
Education
Asheville-Buncombe Technical Community College – Asheville, NC
American Fitness Professionals & Associates – Online
Sarah’s passion for food was sparked by weekend trips to the farmers’ market and her belief that healthy meals should never feel boring.
After earning her culinary diploma and becoming a certified Nutrition and Wellness Consultant, she set out to help others fall in love with simple, wholesome cooking.
She’s all about celebrating the small wins in the kitchen: a colorful yogurt bowl, a new twist on a classic dish, or a homemade snack that feels just a little extra special.
Outside the kitchen, Sarah is a gardener at heart, a yoga enthusiast, and a believer that fresh herbs can brighten any meal, and any day.