Homemade Pepperoni Pizza Rolls Recipe for Snacking
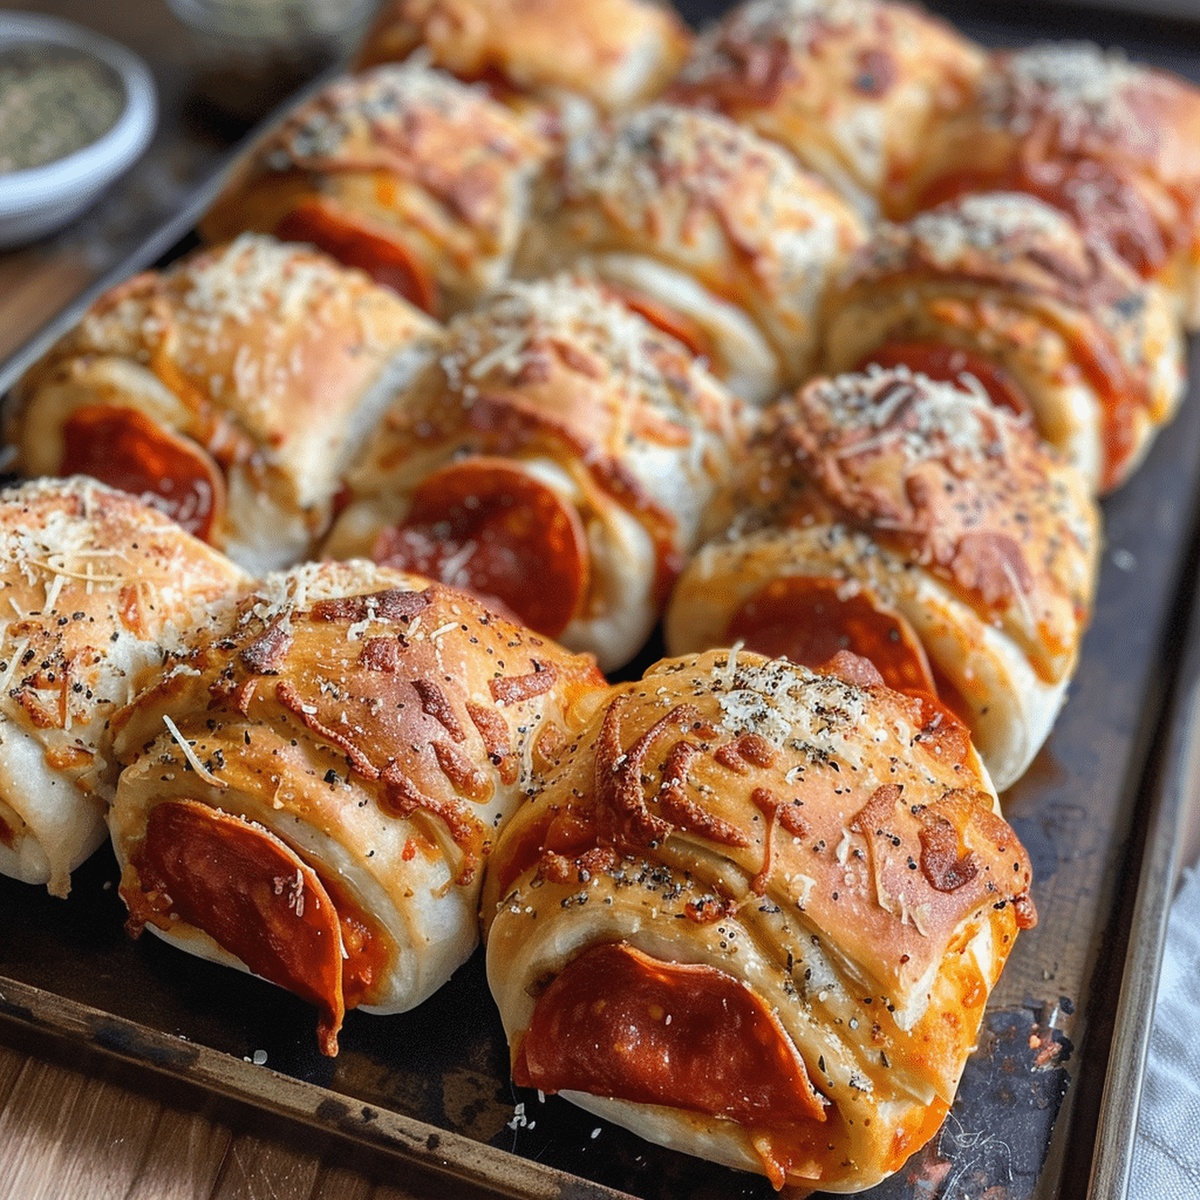
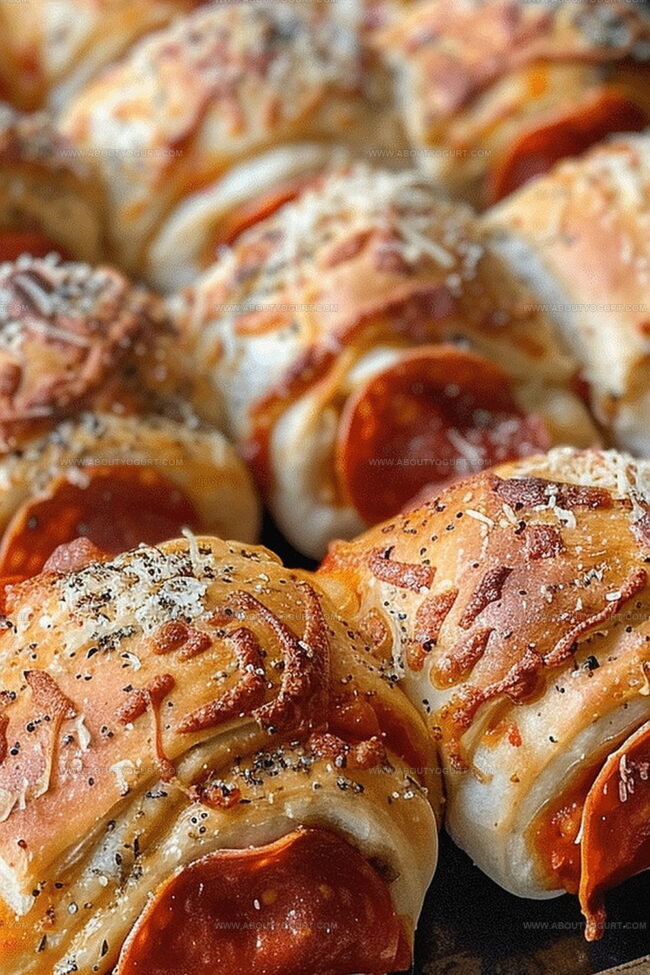
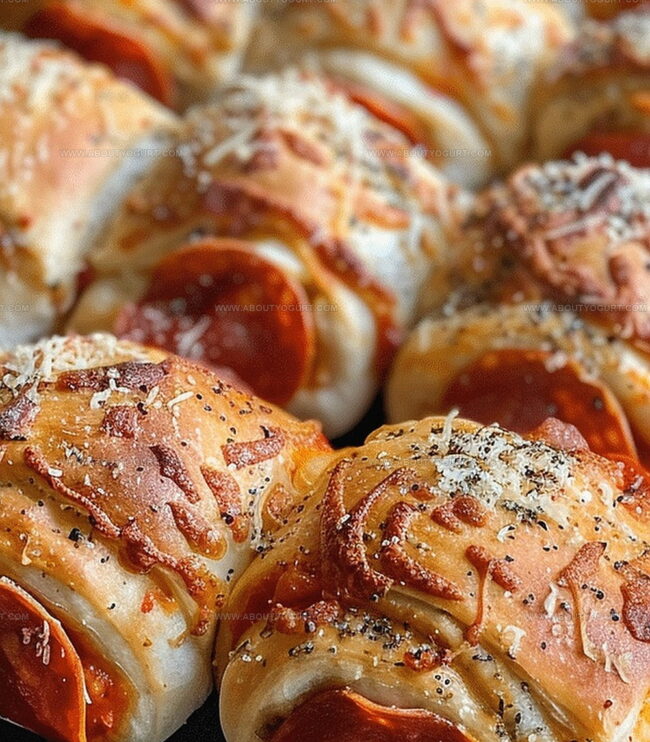
Crispy, golden pepperoni pizza rolls capture the essence of comfort food with a delightful twist.
Melted cheese and spicy pepperoni dance inside soft, pillowy dough that promises pure satisfaction.
Wrapped tightly and baked to perfection, these little bundles pack a flavor punch.
Snack time becomes an adventure when you pull apart these irresistible rolls.
Simple ingredients come together quickly, making this recipe a game-changer for busy kitchens.
Each bite delivers a burst of savory goodness that keeps everyone coming back for more.
Dive into this crowd-pleasing treat and watch smiles spread around the table.
Why Pepperoni Pizza Rolls Are So Addictive
Ingredients for Pepperoni Pizza Rolls
Base Ingredients:Cheese and Dairy:Seasonings and Flavor Enhancers:How to Make Pepperoni Pizza Rolls
Step 1: Prepare Baking Station
Grab a baking sheet and line it with parchment paper. Preheat the oven to a toasty 375°F (190°C) so it’s ready for your pizza roll magic.
Step 2: Separate Crescent Dough
Gently unroll the crescent roll dough onto a clean surface. Carefully separate each triangle along the perforated lines, creating perfect individual bases for your rolls.
Step 3: Sauce It Up
Spread a delightful thin layer of pizza sauce across each crescent triangle. Leave a small border around the edges to prevent messy overflow during baking.
Step 4: Layer Flavor Makers
Top your saucy base with these delicious ingredients:Sprinkle dried oregano and garlic powder for an extra flavor punch.
Step 5: Roll and Tuck
Starting from the wide end, tightly roll each crescent triangle. Make sure all those yummy toppings are snugly tucked inside the roll.
Step 6: Position for Baking
Arrange the rolled pizza rolls seam-side down on the prepared baking sheet. Space them a few inches apart to allow even cooking.
Step 7: Bake to Golden Perfection
Slide the baking sheet into the preheated oven. Bake for 10-12 minutes until the rolls turn a beautiful golden brown and the cheese melts into bubbly deliciousness.
Step 8: Cool and Serve
Remove the pizza rolls from the oven and let them cool for a few minutes. Serve warm with extra pizza sauce on the side for dipping.
Pro Tip: Get creative with your toppings! Try different cheeses, add bell peppers, or experiment with various herbs to make these pizza rolls uniquely yours. Perfect for quick snacks, game day treats, or unexpected hunger attacks.
Tips for Crispy and Tasty Pepperoni Pizza Rolls
Creative Variations for Pepperoni Pizza Rolls
Best Pairings for Pepperoni Pizza Rolls
Proper Storage Methods for Pepperoni Pizza Rolls
Common Questions About Pepperoni Pizza Rolls
Yes, you can substitute crescent rolls with pizza dough, puff pastry, or even biscuit dough for similar results.
Roll the triangles tightly and place them seam-side down on the baking sheet to keep them secure.
Absolutely! Kids love these bite-sized pizza rolls and they’re easy to eat with hands, making them perfect for lunch boxes or snack time.
You can prepare the rolls in advance and refrigerate them before baking. Just add a few extra minutes to the baking time when cooking from cold.
Print
Pepperoni Pizza Rolls Recipe
- Total Time: 20-22 minutes
- Yield: 8 1x
Description
Pepperoni pizza rolls bring classic Italian-American comfort right to kitchen counters with irresistible cheesy goodness. Crispy edges, gooey mozzarella, and zesty pepperoni make this snack perfect for game nights or casual gatherings you’ll absolutely love.
Ingredients
Main Ingredients:
- 1 package (226 grams) refrigerated crescent rolls
- 1/4 cup (60 milliliters) sliced pepperoni
- 1 cup (226 grams) shredded mozzarella cheese
Sauce and Seasoning:
- 1/2 cup (120 milliliters) pizza sauce
- 1/4 teaspoon dried oregano
- 1/4 teaspoon garlic powder
Optional Toppings:
- Optional: diced bell peppers
- Optional: diced onions
- Optional: diced olives
Instructions
- Prepare workspace by lining a baking sheet with parchment paper and heat oven to 375F (190C).
- Carefully separate crescent roll triangles on a clean, flat surface.
- Apply a thin, even layer of pizza sauce across each triangle, maintaining a small border around the edges.
- Distribute shredded mozzarella cheese uniformly over the sauce, creating a consistent base layer.
- Strategically arrange pepperoni slices across the cheese, ensuring full coverage.
- Enhance flavor profile by sprinkling dried oregano and garlic powder over the toppings.
- Tightly roll each triangle from the wide end, completely encasing the ingredients within the dough.
- Position rolled pizza rolls seam-side down on the prepared baking sheet, maintaining slight separation between each roll.
- Bake in the preheated oven for 10-12 minutes until the exterior turns golden brown and cheese becomes melted and effervescent.
- Allow rolls to rest for 2-3 minutes after removing from oven to stabilize internal temperature.
- Serve immediately, accompanied by additional pizza sauce for optional dipping pleasure.
Notes
- Customize toppings by swapping pepperoni with ham, bacon, or vegetarian alternatives like bell peppers and mushrooms for diverse flavor profiles.
- Use low-fat cheese and turkey pepperoni for a lighter version that reduces overall calorie and fat content without compromising taste.
- Prevent soggy rolls by not overloading with sauce and ensuring a thin, even layer that won’t make the dough soggy during baking.
- Create make-ahead friendly option by preparing rolls in advance and refrigerating, then baking just before serving for fresh, hot appetizers with minimal last-minute preparation.
- Prep Time: 10 minutes
- Cook Time: 10-12 minutes
- Category: Lunch, Dinner, Appetizer, Snacks
- Method: Baking
- Cuisine: Italian-American
Nutrition
- Serving Size: 8
- Calories: 250 kcal
- Sugar: 3 g
- Sodium: 500 mg
- Fat: 12 g
- Saturated Fat: 5 g
- Unsaturated Fat: 6 g
- Trans Fat: 0.2 g
- Carbohydrates: 25 g
- Fiber: 1 g
- Protein: 10 g
- Cholesterol: 30 mg
Michael Thompson
Founder & Recipe Developer
Expertise
Education
Cascade Culinary Institute – Bend, OR
ServSafe Food Handler Certification – Portland, OR
Focus: Certified in core food safety and hygiene principles for both home and professional kitchens, with emphasis on ingredient handling, kitchen cleanliness, and safe preparation methods.
Mike’s kitchen journey began with a single goal: to make everyday meals feel like something worth celebrating.
After earning his Certificate in Culinary Arts from Cascade Culinary Institute, he spent years working with local farmers and small kitchens across Oregon, learning the beauty of seasonal, small-batch cooking.
Mike’s approach is simple, cook with what’s fresh, keep it approachable, and always leave room for a little creativity. When he’s not testing yogurt marinades or designing single-serving meals, you’ll find him hiking trails or hunting down the best berries at local markets.