Pizza Sliders Recipe for a Fun Dinner Crowd Pleaser
Crispy mini pizza sliders have become my latest culinary obsession, promising bite-sized delights that pack massive flavor.
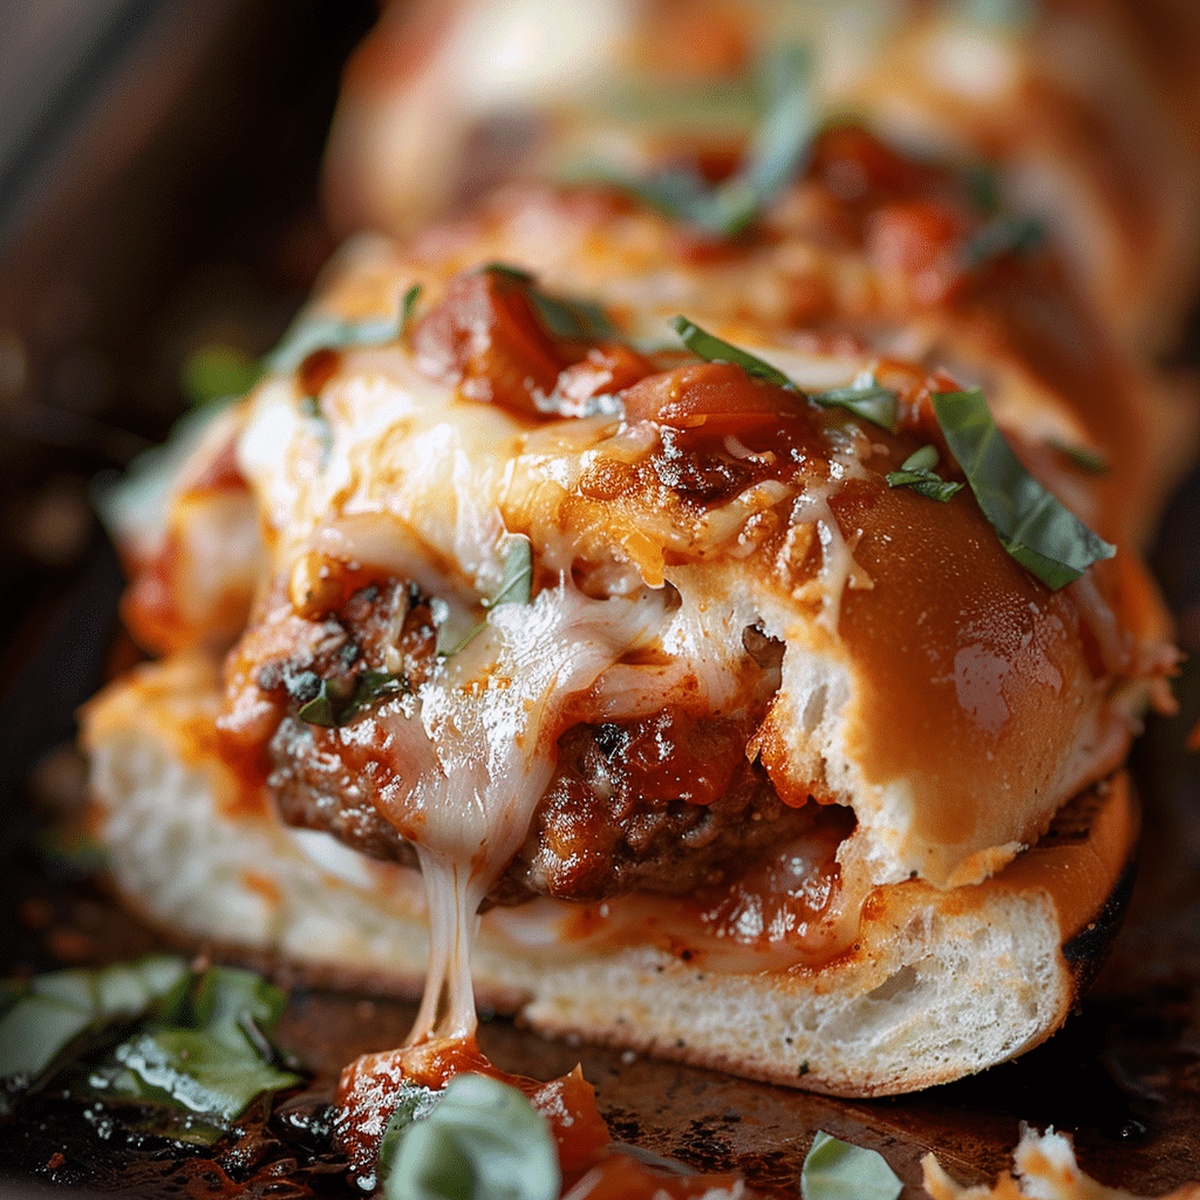
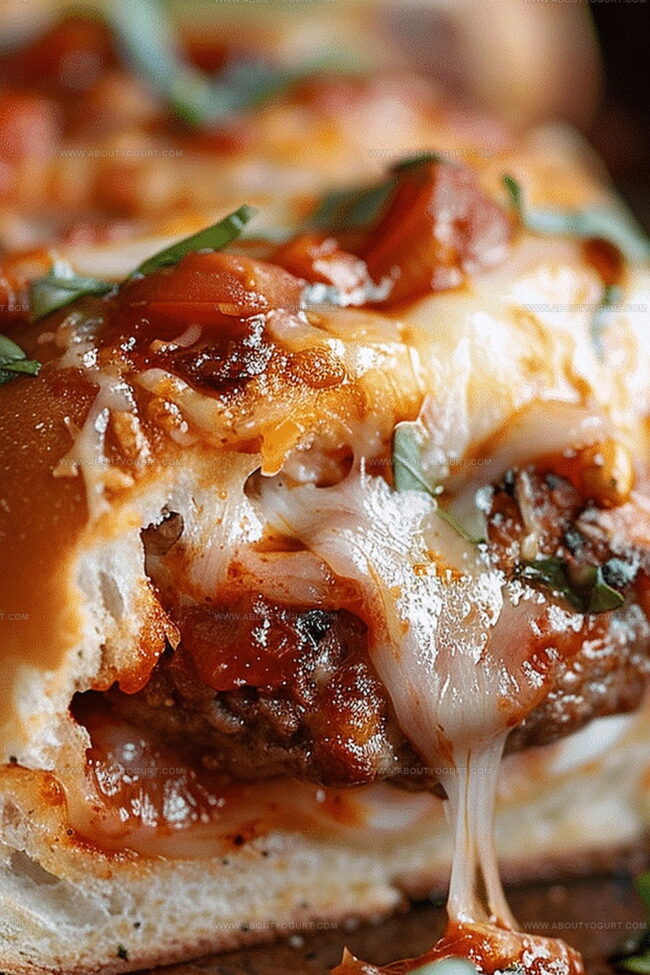
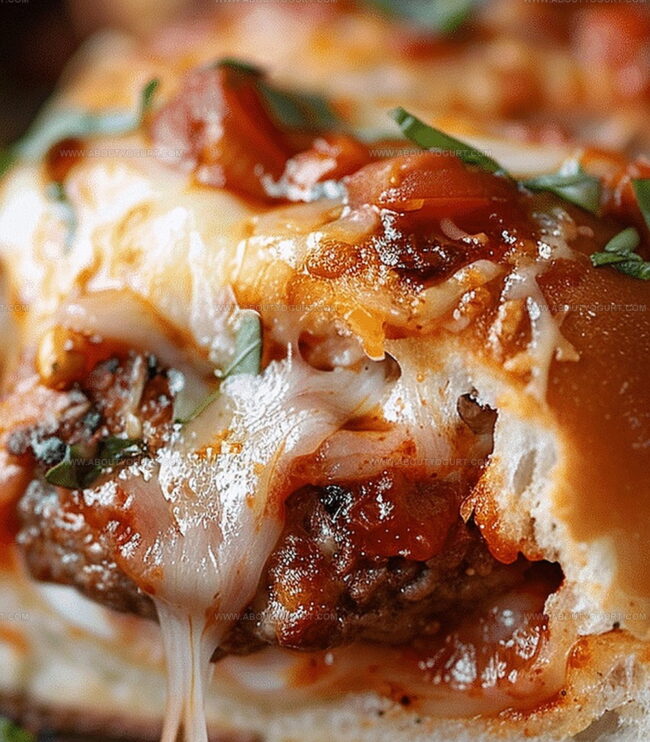
Compact and irresistible, these little sandwiches deliver incredible taste in every single mouthful.
Melted cheese, zesty marinara, and savory toppings combine to create a crowd-pleasing appetizer perfect for game nights or casual gatherings.
Small yet mighty, each slider brings restaurant-quality excitement directly to your kitchen.
Crafting these mini marvels requires minimal effort but generates maximum excitement among hungry guests.
Quick assembly and bold flavors make these sliders an instant winner for anyone seeking a delicious, crowd-pleasing snack.
Reasons to Love Pizza Sliders Every Time
Complete Ingredient List for Pizza Sliders
Breads:Cheeses:Proteins:Sauce and Seasonings:Binding and Topping Ingredients:How to Prepare Delicious Pizza Sliders
Step 1: Prep the Oven and Baking Dish
Warm up your oven to a cozy 350F (175C). Grab a baking dish and give it a quick spritz of nonstick cooking spray to prevent any sticky situations.
Step 2: Create Flavor-Packed Butter Mixture
Whip up a delectable butter blend by mixing:Set this magical mixture aside for later.
Step 3: Slice and Arrange Rolls
Carefully slice the Hawaiian rolls horizontally, keeping them connected. Gently place the bottom half into the prepared baking dish.
Step 4: Build the Cheesy Foundation
Layer the bottom of the rolls with mozzarella cheese slices. Strategically place pepperoni slices across the cheese for maximum flavor coverage.
Step 5: Add Saucy Goodness
Drizzle pizza sauce generously over the pepperoni. Crown the sauce with another layer of mozzarella cheese slices.
Step 6: Top and Brush
Crown the slider base with the top half of the rolls. Lovingly brush the reserved butter mixture over the entire roll surface.
Step 7: Bake to Perfection
Cover the dish with aluminum foil and bake for 15 minutes. Remove the foil and continue baking for an additional 5 minutes until the tops turn a gorgeous golden brown.
Step 8: Serve and Enjoy
Slice the baked creation into individual sliders and serve piping hot. Watch as hungry guests devour these irresistible mini pizzas!
Expert Advice for Crafting the Best Pizza Sliders
Creative Ways to Vary Your Pizza Sliders
Serving Suggestions to Complement Pizza Sliders
How to Keep Pizza Sliders Fresh and Tasty
Your Pizza Sliders Questions, Answered
Yes, you can substitute Hawaiian rolls with other soft dinner rolls or slider buns. Just ensure they are similar in size to maintain the recipe’s proportions.
Absolutely! Replace pepperoni with alternatives like bell peppers, mushrooms, or vegetarian pepperoni to create a meat-free version.
Add red pepper flakes to the butter mixture or include sliced jalapeños between the cheese and pepperoni layers for extra heat.
You can assemble the sliders up to 24 hours in advance, cover, and refrigerate. Bake just before serving to maintain their crispy texture.
Print
Pizza Sliders Recipe
- Total Time: 35 minutes
- Yield: 12 1x
Description
Mouth-watering pizza sliders bring Italian-inspired mini sandwiches to your dinner table with irresistible cheesy goodness. Small yet packed with robust flavors, these sliders deliver a delightful twist you’ll crave again and again.
Ingredients
Protein:
- 48 slices pepperoni
- 12 slices mozzarella cheese
- 2 tablespoons (28 grams) parmesan cheese, finely grated
Base:
- 1 package (12-count) Kings Hawaiian rolls
Seasoning and Sauce:
- 1/2 cup (114 grams or 1 stick) unsalted butter, melted
- 1/2 teaspoon garlic salt
- 1/2 teaspoon Italian seasoning
- 1/2 cup (193 grams) pizza sauce
Instructions
- Warm the oven to 350F (175C) and coat a 7×11-inch baking dish with nonstick spray.
- Whisk together melted butter, garlic salt, Italian seasoning, and parmesan cheese in a small mixing bowl.
- Carefully slice Hawaiian rolls horizontally, keeping them connected as one unit, and nestle the bottom section into the prepared baking dish.
- Create a uniform layer of mozzarella cheese slices across the roll bottoms, then evenly distribute pepperoni over the cheese.
- Generously spread pizza sauce across the pepperoni layer, followed by another layer of mozzarella cheese slices.
- Position the top half of the rolls over the cheese and sauce, then lavishly brush the prepared butter mixture across the roll surface.
- Shield the dish with aluminum foil and bake for 15 minutes. Uncover and continue baking for an additional 5 minutes until the rolls develop a golden-brown crust.
- Allow the baked sliders to cool briefly, then slice into individual portions and serve while warm.
Notes
- Customize the pepperoni by using turkey pepperoni for a leaner option that cuts down on calories and fat.
- Swap Hawaiian rolls with gluten-free rolls to make this dish celiac-friendly and accommodate dietary restrictions.
- Fresh herbs like basil or oregano can elevate the flavor profile, adding a vibrant and aromatic touch to the sliders.
- For a vegetarian version, replace pepperoni with roasted bell peppers, mushrooms, or plant-based pepperoni alternatives.
- Prep Time: 15 minutes
- Cook Time: 20 minutes
- Category: Lunch, Dinner, Snacks, Appetizer
- Method: Baking
- Cuisine: Italian-American
Nutrition
- Serving Size: 12
- Calories: 266
- Sugar: 2 g
- Sodium: 577 mg
- Fat: 15 g
- Saturated Fat: 7 g
- Unsaturated Fat: 7 g
- Trans Fat: 0.3 g
- Carbohydrates: 23 g
- Fiber: 1 g
- Protein: 12 g
- Cholesterol: 33 mg
Sarah Mitchell
Content Specialist & Home Cooking Enthusiast
Expertise
Education
Asheville-Buncombe Technical Community College – Asheville, NC
American Fitness Professionals & Associates – Online
Sarah’s passion for food was sparked by weekend trips to the farmers’ market and her belief that healthy meals should never feel boring.
After earning her culinary diploma and becoming a certified Nutrition and Wellness Consultant, she set out to help others fall in love with simple, wholesome cooking.
She’s all about celebrating the small wins in the kitchen: a colorful yogurt bowl, a new twist on a classic dish, or a homemade snack that feels just a little extra special.
Outside the kitchen, Sarah is a gardener at heart, a yoga enthusiast, and a believer that fresh herbs can brighten any meal, and any day.