
Cozy Autumn Pumpkin Crisp Recipe: Homemade Sweetness in Every Bite
Crisp autumn winds carry the delightful aroma of a pumpkin crisp that promises comfort in every warm, golden bite.
Seasonal spices dance through kitchens, beckoning you to create something magical.
Baking becomes an adventure with this simple yet extraordinary dessert.
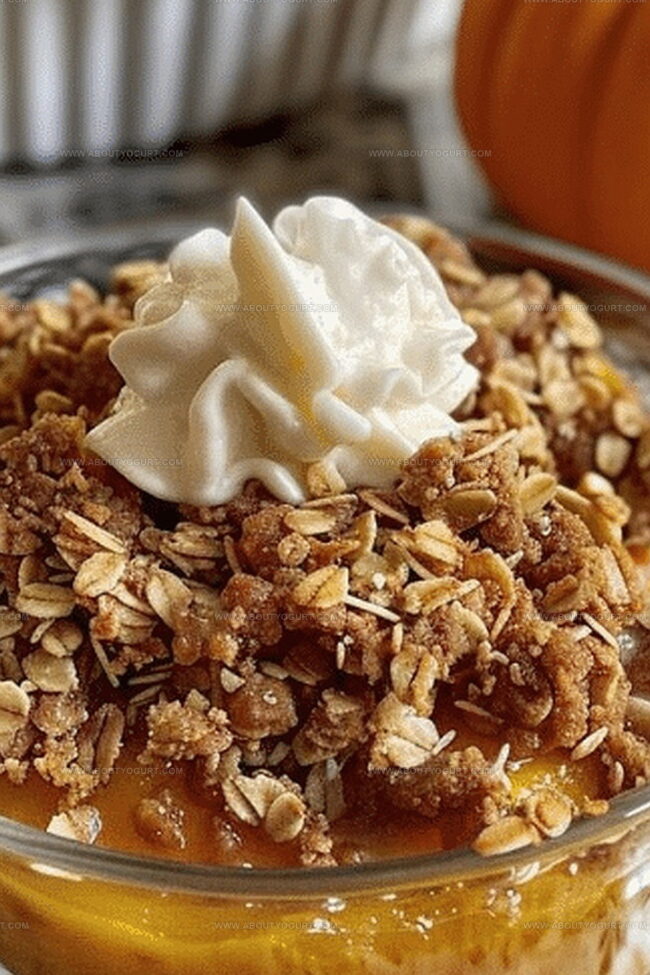
Layers of sweet pumpkin mingle with a crunchy, buttery topping that whispers of cozy evenings.
Comfort emerges from humble ingredients, turning ordinary moments into delectable memories.
Maple and cinnamon weave their enchantment, promising a dessert that feels like a gentle embrace.
Why Pumpkin Crisp Is an Autumn Staple
Ingredients Needed for Pumpkin Crisp
Main Ingredients:Spices and Flavor Enhancers:Crisp Topping Components:How to Prepare Pumpkin Crisp
Step 1: Warm Up the Oven
Fire up your oven to a toasty 350F (175C). Grab a 9×9-inch baking dish and give it a light coating of cooking spray or butter to prevent sticking.
Step 2: Create the Pumpkin Base
In a spacious mixing bowl, whisk together:Blend everything until the mixture looks silky smooth and completely combined.
Step 3: Prepare the Crispy Topping
In a separate bowl, craft the delectable crumble by mixing:Use your fingers or a pastry cutter to work the ingredients until they resemble coarse, crumbly breadcrumbs.
Step 4: Layer and Assemble
Pour the pumpkin mixture into the prepared baking dish, creating an even layer. Generously sprinkle the crispy topping over the entire surface, covering the pumpkin base completely.
Step 5: Bake to Perfection
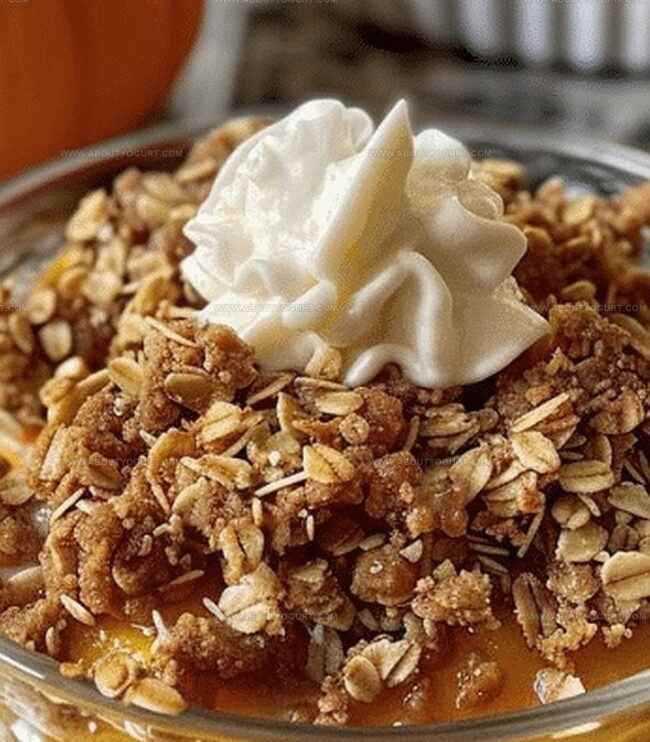
Slide the dish into the preheated oven and bake for 40-45 minutes. You’ll know it’s ready when the topping turns a gorgeous golden brown and the center looks set but slightly jiggly.
Step 6: Cool and Serve
Let the pumpkin crisp rest for 15-20 minutes after removing from the oven. This helps it set and makes serving easier. For an extra indulgent touch, top with a scoop of vanilla ice cream or a dollop of whipped cream.
Pro Tips to Perfect Your Pumpkin Crisp
Flavor Twists for Pumpkin Crisp
Pairings That Enhance Pumpkin Crisp
Storage Guidelines for Pumpkin Crisp
Frequently Asked Questions on Pumpkin Crisp
The key ingredients include pumpkin puree, sugar, eggs, spices like cinnamon and nutmeg, flour, butter, and brown sugar for the crisp topping.
No, the recipe contains flour in the topping, which means it’s not suitable for those with gluten sensitivities unless you use gluten-free flour alternatives.
Yes, you can prepare the pumpkin crisp a day in advance and store it in the refrigerator. Just reheat it in the oven before serving to restore its crispy texture.
Print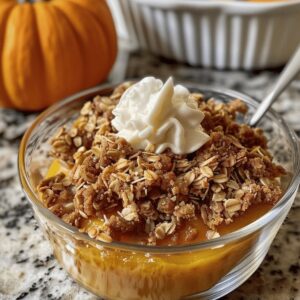
Pumpkin Crisp Recipe
- Total Time: 55-60 minutes
- Yield: 8 1x
Description
Creamy pumpkin crisp delights autumn dessert enthusiasts with layers of rich, spiced goodness. Crunchy pecans and silky pumpkin custard create a perfect balance that will make you crave seconds.
Ingredients
Pumpkin Base:
- 2 cups (473 ml) canned pumpkin puree
- 1 cup (200 g) granulated sugar
- 1/2 cup (100 g) packed brown sugar
- 2 large eggs
- 1/2 cup (120 ml) heavy cream
Spices and Seasonings:
- 1 teaspoon vanilla extract
- 1 teaspoon ground cinnamon
- 1/2 teaspoon ground ginger
- 1/4 teaspoon ground nutmeg
- 1/4 teaspoon salt
Crisp Topping:
- 1 cup (90 g) old-fashioned oats
- 1/2 cup (60 g) all-purpose flour
- 1/2 cup (100 g) packed brown sugar
- 1/2 cup (113 g) unsalted butter, cold and cut into small pieces
- 1/4 teaspoon ground cinnamon
Instructions
- Prepare the oven by heating to 350F (175C) and coating a 9×9-inch baking dish with cooking spray or butter to prevent sticking.
- Combine pumpkin puree, spices, sugar, and other filling ingredients in a large mixing bowl, whisking thoroughly until the mixture reaches a silky, uniform consistency with no lumps.
- Carefully transfer the pumpkin mixture into the prepared baking dish, spreading it evenly across the surface to ensure consistent cooking.
- Create the crisp topping by blending flour, brown sugar, butter, and additional dry ingredients in a separate bowl, using fingertips or a fork to form a crumbly, textured mixture.
- Generously distribute the crumbly topping across the entire surface of the pumpkin filling, ensuring complete and even coverage.
- Place the dish in the preheated oven and bake for 40-45 minutes, monitoring until the topping turns a rich golden brown and the filling sets with minimal jiggling.
- Remove from the oven and allow the pumpkin crisp to cool for 10-15 minutes, which helps the filling stabilize and makes serving easier.
- Serve warm, optionally accompanied by a scoop of vanilla ice cream to enhance the dessert’s decadent flavor profile.
Notes
- Swap canned pumpkin with roasted fresh pumpkin for a more intense, authentic flavor profile.
- Add a pinch of ground cardamom or nutmeg to enhance the warm, seasonal spice notes in the filling.
- Use gluten-free oats and almond flour to make this dessert celiac-friendly without compromising texture.
- For a lighter version, replace some butter in the topping with Greek yogurt to reduce calories while maintaining richness.
- Prep Time: 15 minutes
- Cook Time: 40-45 minutes
- Category: Desserts
- Method: Baking
- Cuisine: American
Nutrition
- Serving Size: 8
- Calories: 280 kcal
- Sugar: 28 g
- Sodium: 110 mg
- Fat: 13 g
- Saturated Fat: 7 g
- Unsaturated Fat: 5 g
- Trans Fat: 0.2 g
- Carbohydrates: 38 g
- Fiber: 3 g
- Protein: 3 g
- Cholesterol: 75 mg
Sarah Mitchell
Content Specialist & Home Cooking Enthusiast
Expertise
Education
Asheville-Buncombe Technical Community College – Asheville, NC
American Fitness Professionals & Associates – Online
Sarah’s passion for food was sparked by weekend trips to the farmers’ market and her belief that healthy meals should never feel boring.
After earning her culinary diploma and becoming a certified Nutrition and Wellness Consultant, she set out to help others fall in love with simple, wholesome cooking.
She’s all about celebrating the small wins in the kitchen: a colorful yogurt bowl, a new twist on a classic dish, or a homemade snack that feels just a little extra special.
Outside the kitchen, Sarah is a gardener at heart, a yoga enthusiast, and a believer that fresh herbs can brighten any meal, and any day.