
Pumpkin Pie Crisp Recipe to Serve This Fall
Crafting a delightful pumpkin pie crisp brings pure autumn magic to your kitchen table.
Layers of sweet, spiced goodness promise a dessert that hugs your taste buds with warmth.
Seasonal ingredients dance together, creating a harmonious blend of comfort and indulgence.
Crispy topping meets silky pumpkin filling in a delectable symphony of textures.
Warm cinnamon and nutmeg whisper memories of cozy gatherings and festive celebrations.
Each forkful delivers a nostalgic embrace of homemade goodness.
Savor this irresistible treat that turns an ordinary evening into a memorable culinary experience.
What Makes Pumpkin Pie Crisp So Comforting
Ingredients for Pumpkin Pie Crisp
Pumpkin Layer:Crisp Topping:Binding and Finishing:How to Bake Pumpkin Pie Crisp
Step 1: Prepare The Oven And Baking Dish
Warm up your oven to a cozy 350F (175C). Grab a 9×13-inch baking dish and give it a light coating of grease to prevent sticking.
Step 2: Create The Luscious Pumpkin Filling
Grab a large mixing bowl and whisk together the pumpkin filling ingredients until they transform into a silky smooth mixture. Pour this golden-orange goodness into your prepared baking dish.
Step 3: Craft The Crispy Crumble Topping
In a separate bowl, mix together:Toss in cold butter pieces and use your fingers or a pastry cutter to blend until the mixture looks like delicate, crumbly breadcrumbs.
Step 4: Layer The Crumble Topping
Sprinkle the crumbly mixture evenly across the top of the pumpkin filling, creating a gorgeous golden blanket.
Step 5: Bake To Perfection
Send the dish into the oven and bake for 45-50 minutes. You’ll know it’s ready when the top turns a beautiful golden brown and the filling sets completely. Test by inserting a knife into the center – it should come out clean.
Step 6: Cool And Serve
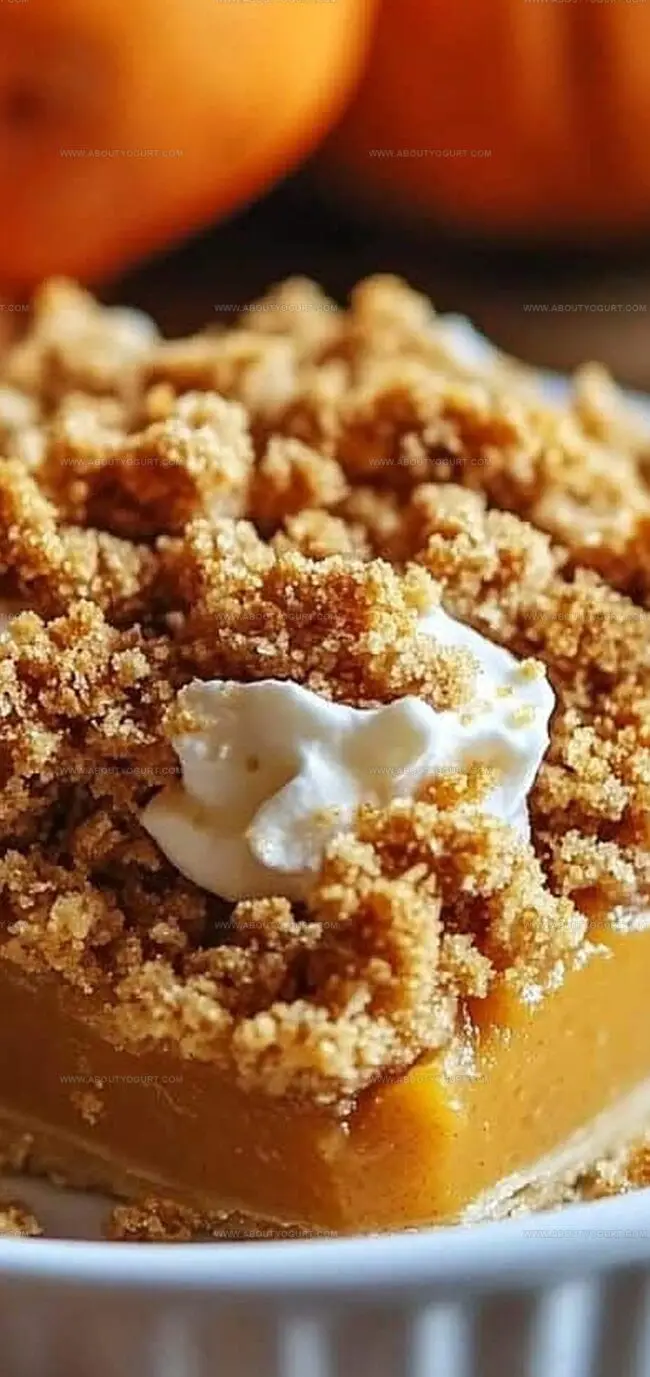
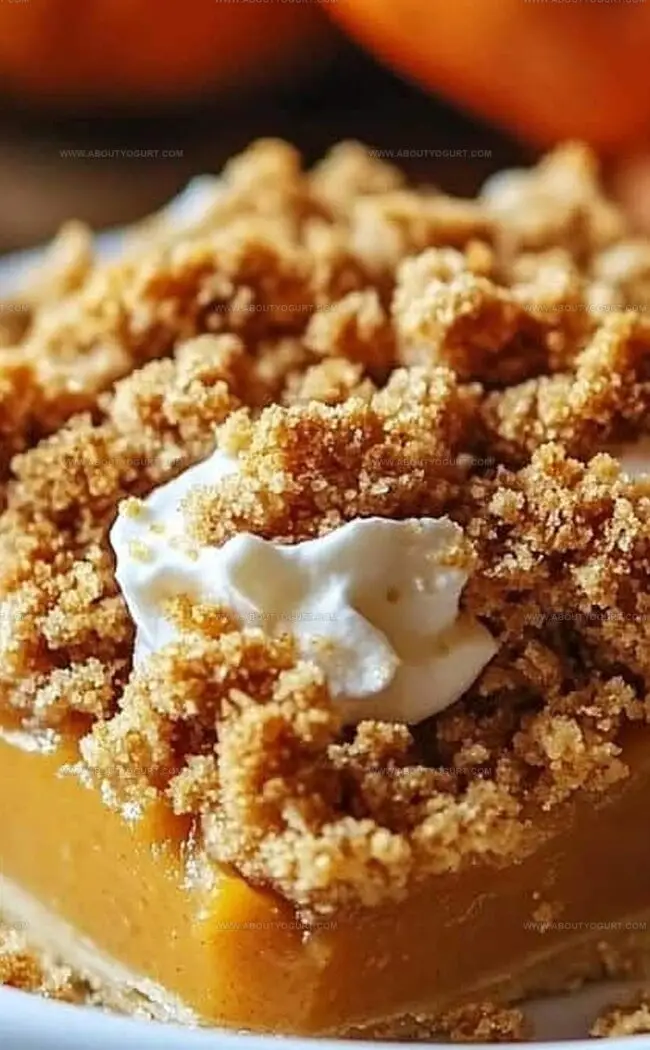
Let the crisp rest and cool for about 15 minutes. Serve it up warm with a scoop of creamy vanilla ice cream or a fluffy dollop of whipped cream for an irresistible dessert that’ll make everyone smile!
Tips for a Crispy Pumpkin Pie Crisp
Variations to Customize Pumpkin Pie Crisp
Best Pairings for Pumpkin Pie Crisp
Storage Tips for Pumpkin Pie Crisp
FAQs About Pumpkin Pie Crisp
The crisp topping uses a combination of flour, oats, and sugars that creates a crunchy, crumbly texture, unlike the smooth, solid pie crust. It adds a delightful contrast to the creamy pumpkin filling.
Absolutely! Canned pumpkin puree works perfectly and saves time. Just make sure it’s pure pumpkin puree, not pumpkin pie filling, for the best results.
It’s technically a hybrid – a pumpkin crisp with pie-like filling and a crispy oat topping. The dessert combines the best elements of a traditional pumpkin pie and a fruit crisp.
Print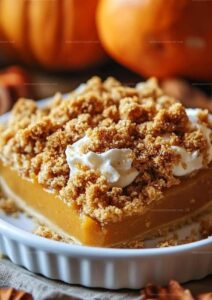
Pumpkin Pie Crisp Recipe
- Total Time: 60-65 minutes
- Yield: 8 1x
Description
Warm autumn memories bloom with this Pumpkin Pie Crisp, blending classic comfort and southern charm. Creamy pumpkin meets buttery crumble in a dessert that welcomes you to savor seasonal comfort with each delightful spoonful.
Ingredients
Main Ingredients:
- 1 (15 ounces / 425 grams) can pumpkin puree
- 2 large eggs
- 1/2 cup (120 ml) heavy cream
Sugars and Sweeteners:
- 1/2 cup (100 grams) granulated sugar
- 1/2 cup (110 grams) brown sugar, packed
Spices and Seasonings:
- 1 teaspoon ground cinnamon
- 1/2 teaspoon ground nutmeg
- 1/4 teaspoon ground cloves
- 1/4 teaspoon salt
- 1 teaspoon vanilla extract
Instructions
- Prepare the oven at 350F (175C) and coat a 9×13-inch baking vessel with cooking spray to prevent sticking.
- Whisk pumpkin mixture thoroughly in a spacious mixing bowl until achieving a silky, homogeneous consistency, then transfer to the prepared baking dish.
- Create the crisp topping by blending dry ingredients in a separate container, then incorporate chilled butter using fingertips or a pastry tool until the mixture develops a crumbly, sandy texture.
- Distribute the crisp topping uniformly across the pumpkin base, ensuring complete and even coverage.
- Position the dish in the preheated oven and bake for 45-50 minutes, monitoring until the topping transforms into a rich golden hue and the filling sets completely. Test doneness by inserting a knife near the center, which should emerge clean.
- Allow the dessert to rest and slightly cool for 15 minutes, enabling the filling to stabilize and develop optimal texture. Serve warm, optionally accompanied by a scoop of vanilla ice cream or a generous dollop of whipped cream for enhanced indulgence.
Notes
- Opt for fresh pumpkin puree instead of canned for a more vibrant, homemade flavor that elevates the entire dessert.
- Swap out regular flour with gluten-free alternatives like almond or oat flour to make this recipe celiac-friendly.
- Reduce sugar content by using monk fruit sweetener or cutting overall sugar by 25% without compromising the dessert’s deliciousness.
- Enhance the crisp’s texture by toasting the oats briefly before mixing them into the topping, creating a deeper, nuttier crunch.
- Prep Time: 15 minutes
- Cook Time: 45-50 minutes
- Category: Desserts
- Method: Baking
- Cuisine: American
Nutrition
- Serving Size: 8
- Calories: 144 kcal
- Sugar: 19 g
- Sodium: 91 mg
- Fat: 6 g
- Saturated Fat: 3 g
- Unsaturated Fat: 3 g
- Trans Fat: 0.1 g
- Carbohydrates: 23 g
- Fiber: 2 g
- Protein: 3 g
- Cholesterol: 70 mg
Sarah Mitchell
Content Specialist & Home Cooking Enthusiast
Expertise
Education
Asheville-Buncombe Technical Community College – Asheville, NC
American Fitness Professionals & Associates – Online
Sarah’s passion for food was sparked by weekend trips to the farmers’ market and her belief that healthy meals should never feel boring.
After earning her culinary diploma and becoming a certified Nutrition and Wellness Consultant, she set out to help others fall in love with simple, wholesome cooking.
She’s all about celebrating the small wins in the kitchen: a colorful yogurt bowl, a new twist on a classic dish, or a homemade snack that feels just a little extra special.
Outside the kitchen, Sarah is a gardener at heart, a yoga enthusiast, and a believer that fresh herbs can brighten any meal, and any day.