Best Raspberry Jam Recipe for Sweet Summer Flavor
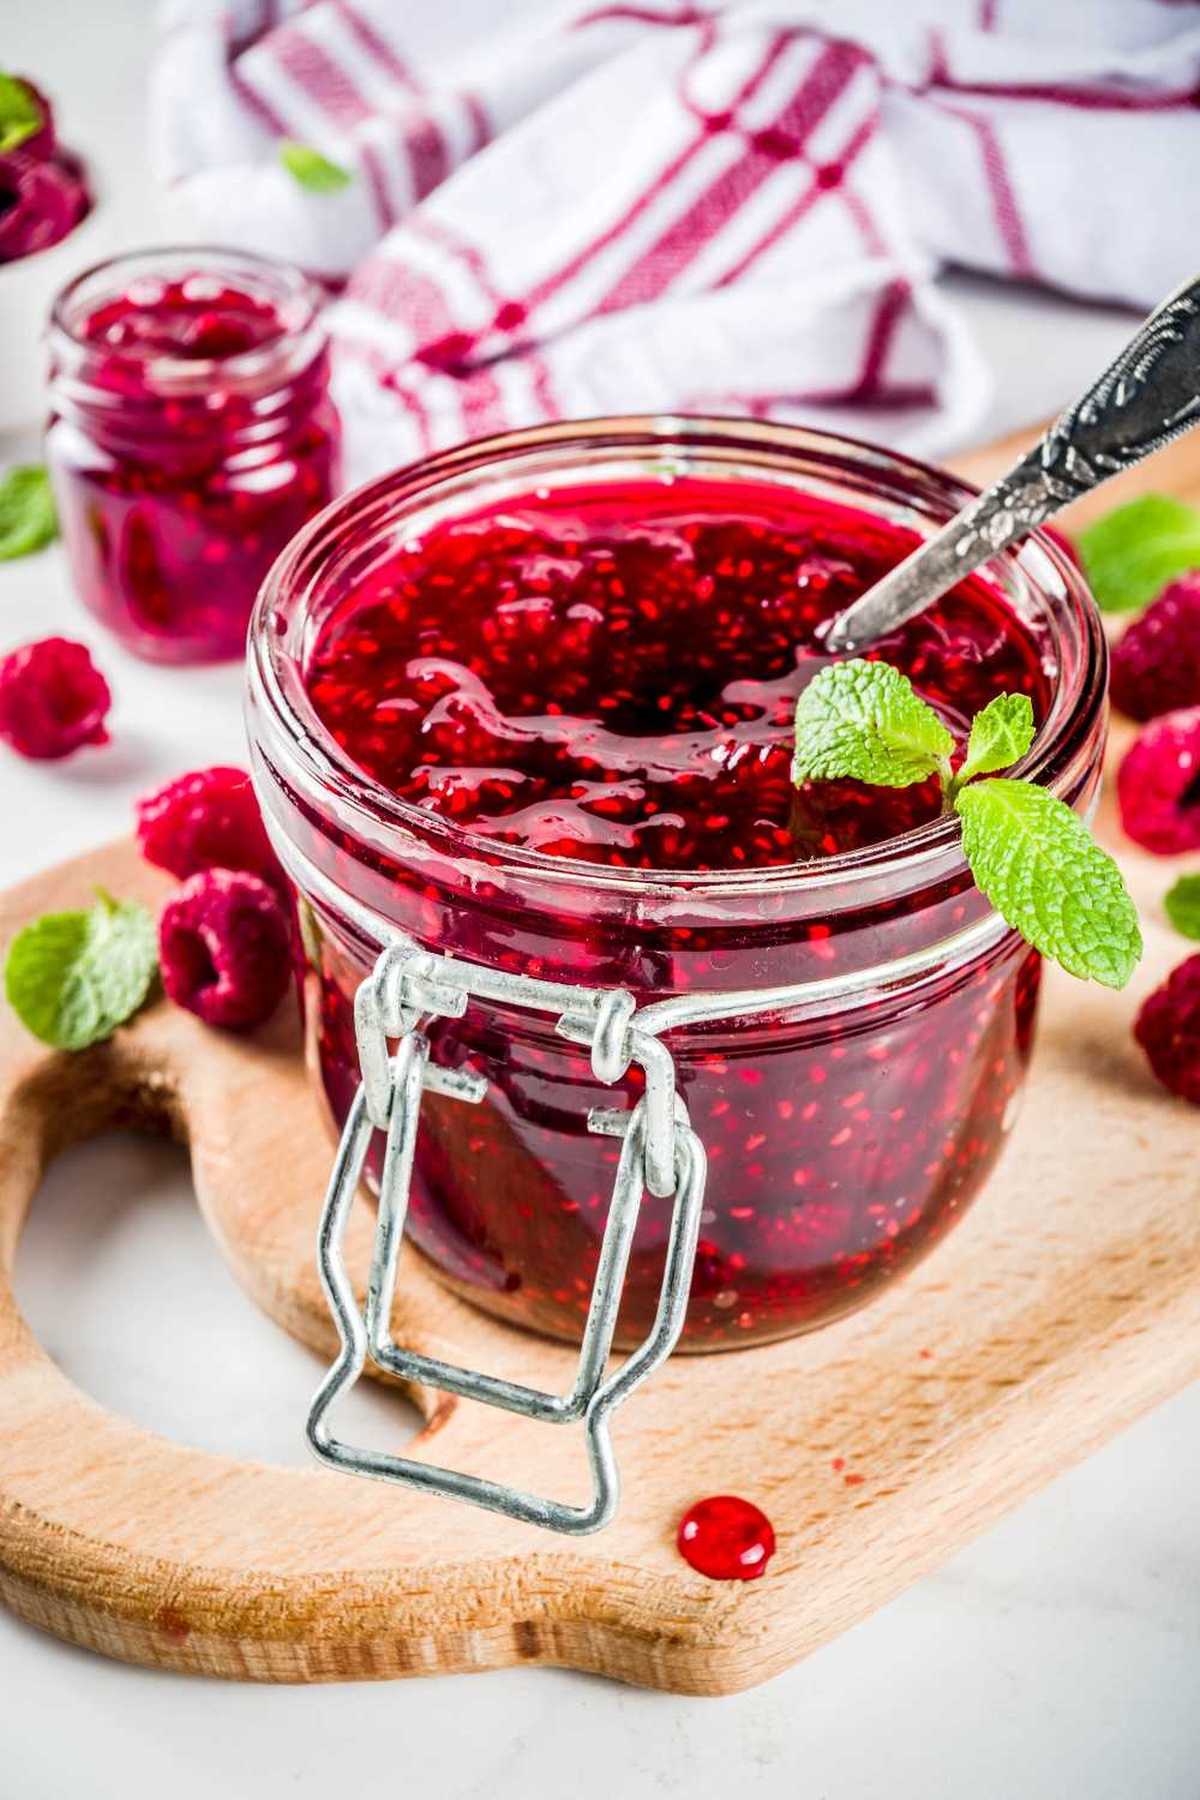
Sweet summer raspberries burst with incredible flavor in this homemade jam recipe that celebrates fresh, vibrant ingredients.
Clusters of ripe berries promise a delightful spread perfect for morning toast.
Crafting jam at home feels like pure magic, connecting you to traditional kitchen wisdom.
Simple techniques transform ordinary fruit into a luxurious preserve bursting with natural sweetness.
Minimal ingredients mean maximum enjoyment, letting pure raspberry essence shine through every spoonful.
Local farmers market berries work wonderfully, adding depth and character to your creation.
You’ll adore how quickly this recipe comes together, filling your kitchen with irresistible fruity aromas.
Grab a wooden spoon and let’s make something deliciously memorable.
Why Mary Berry Raspberry Jam Recipe Is A Classic
What You’ll Need For Mary Berry Raspberry Jam Recipe
Fresh Produce:Sugar and Acid:Preservation Essentials:Easy Steps For Mary Berry Raspberry Jam Recipe
Step 1: Prepare Oven and Jars
Preheat the oven to 275°F. Wash glass jars and lids thoroughly with hot soapy water. Place clean jars and lids on a baking sheet and heat in the oven to sterilize them.
Step 2: Combine Fruity Ingredients
In a large heavy-bottomed pot, add:Step 3: Dissolve Sugar Gently
Place the pot on low heat. Stir the mixture slowly and carefully, ensuring all sugar crystals completely melt and blend with the raspberries.
Step 4: Bring to Rolling Boil
Increase the heat to medium-high. Allow the mixture to bubble vigorously and reach a rapid boil. Stir occasionally to prevent sticking.
Step 5: Check Jam Consistency
Use the cold plate test to determine jam readiness. Drop a small amount of jam on a chilled plate. If it wrinkles when pushed with a finger, it’s ready. If not, continue boiling and retest every few minutes.
Step 6: Remove Foam
Skim off any white foam that forms on the surface of the jam using a metal spoon for a clearer, more refined texture.
Step 7: Fill Sterilized Jars
Carefully ladle the hot jam into the sterilized jars, leaving a small space at the top. Wipe jar rims clean and seal with lids immediately.
Step 8: Cool and Store
Allow jam to cool completely at room temperature. Store in a cool, dark pantry. Once opened, keep refrigerated and consume within several weeks.
Helpful Tips For Mary Berry Raspberry Jam Recipe

Fun Spins On Mary Berry Raspberry Jam Recipe
What Pairs Well With Mary Berry Raspberry Jam Recipe
Storage Tips For Mary Berry Raspberry Jam Recipe
Mary Berry Raspberry Jam Recipe Questions
Lemon juice helps activate pectin, which helps the jam set properly and adds a bright, tangy flavor to balance the sweetness.
Use the “wrinkle test” by placing a small amount on a chilled saucer. If the jam wrinkles when you push it with your finger, it’s ready.
Yes, frozen raspberries work perfectly. Thaw them first and drain excess liquid before cooking to ensure the right jam texture.
Homemade jam can be safe when you properly sterilize jars and follow correct canning techniques, which prevent bacterial growth and ensure preservation.
Print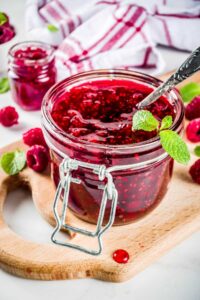
Raspberry Jam Recipe
- Total Time: 34 minutes
- Yield: 4 1x
Description
Sweet raspberry jam whispers summer’s essence in each spoonful. Homemade goodness fills your kitchen with rich, fruity comfort while connecting generations through simple culinary magic.
Ingredients
Fruits:
- 800 grams (28.2 ounces) raspberries
Sweeteners:
- 700 grams (24.7 ounces) granulated sugar
Acids:
- 5 tablespoons lemon juice
Instructions
- Sanitize glass containers by placing them in a 140°C oven for 15 minutes to eliminate bacteria and prepare for jam preservation.
- Combine fresh raspberries, granulated sugar, and zesty lemon juice in a spacious cooking vessel.
- Gently warm the mixture over low temperature, carefully stirring until sugar crystals completely dissolve into a smooth liquid.
- Elevate the heat and allow the concoction to bubble vigorously for approximately 7 minutes, stirring occasionally to prevent scorching.
- Perform a setting test by dropping a small amount onto a thoroughly chilled ceramic plate; observe if the liquid wrinkles when pushed with a fingertip.
- If the jam hasn’t reached the ideal consistency, continue boiling for an additional 12 minutes, monitoring closely.
- Remove any foam that accumulates on the surface using a metal spoon for a clearer, more refined appearance.
- Carefully transfer the hot jam into the pre-warmed sterilized containers, ensuring immediate and secure sealing.
- Allow the jam to cool naturally at room temperature, then transfer to a dark, cool storage area.
- Once opened, store the jam in the refrigerator and consume within recommended timeframe.
Notes
- Use ripe, fresh raspberries for the most vibrant flavor and natural pectin content.
- Choose slightly under-ripe raspberries if you want a firmer jam with more natural setting properties.
- Opt for preserving or jam sugar with added pectin for guaranteed setting and a more consistent texture.
- Freeze a few metal spoons beforehand for easy and accurate setting test during jam-making process.
- Prep Time: 15 minutes
- Cook Time: 19 minutes
- Category: Breakfast, Snacks, Desserts
- Method: Boiling
- Cuisine: American
Nutrition
- Serving Size: 4
- Calories: 282
- Sugar: 69 g
- Sodium: 1 mg
- Fat: 0 g
- Saturated Fat: 0 g
- Unsaturated Fat: 0 g
- Trans Fat: 0 g
- Carbohydrates: 73 g
- Fiber: 2.5 g
- Protein: 1.3 g
- Cholesterol: 0 mg
Michael Thompson
Founder & Recipe Developer
Expertise
Education
Cascade Culinary Institute – Bend, OR
ServSafe Food Handler Certification – Portland, OR
Focus: Certified in core food safety and hygiene principles for both home and professional kitchens, with emphasis on ingredient handling, kitchen cleanliness, and safe preparation methods.
Mike’s kitchen journey began with a single goal: to make everyday meals feel like something worth celebrating.
After earning his Certificate in Culinary Arts from Cascade Culinary Institute, he spent years working with local farmers and small kitchens across Oregon, learning the beauty of seasonal, small-batch cooking.
Mike’s approach is simple, cook with what’s fresh, keep it approachable, and always leave room for a little creativity. When he’s not testing yogurt marinades or designing single-serving meals, you’ll find him hiking trails or hunting down the best berries at local markets.