Raspberry Swirl Cookies Recipe: Bake Up With Flavor
Sweet and swirly raspberry treats can brighten any afternoon with their delightful charm.
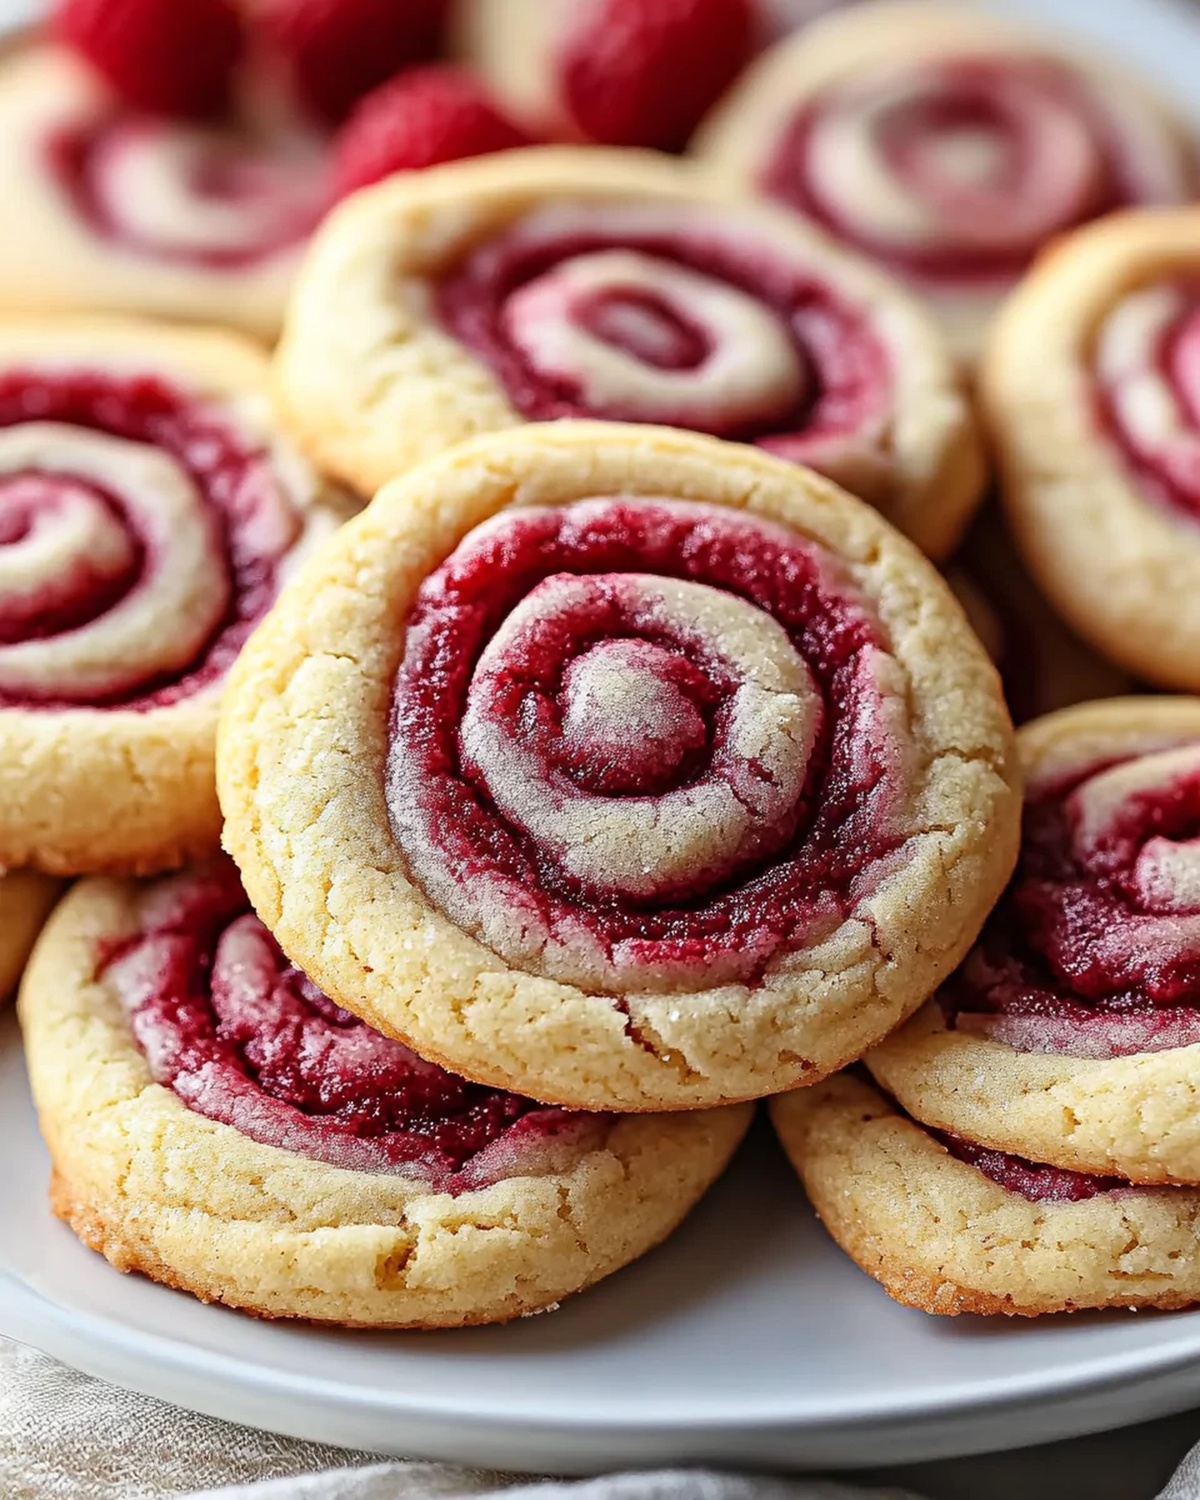
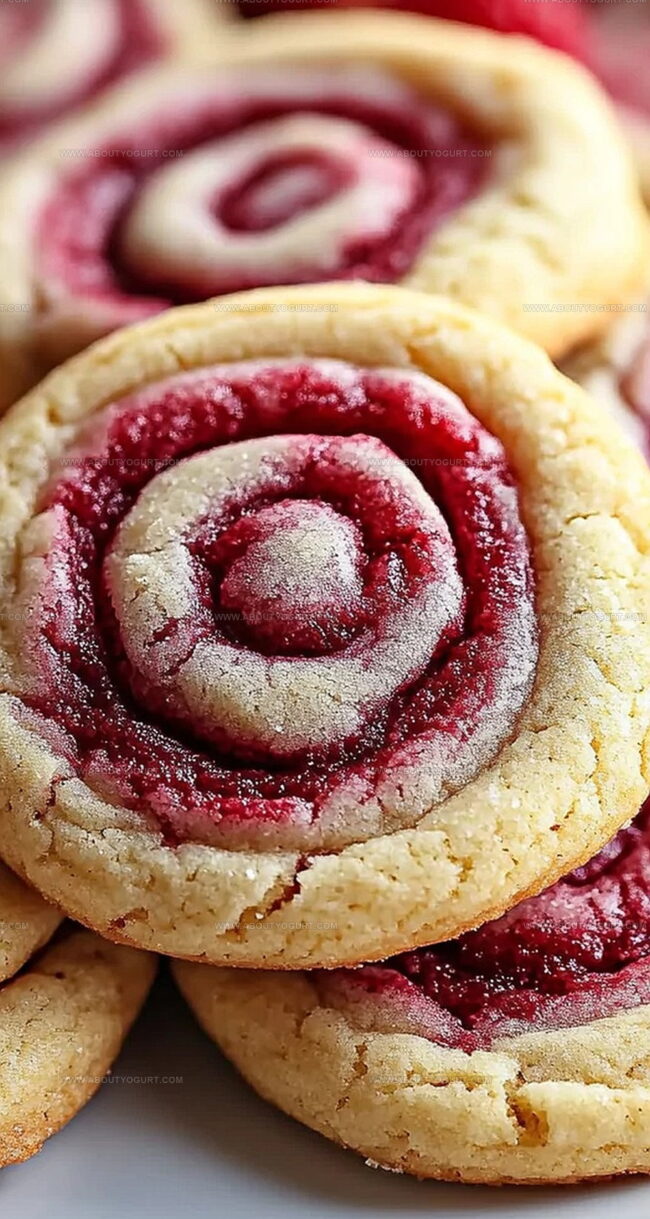
Soft dough wrapped around vibrant fruity ribbons creates a magical bakery experience.
Home bakers adore these simple yet impressive cookies that look professionally crafted.
Delicate pink swirls peek through buttery layers, promising a delectable bite.
Subtle tartness from fresh raspberries perfectly balances the tender cookie base.
Kids and adults alike will fall in love with these beautiful pastry spirals.
You can whip up this recipe in less than an hour and impress everyone at the table.
Let’s roll up our sleeves and create something wonderfully delicious!
Why Raspberry Swirl Cookies Hit The Spot
What You Need For Raspberry Swirl Cookies
Main Ingredients:Seasoning and Flavor Enhancers:Baking Essentials:How To Bake Raspberry Swirl Cookies With Ease

Step 1: Create Creamy Cookie Dough
In a large mixing bowl, blend softened butter and cream cheese until super smooth. Gradually incorporate sifted flour and kosher salt, mixing until a soft dough ball forms perfectly.
Step 2: Chill the Dough
Transfer dough to a clean surface and shape into a flattened disc. Wrap securely in plastic wrap and refrigerate for half an hour. This cooling process makes the dough easier to roll and handle.
Step 3: Roll Out the Dough
Generously dust a flat surface with flour. Place chilled dough on the surface and sprinkle additional flour on top. Roll the dough into a large rectangle stretching about 10 inches by 30 inches. Keep adding flour to prevent sticking and ensure smooth rolling.
Step 4: Add Raspberry Filling
Spread raspberry jam evenly across the dough, leaving a small 1/2-inch border along one short edge. This border helps seal the cookie log perfectly. Carefully roll the dough from the jam-covered end, creating a beautiful swirl, and seal with the unjammed edge.
Step 5: Chill the Rolled Dough
Refrigerate the rolled dough log for 15 minutes to firm up and make slicing easier. This step ensures clean, precise cookie cuts.
Step 6: Prepare for Baking
Preheat the oven to 375°F. Remove chilled dough log and slice into 1/4-inch thick cookies using a sharp knife or sewing thread for clean cuts.
Step 7: Bake to Golden Perfection
Arrange cookie slices on a parchment-lined baking sheet, spacing them apart. Bake for 17-20 minutes until edges turn a light golden brown.
Step 8: Cool and Finish
Transfer baked cookies to a wire rack and let cool completely. Dust generously with powdered sugar for a sweet, elegant finish. Serve and enjoy these delectable raspberry swirl treats!
Tips To Help With Raspberry Swirl Cookies
Fun Twists For Raspberry Swirl Cookies
What Goes Great With Raspberry Swirl Cookies
Best Way To Store Raspberry Swirl Cookies
FAQs About Raspberry Swirl Cookies
Raspberry preserves are ideal, but you can also use other berry jams like strawberry or blackberry for a similar fruity swirl effect.
No special equipment is needed – just basic baking tools like a rolling pin, baking sheet, and parchment paper.
Yes, you can prepare the dough and keep it refrigerated for up to 2 days before rolling and baking the cookies.
Use plenty of flour on your work surface and rolling pin, and periodically dust additional flour to keep the dough from sticking.
Print
Raspberry Swirl Cookies Recipe
- Total Time: 62-65 minutes
- Yield: 12 1x
Description
Sweet raspberry dreams come alive in these Raspberry Swirl Cookies, where delicate pastry dances with luscious crimson filling. Buttery, tender crumbles melt gracefully, delivering pure bakery magic with each delightful bite you’ll savor.
Ingredients
Main Ingredients:
- 1 1/2 cups all-purpose flour
- 8 ounces (226 grams) cream cheese, softened
- 1/2 cup (113 grams) unsalted butter, softened
Flavoring:
- 1/3 cup seedless raspberry jam
Finishing:
- 1/2 teaspoon kosher salt
- Powdered sugar (for dusting)
Instructions
- Create a velvety mixture by blending softened butter and cream cheese until silky and uniform. Gradually incorporate sifted flour and kosher salt, kneading until a cohesive dough forms.
- Shape the dough into a flattened disc on a clean surface. Encase in plastic wrap and refrigerate for 30 minutes to enhance rollability and texture.
- Liberally dust a work surface with flour. Roll the chilled dough into a thin rectangular sheet measuring approximately 10 by 30 inches, periodically adding flour to prevent sticking.
- Distribute raspberry jam evenly across the dough’s surface, maintaining a half-inch border along one shorter edge. Gently roll the dough into a tight cylinder, starting from the jam-covered end and sealing with the uncoated edge.
- Chill the rolled log for 15 minutes to stabilize its structure. Preheat the oven to 375°F.
- Extract the log and slice into delicate 1/4-inch rounds using a sharp knife or sewing thread for precision.
- Position cookie slices on a parchment-lined baking sheet, ensuring adequate spacing. Bake for 17-20 minutes until edges turn a delicate golden hue.
- Transfer cookies to a cooling rack. Once completely cooled, generously dust with powdered sugar for an elegant finish.
Notes
- Chill the dough thoroughly to prevent spreading and maintain the beautiful swirl pattern during baking.
- Use high-quality raspberry jam with minimal seeds for a smoother, more elegant filling that distributes evenly through the cookie.
- Thread cutting technique works brilliantly for creating clean, precise cookie slices without crushing the delicate dough log.
- Gluten-free bakers can substitute regular flour with a 1:1 gluten-free blend to make these cookies celiac-friendly without compromising texture.
- Prep Time: 45 minutes
- Cook Time: 17-20 minutes
- Category: Snacks, Desserts
- Method: Baking
- Cuisine: American
Nutrition
- Serving Size: 12
- Calories: 158 kcal
- Sugar: 7 g
- Sodium: 86 mg
- Fat: 10 g
- Saturated Fat: 6 g
- Unsaturated Fat: 3 g
- Trans Fat: 0.1 g
- Carbohydrates: 15 g
- Fiber: 0.5 g
- Protein: 2 g
- Cholesterol: 30 mg
Michael Thompson
Founder & Recipe Developer
Expertise
Education
Cascade Culinary Institute – Bend, OR
ServSafe Food Handler Certification – Portland, OR
Focus: Certified in core food safety and hygiene principles for both home and professional kitchens, with emphasis on ingredient handling, kitchen cleanliness, and safe preparation methods.
Mike’s kitchen journey began with a single goal: to make everyday meals feel like something worth celebrating.
After earning his Certificate in Culinary Arts from Cascade Culinary Institute, he spent years working with local farmers and small kitchens across Oregon, learning the beauty of seasonal, small-batch cooking.
Mike’s approach is simple, cook with what’s fresh, keep it approachable, and always leave room for a little creativity. When he’s not testing yogurt marinades or designing single-serving meals, you’ll find him hiking trails or hunting down the best berries at local markets.