Red Velvet Cinnamon Rolls Recipe for Cozy Mornings
Warm, gooey red velvet cinnamon rolls have become my absolute weakness during chilly weekend mornings.
Soft dough swirls with rich chocolate undertones promise pure comfort in every bite.
My grandmother’s classic recipe inspired this delightful twist that feels both nostalgic and modern.
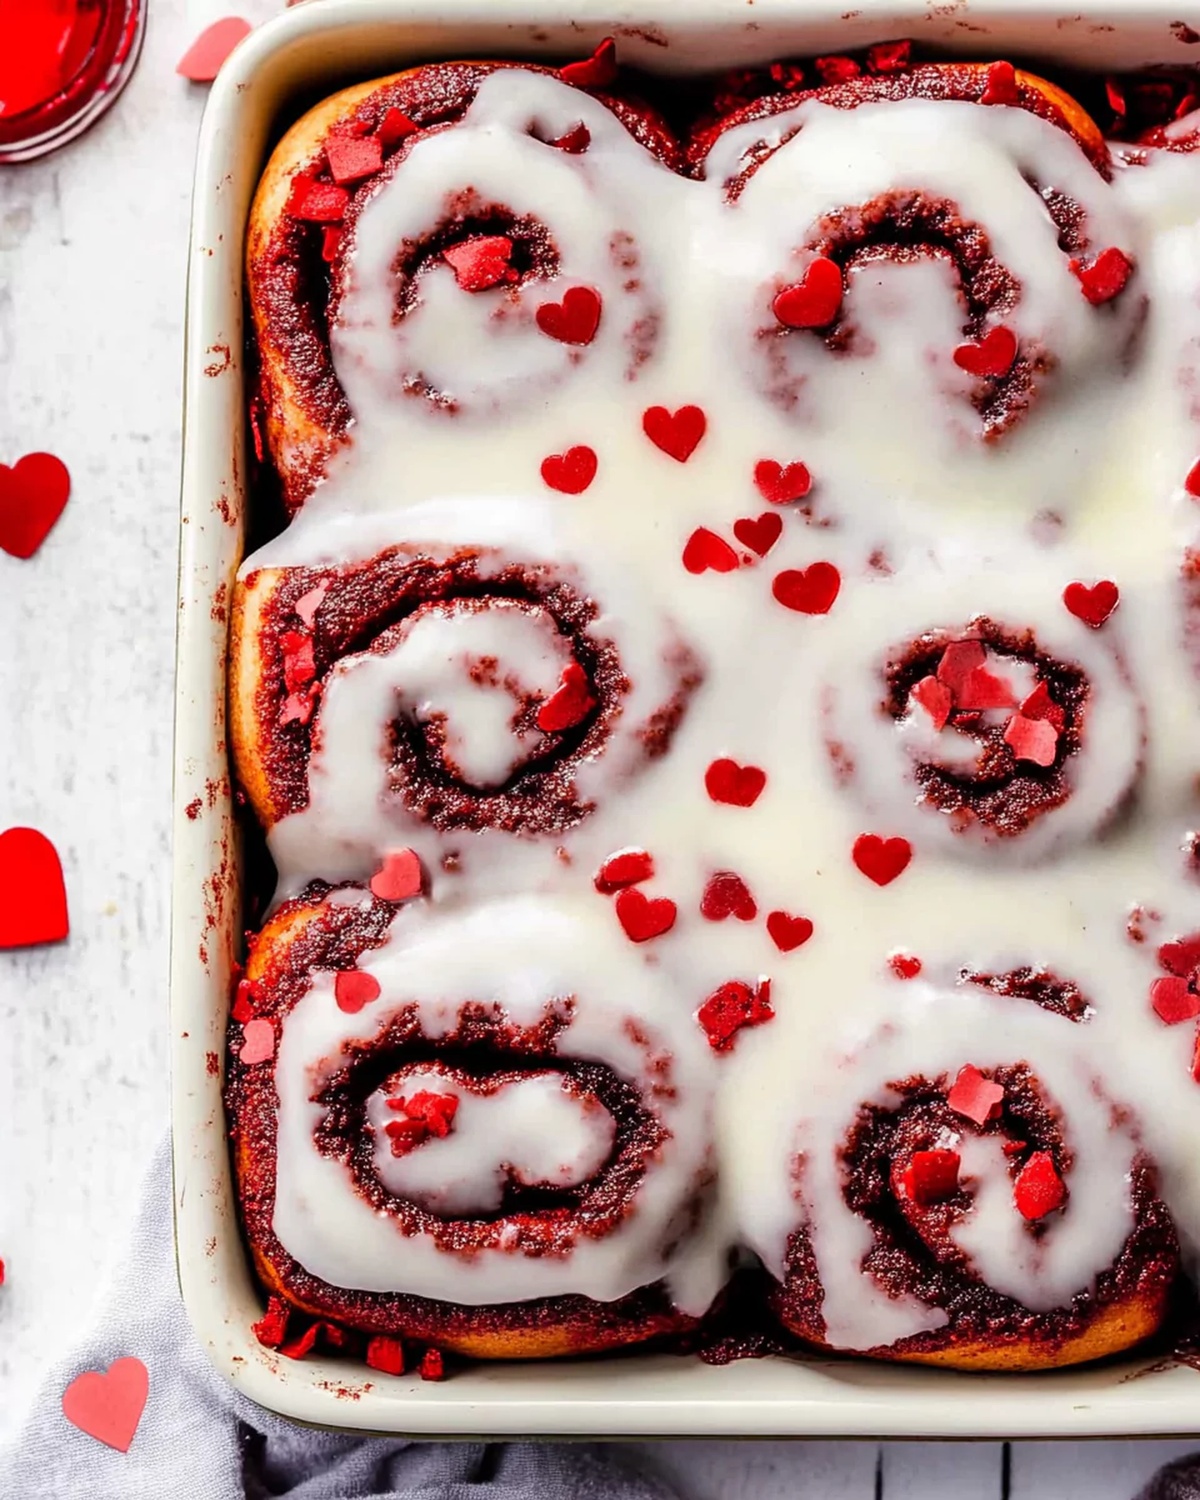
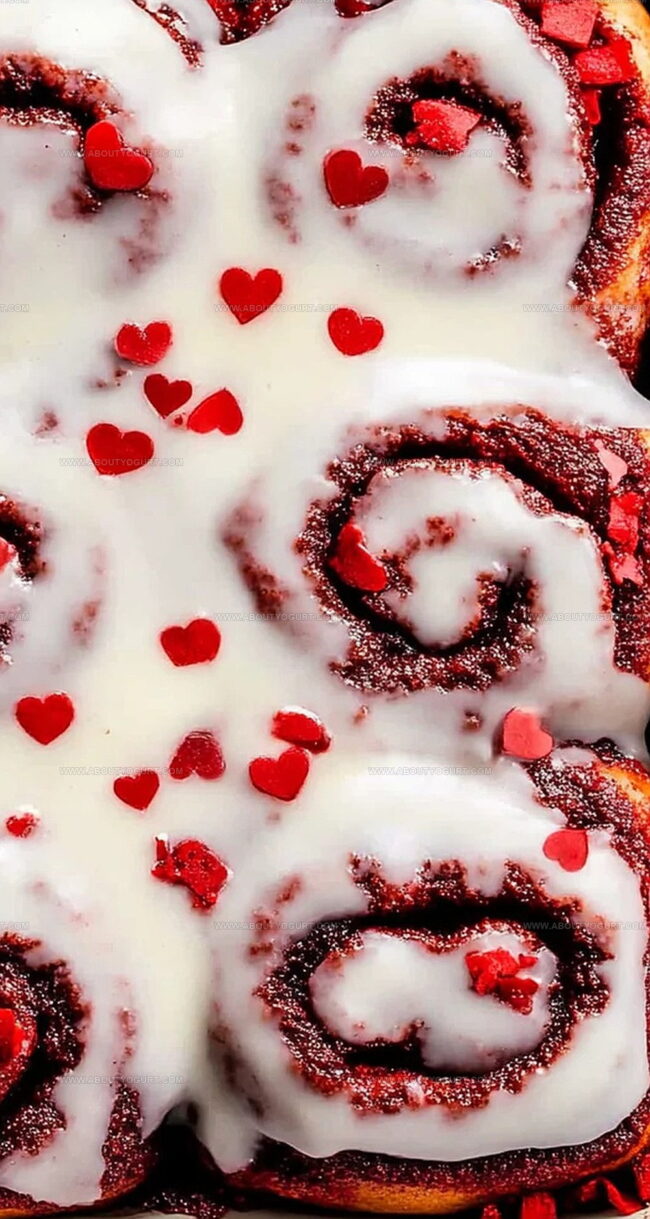
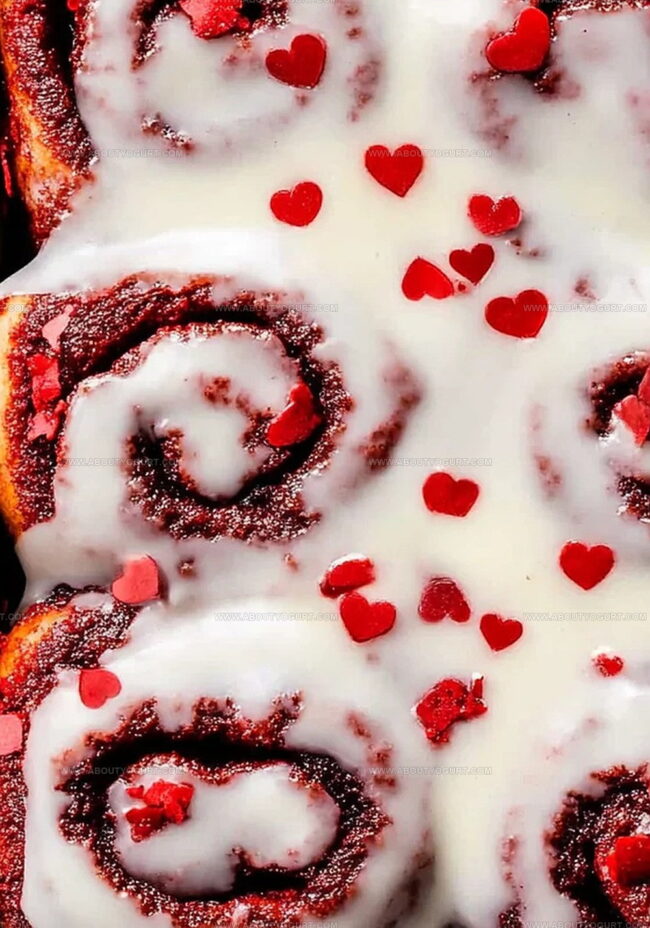
Crimson-hued spirals dusted with cream cheese frosting create a stunning visual that makes everyone stop and stare.
Baking these rolls fills the kitchen with an irresistible aroma of sweet spices and buttery goodness.
We mix simple ingredients to craft something extraordinary that feels like a warm hug.
Prepare to experience a breakfast treat that will become your new weekend tradition.
What’s Great About Red Velvet Cinnamon Rolls
What You’ll Use For Red Velvet Cinnamon Rolls
Main Ingredients:
Flour Mixture:Moisture and Binding Ingredients:Filling and Topping Ingredients:
Cinnamon Filling:Cream Cheese Icing:Steps To Bake Red Velvet Cinnamon Rolls
Step 1: Activate the Yeast
Warm milk in the microwave until it reaches a cozy 110°F. Sprinkle yeast into the warm milk and let it bubble and wake up for 10 minutes.
Step 2: Mix Dry Ingredients
Combine flour, cocoa powder, sugar, and salt in a large mixing bowl. Crumble cold butter into the dry mixture until it looks like tiny pebbles.
Step 3: Create the Dough
Add milk-yeast mixture, beaten eggs, and red food coloring to the dry ingredients. Mix on low speed until a shaggy dough forms.
Step 4: Knead the Dough
Increase mixer speed and knead the dough until it becomes smooth, elastic, and vibrant red. This takes about 5 minutes.
Step 5: Let the Dough Rise
Turn oven to 200°F, then switch it off. Spray a large bowl with cooking spray. Shape dough into a ball, place in the bowl, and cover with a towel. Let it rise in the warm oven for one hour until doubled in size.
Step 6: Prepare Cinnamon Filling
Whip together:Beat until the mixture becomes a smooth, spreadable paste.
Step 7: Roll Out the Dough
Dust a surface with flour. Roll the dough into a large rectangular shape, aiming for about 1/4 inch thickness.
Step 8: Spread the Filling
Use an offset spatula to evenly spread the cinnamon mixture across the entire dough surface, reaching every corner.
Step 9: Create the Roll
Tightly roll the dough from one of the shorter edges, forming a perfect log.
Step 10: Slice the Rolls
Trim the uneven ends. Use dental floss or a serrated knife to cut the log into 12 equal pieces.
Step 11: Prepare for Second Rise
Spray a baking pan with nonstick spray. Arrange rolls evenly in the pan. Cover and let rise for 20 minutes.
Step 12: Prepare for Baking
Preheat oven to 375°F. Pour heavy cream around the rolls in the pan.
Step 13: Bake the Rolls
Bake for 25-27 minutes until tops are golden and center reaches 160°F.
Step 14: Whip the Cream Cheese Frosting
Beat cream cheese and butter on high speed until smooth and creamy.
Step 15: Finish the Frosting
Mix in:Blend until the frosting is silky and spreadable.
Step 16: Frost and Serve
Spread cream cheese icing over warm rolls, letting it melt into every delicious crevice.
Easy Tricks For Red Velvet Cinnamon Rolls
Ways To Change Up Red Velvet Cinnamon Rolls
Nice Pairings For Red Velvet Cinnamon Rolls
How To Store Red Velvet Cinnamon Rolls The Right Way
Red Velvet Cinnamon Rolls FAQs To Know
Red velvet cinnamon rolls have cocoa powder and red food dye, giving them a distinctive rich red color and subtle chocolate flavor compared to traditional cinnamon rolls.
You’ll need a stand mixer with a dough hook, a large mixing bowl, a rolling pin, and a 9×13-inch baking pan. A hand mixer helps for making the filling and icing.
Yes, you can knead the dough manually. Mix ingredients in a bowl and knead on a floured surface for about 10 minutes until smooth and elastic.
Print
Red Velvet Cinnamon Rolls Recipe
- Total Time: 1 hour 50-52 minutes
- Yield: 12 1x
Description
Indulgent red velvet cinnamon rolls bring Southern charm to classic breakfast pastries. Creamy cream cheese frosting and rich cocoa notes promise a luxurious morning treat you’ll savor with pure delight.
Ingredients
Main Ingredients:
- 4 1/4 cups all-purpose flour
- 1/3 cup unsweetened cocoa powder
- 2 large eggs
- 10 tablespoons unsalted butter
- 1 cup milk
- 1 cup brown sugar
- 4 ounces cream cheese
Filling Ingredients:
- 2 tablespoons ground cinnamon
- 1/2 cup unsalted butter
- 1/4 cup white granulated sugar
- 1 teaspoon red gel food dye
Topping/Glaze Ingredients:
- 1 cup powdered sugar
- 1/3 cup heavy cream
- 4 tablespoons unsalted butter
- 2 tablespoons milk
- 2 teaspoons pure vanilla extract
- 2 1/4 teaspoons active dry yeast
- 1 teaspoon salt
Instructions
- Warm milk to 110°F in microwave, then dissolve yeast and let activate for 10 minutes until frothy.
- Combine dry ingredients including flour, cocoa powder, sugar, and salt in a large mixing bowl.
- Cut cold butter into dry ingredients until mixture resembles coarse pebbles.
- Incorporate milk/yeast mixture, eggs, and red food coloring into dry ingredients using stand mixer with dough hook.
- Knead dough for 5 minutes until smooth, elastic, and vibrant red.
- Create a warm proofing environment by preheating oven to 200°F, then turning it off.
- Grease a large bowl, shape dough into a ball, and let rise covered for 1 hour until doubled in size.
- Prepare cinnamon filling by blending butter, brown sugar, and cinnamon until creamy.
- Roll dough into a rectangular shape approximately 1/4 inch thick on floured surface.
- Evenly spread cinnamon filling across entire dough surface using offset spatula.
- Tightly roll dough from shorter edge into a compact log.
- Trim uneven edges, then slice log into 12 uniform rolls using dental floss or serrated knife.
- Arrange rolls in greased baking pan, cover, and allow second rise for 20 minutes.
- Preheat oven to 375°F and pour heavy cream around rolls before baking.
- Bake for 25-27 minutes until golden and internal temperature reaches 160°F.
- Whip cream cheese and butter until smooth, gradually incorporate powdered sugar.
- Finish icing by mixing in vanilla and milk until spreadable consistency.
- Immediately spread cream cheese icing over warm rolls, allowing it to melt into crevices.
Notes
- Perfectly warm milk ensures active yeast, which helps the dough rise beautifully and creates a soft, fluffy texture.
- Using dental floss for cutting prevents squishing the delicate roll shape, maintaining those gorgeous spiral layers.
- For gluten-free adaptation, substitute all-purpose flour with a 1:1 gluten-free baking blend to accommodate dietary restrictions.
- Reduce sugar content by using monk fruit sweetener or cutting overall sugar by 25% without compromising the rich red velvet flavor profile.
- Prep Time: 1 hour 25 minutes
- Cook Time: 25-27 minutes
- Category: Breakfast, Snacks, Desserts
- Method: Baking
- Cuisine: American
Nutrition
- Serving Size: 12
- Calories: 310 kcal
- Sugar: 20 g
- Sodium: 120 mg
- Fat: 15 g
- Saturated Fat: 9 g
- Unsaturated Fat: 5 g
- Trans Fat: 0.2 g
- Carbohydrates: 37 g
- Fiber: 2 g
- Protein: 5 g
- Cholesterol: 55 mg
Michael Thompson
Founder & Recipe Developer
Expertise
Education
Cascade Culinary Institute – Bend, OR
ServSafe Food Handler Certification – Portland, OR
Focus: Certified in core food safety and hygiene principles for both home and professional kitchens, with emphasis on ingredient handling, kitchen cleanliness, and safe preparation methods.
Mike’s kitchen journey began with a single goal: to make everyday meals feel like something worth celebrating.
After earning his Certificate in Culinary Arts from Cascade Culinary Institute, he spent years working with local farmers and small kitchens across Oregon, learning the beauty of seasonal, small-batch cooking.
Mike’s approach is simple, cook with what’s fresh, keep it approachable, and always leave room for a little creativity. When he’s not testing yogurt marinades or designing single-serving meals, you’ll find him hiking trails or hunting down the best berries at local markets.