Red Velvet Marshmallow Brownies Recipe for Fun Baking
Chocolate lovers find red velvet marshmallow swirl brownies irresistibly decadent.
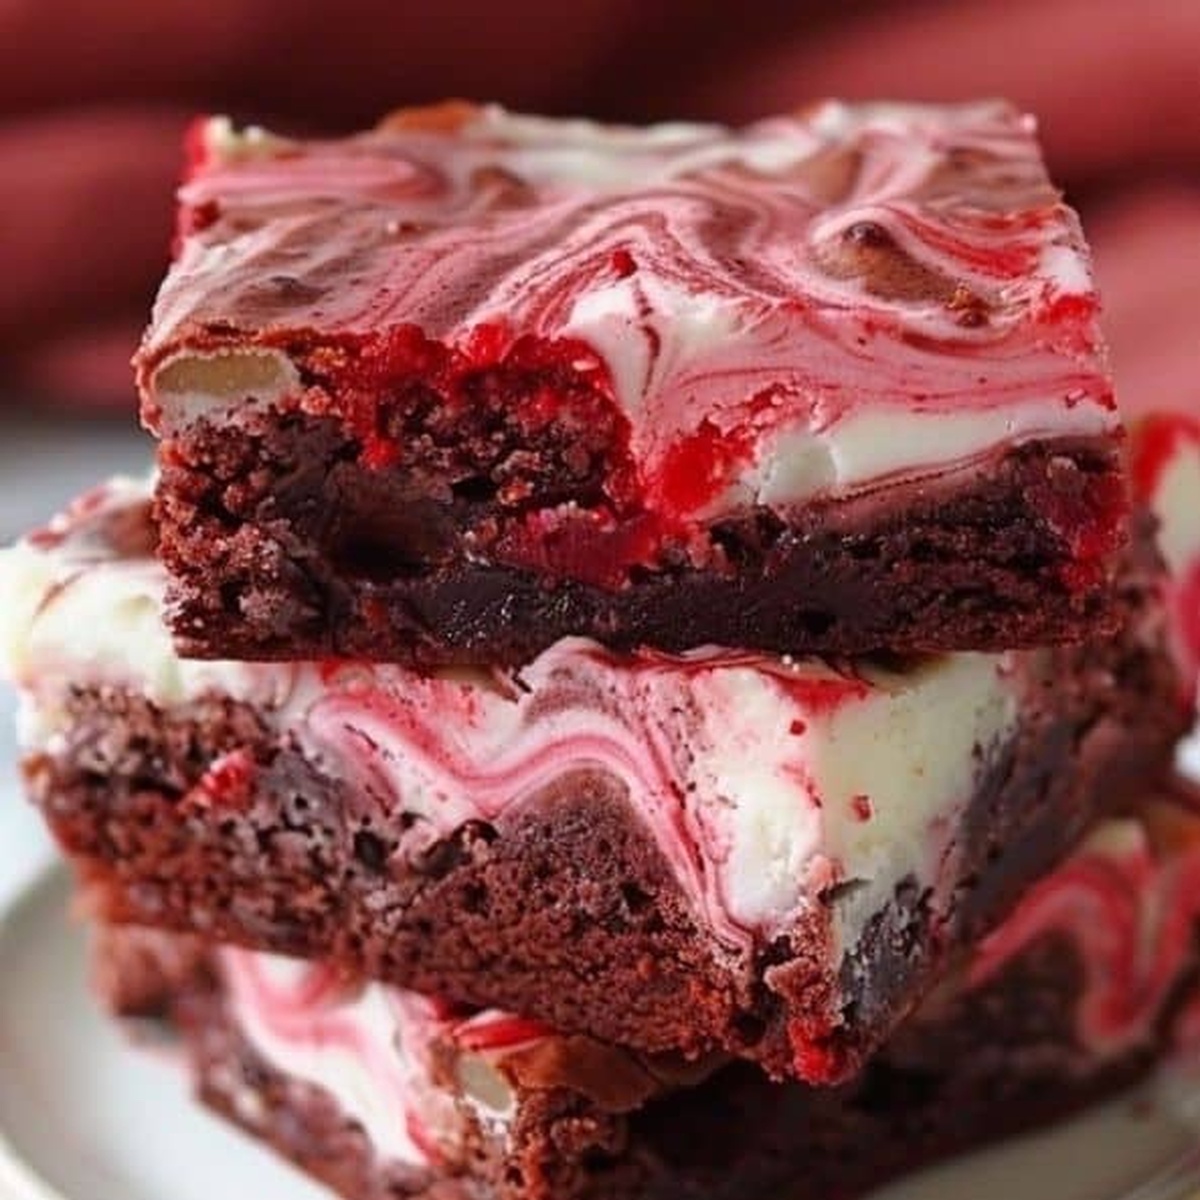
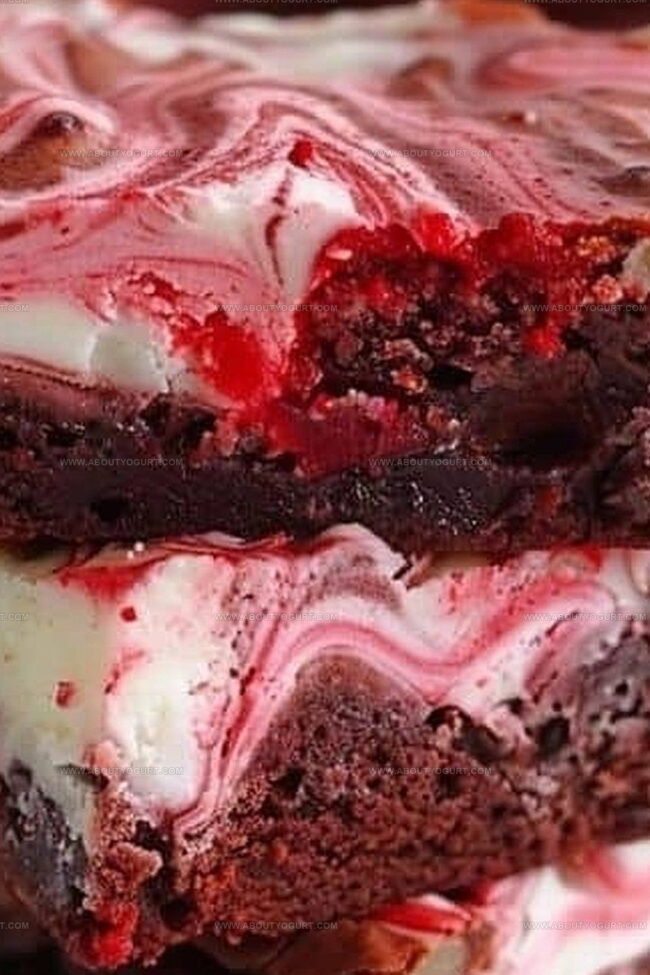
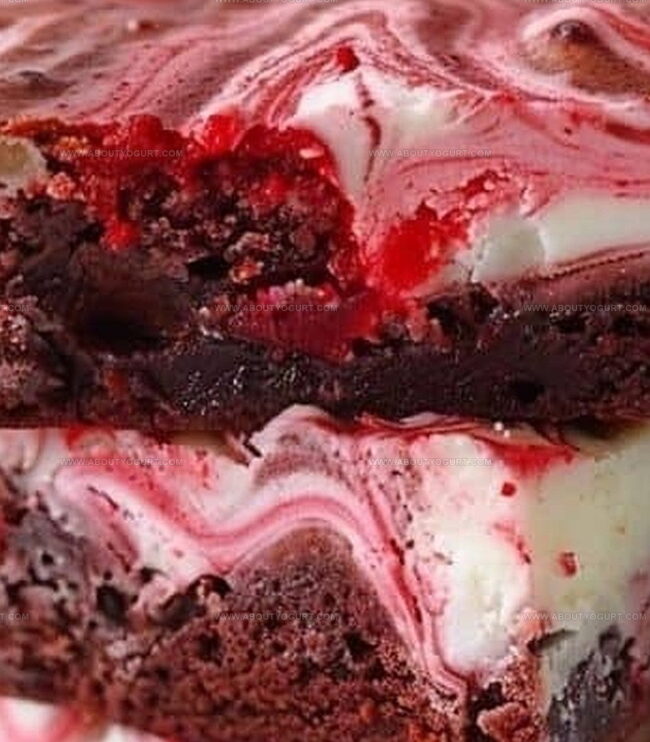
Layers of rich cocoa and creamy marshmallow create a stunning dessert.
Soft, fudgy textures melt together in each delectable bite.
Bright crimson cake meets gooey chocolate for an unexpected twist.
Sweet hints of vanilla complement the deep, luxurious flavor profile.
Marshmallow ribbons add a playful, cloud-like dimension to classic brownies.
What Makes Red Velvet Marshmallow Swirl Brownies Special
Ingredients for Red Velvet Marshmallow Swirl Brownies
Main Ingredients:Baking Essentials:Optional Garnish:How to Make Red Velvet Marshmallow Swirl Brownies
Step 1: Warm Up the Oven
Crank your oven to a toasty 350°F (175°C). Grab your 9×13-inch baking pan and give it a generous coating of cooking spray or butter to prevent any sticky situations.
Step 2: Mix the Red Velvet Base
Open up your red velvet brownie mix and follow the package directions carefully. Pour the vibrant red batter into your prepared baking dish, spreading it evenly with a spatula to create a smooth canvas.
Step 3: Create Marshmallow Magic
Take your marshmallow fluff and dollop it playfully across the surface of the brownie batter. Use a knife or skewer to create beautiful swirling patterns, blending the white marshmallow into the crimson batter. Sprinkle a handful of chocolate chips over the top for extra decadence.
Step 4: Bake to Perfection
Slide the pan into the preheated oven and let the magic happen. Bake for 25-30 minutes, watching for the brownies to set and become slightly firm. The edges should look slightly crisp, and the center should be just set but still slightly gooey.
Step 5: Cool and Slice
Remove the pan from the oven and let the brownies cool completely. This patience will help them set and make cutting easier. Once cooled, slice into squares and serve up these gorgeous, swirly treats that are sure to impress everyone who takes a bite.
Expert Advice for Red Velvet Marshmallow Swirl Brownies
Variations of Red Velvet Marshmallow Swirl Brownies
Best Pairings for Red Velvet Marshmallow Swirl Brownies
Storage Tips for Red Velvet Marshmallow Swirl Brownies
FAQs Regarding Red Velvet Marshmallow Swirl Brownies
Yes, you can make your own marshmallow fluff at home using egg whites, sugar, and corn syrup. Homemade fluff works just as well and adds a personal touch to the brownies.
Use a butter knife or wooden skewer and gently drag it through the marshmallow fluff and brownie batter in a zigzag or figure-eight motion. Don’t overmix to maintain distinct swirl lines.
You can use a regular chocolate brownie mix and add red food coloring to achieve the classic red velvet color. Start with a few drops and adjust until you get the desired shade.
Print
Red Velvet Marshmallow Swirl Brownies Recipe
- Total Time: 35-40 minutes
- Yield: 12 1x
Description
Rich red velvet brownies mingle with dreamy marshmallow swirls, creating a luxurious dessert that dances between chocolatey decadence and cloud-like sweetness. Chocolate lovers will swoon over this indulgent treat that promises pure bliss in every single bite.
Ingredients
Main Ingredients:
- 1 box red velvet brownie mix
- 1 cup marshmallow fluff
- 1/2 cup (85 grams) chocolate chips
Instructions
- Warm the oven to 350°F (175°C) and thoroughly coat a 9×13-inch baking pan with non-stick spray.
- Craft the red velvet brownie mixture following package guidelines, ensuring a smooth, even consistency.
- Gently distribute marshmallow fluff across the brownie base, using a knife to create elegant, marbled swirls throughout the batter.
- Scatter chocolate chips over the surface, allowing them to nestle into the marshmallow-streaked mixture.
- Slide the pan into the preheated oven and bake for 25-30 minutes, watching for a set texture and slightly crisp edges.
- Remove from oven and let the brownies cool completely at room temperature to allow proper setting and easy cutting.
- Once cooled, slice into uniform squares, revealing the beautiful marshmallow and chocolate chip-studded interior.
Notes
- Choose a high-quality red velvet brownie mix for the best flavor and texture.
- Softly swirl marshmallow fluff to create beautiful marbled patterns without overmixing.
- Chill brownies completely before cutting to ensure clean, precise squares and prevent crumbling.
- Replace regular chocolate chips with white chocolate chips for a stunning visual contrast and added sweetness.
- Prep Time: 10 minutes
- Cook Time: 25-30 minutes
- Category: Desserts, Snacks
- Method: Baking
- Cuisine: American
Nutrition
- Serving Size: 12
- Calories: 210 kcal
- Sugar: 22 g
- Sodium: 150 mg
- Fat: 9 g
- Saturated Fat: 4.5 g
- Unsaturated Fat: 3 g
- Trans Fat: 0.1 g
- Carbohydrates: 30 g
- Fiber: 1 g
- Protein: 2 g
- Cholesterol: 15 mg
Sarah Mitchell
Content Specialist & Home Cooking Enthusiast
Expertise
Education
Asheville-Buncombe Technical Community College – Asheville, NC
American Fitness Professionals & Associates – Online
Sarah’s passion for food was sparked by weekend trips to the farmers’ market and her belief that healthy meals should never feel boring.
After earning her culinary diploma and becoming a certified Nutrition and Wellness Consultant, she set out to help others fall in love with simple, wholesome cooking.
She’s all about celebrating the small wins in the kitchen: a colorful yogurt bowl, a new twist on a classic dish, or a homemade snack that feels just a little extra special.
Outside the kitchen, Sarah is a gardener at heart, a yoga enthusiast, and a believer that fresh herbs can brighten any meal, and any day.