Sourdough Discard Sandwich Bread Recipe That’s Fluffy
Crafting a hearty sourdough discard sandwich bread brings joy to any kitchen adventure.
Leftover starter becomes a magical ingredient transforming mundane baking into something extraordinary.
Bakers love how simple ingredients create remarkable results with minimal effort.
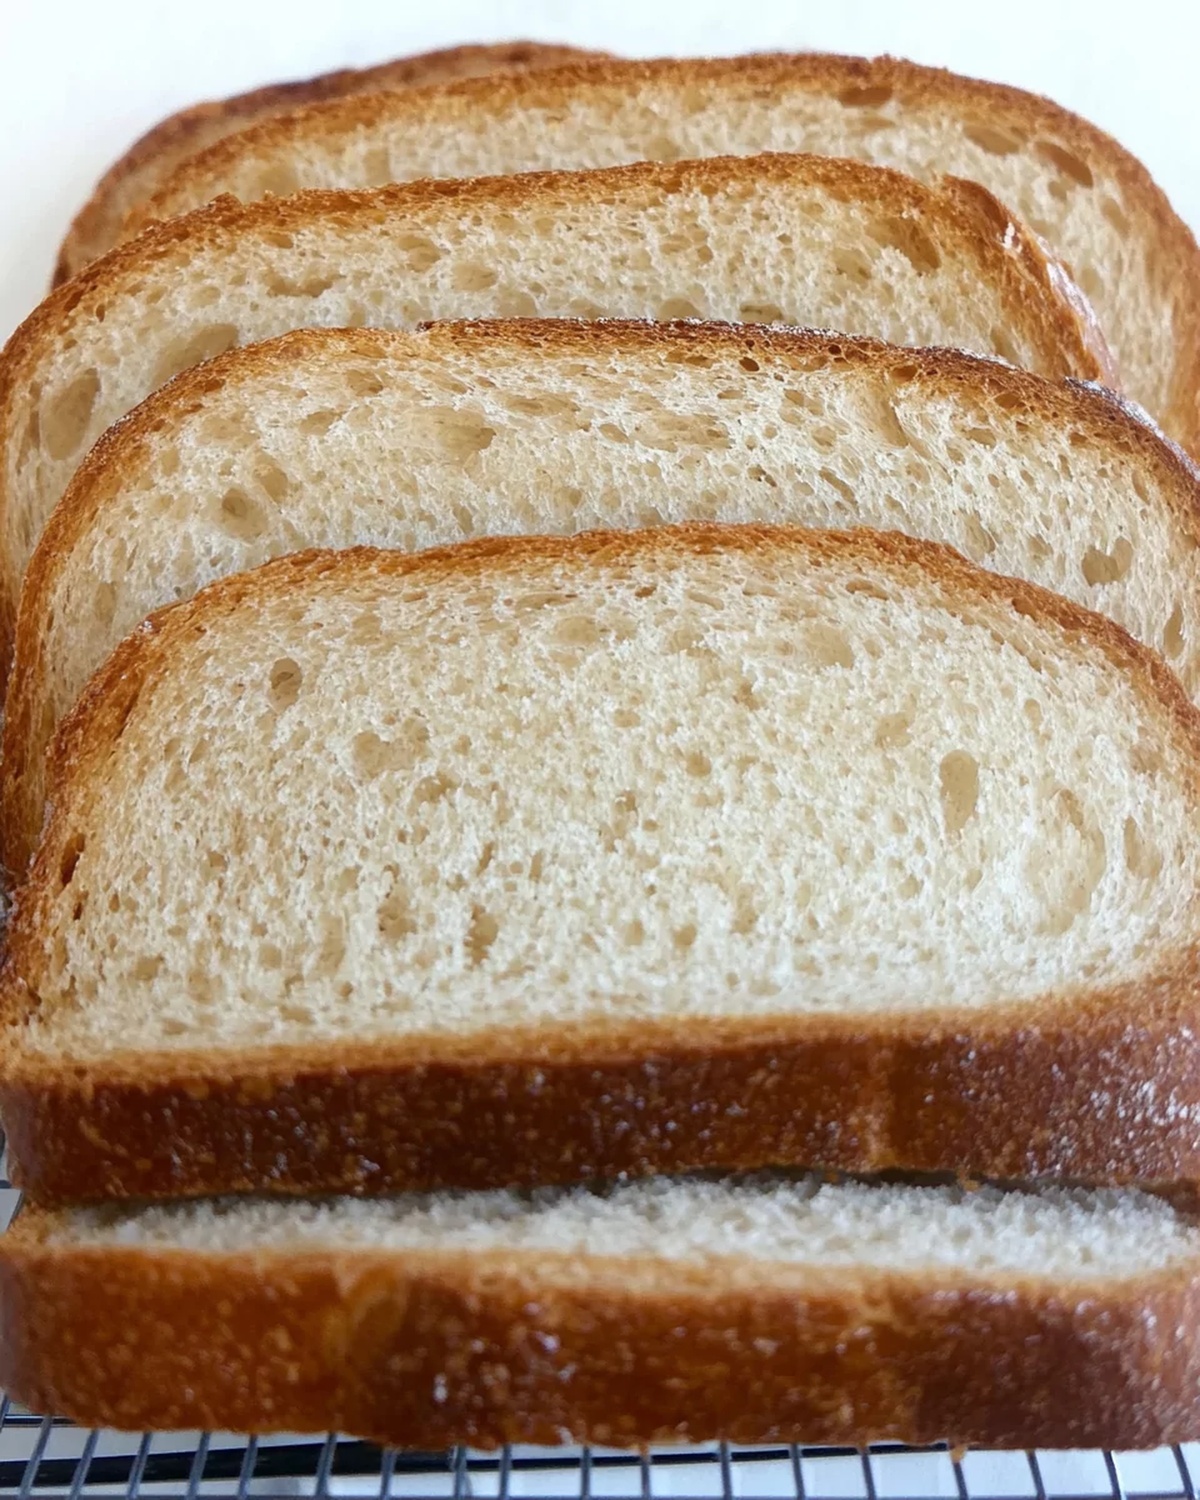
Soft, tender slices promise delectable sandwiches that elevate everyday meals.
Home cooks appreciate recipes that minimize food waste while maximizing flavor potential.
Unexpected techniques make this bread both accessible and deeply satisfying.
Slice into your homemade creation and savor the delicious rewards of your culinary creativity.
Good Things About Sourdough Discard Sandwich Bread
What’s Inside Sourdough Discard Sandwich Bread
Wet Ingredients:Dry Ingredients:Fermentation Ingredients:Making Sourdough Discard Sandwich Bread Step By Step
Step 1: Activate the Yeast Magic
In a spacious mixing bowl, gently combine lukewarm water, milk, sugar, and yeast. For active dry yeast, wait 5-10 minutes until it becomes wonderfully foamy. If using instant yeast, jump right into the next step without waiting.
Step 2: Create the Dough Base
Introduce flour, sourdough discard, and salt to the yeast mixture. Stir with a fork or wooden spoon until a shaggy, promising dough emerges.
Step 3: Incorporate Buttery Goodness
Fold in softened butter, massaging it thoroughly into the dough until completely blended and smooth.
Step 4: Knead to Perfection
Transfer the dough to a lightly floured surface. Knead passionately for 8-10 minutes until the dough becomes soft, silky, and beautifully elastic. Pro tip: A stand mixer with a dough hook works wonderfully if hand-kneading feels challenging.
Step 5: First Rise Celebration
Nestle the dough into a lightly greased bowl, drape with a damp towel, and let it rise in a cozy warm spot for 1 to 1½ hours. Watch it double in size like magic!
Step 6: Optional Flavor Enhancement
For deeper flavor, consider refrigerating overnight. This slow fermentation develops incredible taste.
Step 7: Shape Your Bread
Punch down the risen dough and transfer to a floured surface. Prepare a 9×5-inch loaf pan with parchment paper.
Step 8: Elegant Folding Technique
Flatten the dough into a rectangle slightly shorter than the loaf pan. Fold the top third toward the center, pressing to seal. Repeat this folding process two more times for a beautiful structure.
Step 9: Final Rise Preparation
Place the shaped dough seam-side down in the lined pan. Cover loosely with a kitchen towel and let it rise until doubled, peeking about 1 inch above the pan’s rim.
Step 10: Avoid Overproofing
Watch carefully in warm environments to prevent the dough from rising too much.
Step 11: Preheat for Baking
Warm the oven to 350°F while the dough completes its final rise.
Step 12: Bake to Golden Perfection
Bake for approximately 35 minutes until deep golden brown. If the top browns too quickly, tent with foil after 20 minutes.
Step 13: Check for Doneness
The bread is ready when it sounds hollow when tapped and reaches an internal temperature of 200°F.
Step 14: Cool and Enjoy
Remove from the pan and allow to cool completely before slicing.
Step 15: Storage Solutions
Store at room temperature in an airtight container for 4-5 days. For longer preservation, freeze up to 3 months.
Easy Pointers For Sourdough Discard Sandwich Bread
Fun Ways To Change Sourdough Discard Sandwich Bread
Tasty Matches For Sourdough Discard Sandwich Bread
How To Keep Sourdough Discard Sandwich Bread Fresh
Common Sourdough Discard Sandwich Bread Questions
Sourdough discard is the excess starter removed during regular feeding. It adds tangy flavor, helps reduce food waste, and provides complex fermentation benefits to the bread.
Yes, you can knead the dough by hand on a floured surface for 8-10 minutes until smooth and elastic. Hand kneading works perfectly fine for this recipe.
The dough should double in size and feel puffy. When gently pressed with a finger, it should slowly spring back, leaving a slight indentation. Typically this takes 1 to 1½ hours in a warm spot.
Print
Sourdough Discard Sandwich Bread Recipe
- Total Time: 2 hours to 2 hours 10 minutes (excluding optional refrigeration)
- Yield: 8 1x
Description
Homemade sourdough discard sandwich bread delivers pure comfort with minimal effort. Crafted from leftover starter, this wholesome loaf provides delicious, pillowy slices perfect for your favorite sandwiches and toast.
Ingredients
Primary Ingredients:
- 406 grams (3 1/4 cups) bread flour or strong all-purpose flour
- 100 grams (1/2 cup) sourdough discard
- 120 grams (1/2 cup) lukewarm water
- 120 grams (1/2 cup) lukewarm milk
Leavening and Sweetening Ingredients:
- 7 grams (2 1/2 teaspoons) instant yeast
- 25 grams (2 tablespoons) granulated white sugar
Seasoning and Enriching Ingredients:
- 8 grams (1 1/2 teaspoons) salt
- 45 grams (3 tablespoons) room-temperature butter
Instructions
- Activate the yeast by mixing lukewarm water, milk, sugar, and yeast in a large mixing bowl. Allow active dry yeast to foam for 5-10 minutes; instant yeast can be used immediately.
- Incorporate flour, sourdough discard, and salt into the liquid mixture, stirring until a rough dough develops.
- Gently knead softened butter into the dough, ensuring complete integration and smooth texture.
- Transfer dough to a lightly floured surface and knead thoroughly for 8-10 minutes until achieving a soft, elastic consistency. A stand mixer with dough hook can substitute hand-kneading.
- Place dough in a greased bowl, cover with a damp towel, and allow rising in a warm environment for 1-1½ hours until volume doubles.
- Optional fermentation technique: Refrigerate overnight to enhance flavor complexity.
- Deflate dough and spread onto a floured surface. Prepare a 9×5-inch loaf pan with parchment paper lining.
- Shape dough into a rectangle slightly shorter than the pan’s length, positioning long sides horizontally.
- Execute a tri-fold technique: Fold top third toward center, pressing to seal. Repeat folding process two additional times.
- Position shaped dough seam-side down in the prepared pan. Cover loosely and allow second rise until volume doubles and extends slightly above pan rim.
- Monitor proofing carefully to prevent overexpansion, especially in warm conditions.
- Preheat oven to 350°F (180°C) during final dough rise.
- Bake approximately 35 minutes until achieving a deep golden-brown color. Apply foil tent after 20 minutes if surface browns too quickly.
- Confirm bread doneness by tapping for a hollow sound and verifying internal temperature reaches 200°F (94°C).
- Extract from pan and allow complete cooling before slicing.
- Preserve at room temperature in sealed container for 4-5 days.
- Freeze for extended storage up to 3 months.
Notes
- Boost flavor complexity by letting the dough ferment overnight in the refrigerator, developing deeper, tangier sourdough notes.
- Control moisture and prevent dense texture by ensuring the dough is properly kneaded until smooth and elastic, creating better gluten development.
- Maintain consistent rising temperature around 75-80°F to optimize yeast activity and achieve optimal bread volume and texture.
- Adapt the recipe for gluten-free diets by substituting all-purpose flour with a blend of gluten-free flour mixes and adding xanthan gum for structural support.
- Prep Time: 15-20 minutes
- Cook Time: 35 minutes
- Category: Breakfast, Lunch, Dinner, Snacks
- Method: Baking
- Cuisine: American
Nutrition
- Serving Size: 8
- Calories: 205 kcal
- Sugar: 3 g
- Sodium: 250 mg
- Fat: 4 g
- Saturated Fat: 2.5 g
- Unsaturated Fat: 1.5 g
- Trans Fat: 0 g
- Carbohydrates: 37 g
- Fiber: 1.5 g
- Protein: 6 g
- Cholesterol: 12 mg
Michael Thompson
Founder & Recipe Developer
Expertise
Education
Cascade Culinary Institute – Bend, OR
ServSafe Food Handler Certification – Portland, OR
Focus: Certified in core food safety and hygiene principles for both home and professional kitchens, with emphasis on ingredient handling, kitchen cleanliness, and safe preparation methods.
Mike’s kitchen journey began with a single goal: to make everyday meals feel like something worth celebrating.
After earning his Certificate in Culinary Arts from Cascade Culinary Institute, he spent years working with local farmers and small kitchens across Oregon, learning the beauty of seasonal, small-batch cooking.
Mike’s approach is simple, cook with what’s fresh, keep it approachable, and always leave room for a little creativity. When he’s not testing yogurt marinades or designing single-serving meals, you’ll find him hiking trails or hunting down the best berries at local markets.