
Try This Magical Same Day Sourdough Bread Recipe Tonight
Crafting a quick sourdough bread that rises to perfection feels like kitchen magic.
Every home baker dreams of creating artisan-style loaves without waiting endless hours.
Professional bakers know the secret to rapid fermentation lies in strategic techniques.
Warm environments and precise ingredient ratios accelerate the natural leavening process dramatically.
Smart bakers understand temperature and hydration control major factors in speedy bread development.
Your kitchen can become a sanctuary of fresh, tangy, perfectly textured sourdough in mere hours.
This method breaks traditional sourdough rules while delivering incredible flavor and texture.
You will love how simple and rewarding this approach can be.
What Makes Speedy Same Day Sourdough Bread Special
What Goes Into Speedy Same Day Sourdough Bread
Main Ingredients:Preparation Tools:Optional Accessories:How To Make Speedy Same Day Sourdough Bread
Step 1: Create Dough Base
Mix water, sourdough starter, and salt in a large bowl. Stir thoroughly to distribute ingredients evenly. Add flour and combine using hands until all ingredients are fully incorporated. Cover the bowl with plastic wrap or a shower cap and let the dough rest for half an hour.
Step 2: Perform Stretch and Fold Technique
Grab the dough’s edge and gently stretch upward, folding it underneath the opposite side. Rotate the bowl 90 degrees and repeat, completing four total folds. Cover the dough and let it rest for 20 minutes.
Step 3: Repeat Stretch and Fold Cycles
Continue the stretch and fold process four times over one hour. Cover the dough between each set to prevent drying. Ensure gentle handling to maintain dough structure.
Step 4: Allow First Rise
Let the dough rise at room temperature for 3-4 hours until it nearly doubles in volume. The dough should look puffy and feel slightly jiggly when touched.
Step 5: Shape the Loaf
Transfer dough to a lightly floured surface. Pinch opposite ends together at the top, repeating with remaining sides to create a smooth, tight ball. This technique develops surface tension.
Step 6: Prepare Proofing Basket
Line a bread basket or bowl with a floured tea towel. Place the dough ball seam-side up. Cover with a plastic bag or cloth and let rise for two hours at room temperature.
Step 7: Preheat Cooking Equipment
During the final hour of proofing, heat the oven to 460°F with a dutch oven inside. This ensures a perfectly hot cooking environment.
Step 8: Prepare for Baking
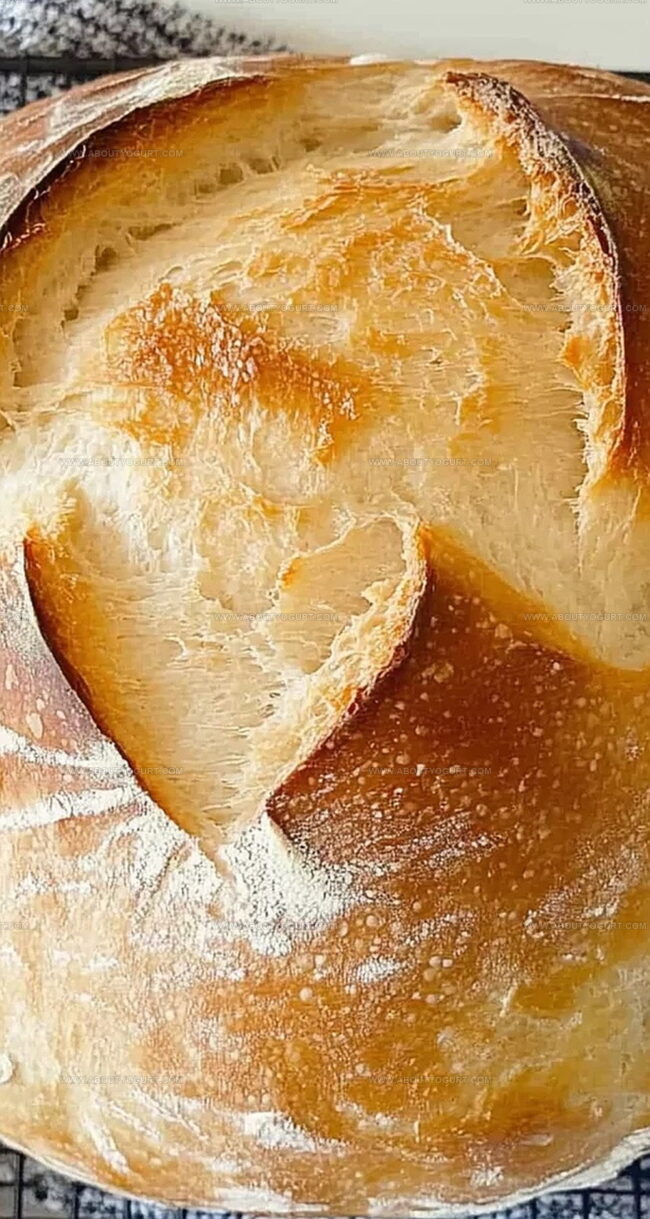
Transfer dough to parchment paper, flipping so the floured bottom becomes the top. Use a bread lame or sharp knife to score the surface with a decorative crisscross pattern.
Step 9: Bake with Steam
Carefully place the dough (with parchment) into the hot dutch oven. Add a splash of water for steam. Cover with the lid and bake for 30 minutes at 460°F.
Step 10: Finish and Crisp
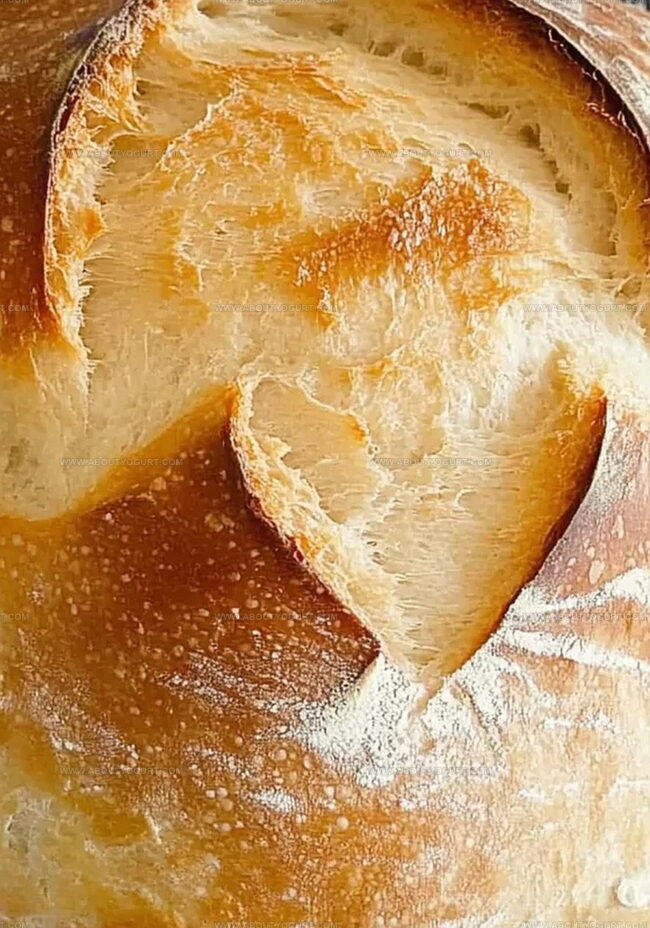
Remove the lid and bake an additional 10 minutes at 440°F to develop a golden-brown crust. The bread should look crispy and sound hollow when tapped.
Step 11: Cool and Enjoy
Transfer the bread to a cooling rack. Cover with a damp kitchen towel and let cool for one hour before slicing. This allows the interior to set perfectly.
Simple Tricks For Speedy Same Day Sourdough Bread
Ways To Change Up Speedy Same Day Sourdough Bread
Perfect Pairings For Speedy Same Day Sourdough Bread
Save And Store Speedy Same Day Sourdough Bread
Questions On Speedy Same Day Sourdough Bread
A sourdough starter is a fermented mixture of flour and water containing wild yeast and bacteria. To make one, mix equal parts flour and water, then feed it daily with fresh flour and water for about 5-7 days until it becomes bubbly and active.
Stretch and folds help develop gluten, improve dough structure, and create better bread texture. They align the gluten strands, making the bread more elastic and helping it rise properly.
Check if the dough has nearly doubled in size and shows visible bubbles on the surface. When you gently poke the dough, it should slowly spring back but leave a slight indentation.
Print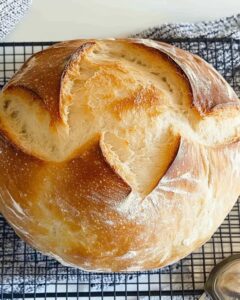
Speedy Same Day Sourdough Bread Recipe
- Total Time: 2 hours 10 minutes
- Yield: 4 1x
Description
Crafting homemade Speedy Same Day Sourdough Bread delivers quick, delightful results for passionate bakers seeking fresh, tangy loaves. Crisp crust and tender crumb invite you to savor each slice of this simple yet remarkable bread.
Ingredients
Main Ingredients:
- 410 grams (14.5 ounces) all-purpose flour
- 290 grams (10.2 ounces) water
- 160 grams (5.6 ounces) sourdough starter
Seasoning:
- 8 grams (0.3 ounces) salt
Equipment:
- 1 dutch oven
- 1 bread lame or sharp knife
Instructions
- In a spacious mixing vessel, amalgamate liquid, sourdough culture, and seasoning. Thoroughly integrate ingredients, ensuring comprehensive blending. Incorporate flour, using hands to merge components completely. Encase with impermeable covering and allow dormancy for 30 minutes.
- Execute initial stretch and fold technique: gently elevate dough edges, extending upward and tucking underneath opposite side.
- Rotate mixing container 90 degrees, repeating folding motion four consecutive times. Maintain consistent pressure and gentle handling.
- Conceal dough between manipulation intervals, preserving moisture and preventing surface dehydration.
- Replicate stretch and fold sequence four times throughout one-hour progression, maintaining consistent technique and interval timing.
- Following manipulation cycles, permit dough relaxation and expansion at ambient temperature for 3-4 hours until volume substantially increases.
- Transition dough onto lightly dusted surface. Create structural integrity by pinching opposing extremities toward central region, forming compact spherical shape.
- Prepare proofing receptacle with flour-dusted textile lining. Position dough with seam facing upward. Drape protective membrane over surface.
- Allow secondary fermentation at room temperature for approximately two hours.
- During final proofing hour, activate oven to 460°F with dutch oven preheating internally.
- Transfer dough onto parchment, inverting surface orientation. Artistically incise decorative pattern using specialized blade or keen-edged implement.
- Cautiously nestle dough into preheated vessel. Introduce minimal water droplets between parchment and cooking surface. Seal with lid, baking 30 minutes at designated temperature.
- Remove protective lid, continuing baking 10 additional minutes at reduced 440°F. Monitor crust development, targeting golden-bronze coloration.
- Extract bread, transferring onto cooling platform. Drape moistened textile over surface. Permit complete temperature stabilization for minimum one-hour duration before slicing.
Notes
- Maintain consistent water temperature around 70-75°F for optimal starter and dough fermentation.
- Use digital kitchen scale for precise flour and water measurements to ensure consistent bread texture.
- Experiment with different flour types like whole wheat or rye to enhance flavor complexity and nutritional profile.
- Protect dough surface during resting periods by covering with damp cloth to prevent moisture loss and maintain smooth surface.
- Prep Time: 1 hour 30 minutes
- Cook Time: 40 minutes
- Category: Lunch, Dinner, Snacks
- Method: Baking
- Cuisine: American
Nutrition
- Serving Size: 4
- Calories: 1044 kcal
- Sugar: 0 g
- Sodium: 1560 mg
- Fat: 2 g
- Saturated Fat: 0.3 g
- Unsaturated Fat: 1.7 g
- Trans Fat: 0 g
- Carbohydrates: 220 g
- Fiber: 8 g
- Protein: 30 g
- Cholesterol: 0 mg
Michael Thompson
Founder & Recipe Developer
Expertise
Education
Cascade Culinary Institute – Bend, OR
ServSafe Food Handler Certification – Portland, OR
Focus: Certified in core food safety and hygiene principles for both home and professional kitchens, with emphasis on ingredient handling, kitchen cleanliness, and safe preparation methods.
Mike’s kitchen journey began with a single goal: to make everyday meals feel like something worth celebrating.
After earning his Certificate in Culinary Arts from Cascade Culinary Institute, he spent years working with local farmers and small kitchens across Oregon, learning the beauty of seasonal, small-batch cooking.
Mike’s approach is simple, cook with what’s fresh, keep it approachable, and always leave room for a little creativity. When he’s not testing yogurt marinades or designing single-serving meals, you’ll find him hiking trails or hunting down the best berries at local markets.