Finger-Licking Sticky Garlic Chicken Wings Recipe for Game Day
Crafting mouthwatering sticky garlic chicken wings can transport you straight to flavor paradise.
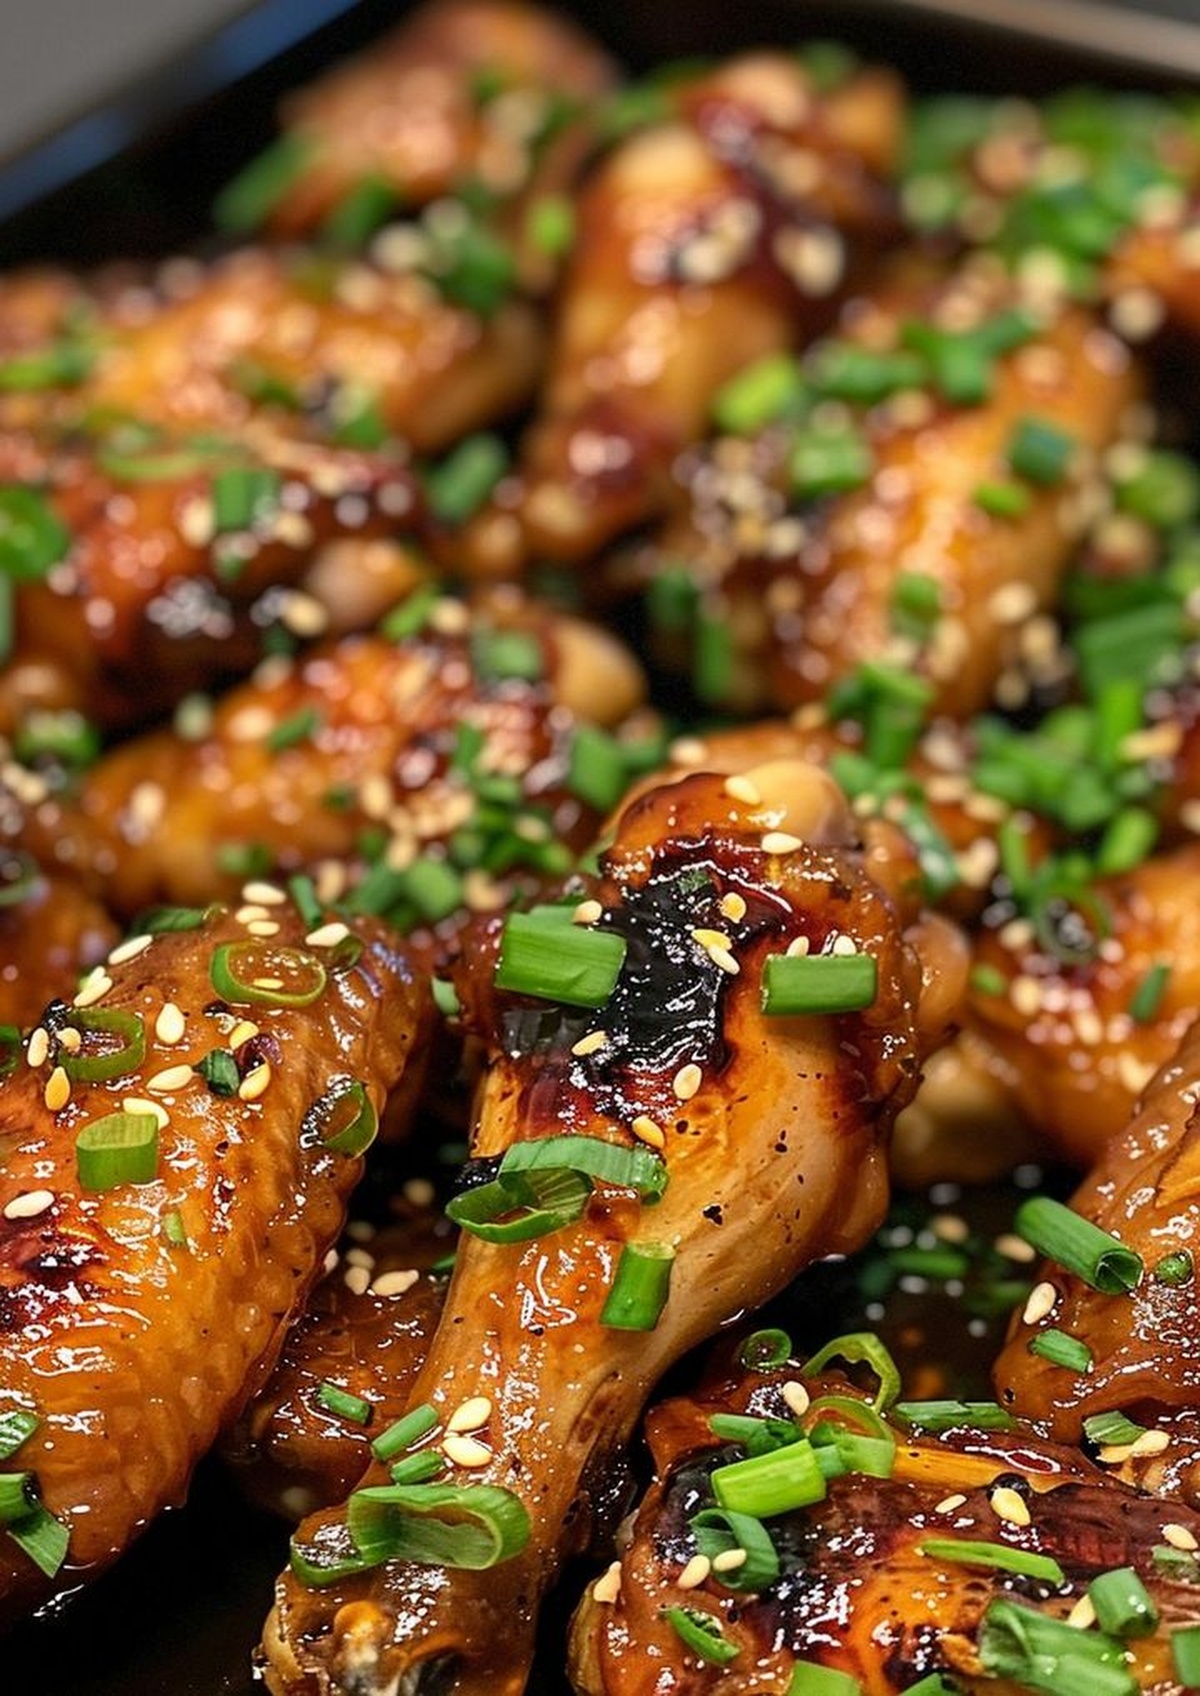
Crispy edges and a glossy coating promise an irresistible culinary adventure.
Tender meat beneath caramelized skin tells a delicious story of simple ingredients dancing together.
Home cooks adore this crowd-pleasing dish that brings everyone around the table.
Fragrant garlic and sweet-savory glaze create a sensational combination that’ll make taste buds sing.
Each bite promises a perfect balance of textures and bold flavors.
Why Sticky Garlic Chicken Wings Are a Favorite
Ingredients for Sticky Garlic Chicken Wings
Chicken Protein:Seasoning Base:Sticky Garlic Sauce Ingredients:Garnish:How to Make Sticky Garlic Chicken Wings
Step 1: Prepare for Baking
Preheat the oven to 400F (200C). Line a baking sheet with parchment paper or aluminum foil. Grab the chicken wings and coat them with:Spread the wings in a single layer on the prepared baking sheet, ensuring they aren’t touching each other.
Step 2: Roast to Golden Perfection
Place the baking sheet in the preheated oven. Roast the wings for 40-45 minutes, flipping them halfway through cooking. Look for a crispy, golden-brown exterior that promises crunch and flavor.
Step 3: Craft the Magical Sauce
In a saucepan over medium heat, combine:Bring the mixture to a gentle simmer. Cook for 5 minutes, stirring occasionally, until the sugar dissolves and the sauce starts to thicken. Add a cornstarch slurry to create a glossy, rich coating that will cling perfectly to the wings.
Step 4: Glaze and Garnish
Remove the wings from the oven and transfer them to a large mixing bowl. Pour the hot garlic sauce over the wings, tossing carefully to ensure every wing gets a beautiful, even coating. Sprinkle with sesame seeds and chopped green onions for an extra pop of flavor and color. Serve immediately while hot and incredibly delicious.
Pro Tips for Sticky Garlic Chicken Wings
Variation Ideas for Sticky Garlic Chicken Wings
Pairing Suggestions for Sticky Garlic Chicken Wings
Storage Advice for Sticky Garlic Chicken Wings
FAQs About Sticky Garlic Chicken Wings
Turning the wings ensures even cooking and helps achieve a crispy, golden-brown exterior on all sides of the chicken wings.
Yes, you can substitute rice vinegar with apple cider vinegar or white wine vinegar, though the flavor profile might slightly change.
Use a meat thermometer to check that the internal temperature of the wings reaches 165°F (74°C), which indicates they are safe to eat.
Cornstarch helps thicken the sauce and gives it a glossy, sticky texture. If you don’t have cornstarch, you can reduce the sauce longer to achieve a similar consistency.
Print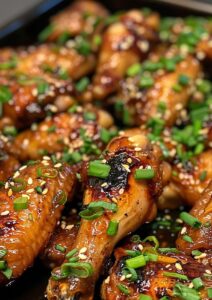
Sticky Garlic Chicken Wings Recipe
- Total Time: 60 minutes
- Yield: 4 1x
Description
Irresistible sticky garlic chicken wings deliver Asian-inspired flavor explosions with crispy, caramelized edges and rich umami notes. Glazed perfection beckons hungry diners to savor each succulent bite of this crowd-pleasing dish.
Ingredients
Main Ingredients:
- 2 pounds (907 grams) chicken wings
- 2 pounds (907 grams) chicken wing drumettes
- 2 pounds (907 grams) chicken wing flats
Seasoning:
- 1 tablespoon vegetable oil
- Salt, to taste
- Black pepper, to taste
Instructions
- Prepare the culinary canvas by heating the oven to a precise 400F (200C). Line a baking sheet with parchment paper or aluminum foil to prevent sticking and ease cleanup.
- Massage chicken wings with vegetable oil, then season generously with salt and pepper. Distribute wings evenly across the prepared baking sheet, ensuring no overlap for optimal crispiness.
- Roast the wings for 40-45 minutes, performing a mid-cooking flip to guarantee even browning and crisp exterior. Wings should emerge golden and sizzling.
- Craft the glossy garlic elixir by combining soy sauce, honey, brown sugar, minced garlic, grated ginger, and rice vinegar in a saucepan over medium heat. Allow ingredients to meld and simmer for approximately 5 minutes.
- Introduce the cornstarch mixture to the sauce, stirring consistently until the liquid transforms into a luxurious, glossy coating. Continue cooking for 2-3 minutes until the sauce reaches a perfect viscosity.
- Extract wings from the oven and transfer to a spacious mixing bowl. Cascade the aromatic garlic sauce over the crisp wings, tossing meticulously to ensure complete and even coverage.
- Optional: Sprinkle with sesame seeds and chopped green onions for a final flourish of flavor and visual appeal. Serve immediately while piping hot and irresistibly glossy.
Notes
- Choose wings with even sizes to ensure consistent cooking and crispy texture.
- Pat chicken wings dry before seasoning to maximize browning and crispiness.
- Use a wire rack inside the baking sheet for extra crispiness and better air circulation.
- Adjust sauce sweetness by reducing honey or brown sugar for low-sugar diets.
- Replace soy sauce with tamari or coconut aminos for gluten-free version.
- Check internal wing temperature reaches 165°F for food safety.
- Marinate wings in sauce for deeper flavor if time allows before baking.
- Use cast iron skillet for extra caramelization and restaurant-style finish.
- Prep Time: 10 minutes
- Cook Time: 50 minutes
- Category: Appetizer, Snacks, Dinner
- Method: Baking
- Cuisine: American
Nutrition
- Serving Size: 4
- Calories: 280 kcal
- Sugar: 0 g
- Sodium: 250 mg
- Fat: 18 g
- Saturated Fat: 4.5 g
- Unsaturated Fat: 13.5 g
- Trans Fat: 0 g
- Carbohydrates: 1 g
- Fiber: 0 g
- Protein: 25 g
- Cholesterol: 90 mg
Sarah Mitchell
Content Specialist & Home Cooking Enthusiast
Expertise
Education
Asheville-Buncombe Technical Community College – Asheville, NC
American Fitness Professionals & Associates – Online
Sarah’s passion for food was sparked by weekend trips to the farmers’ market and her belief that healthy meals should never feel boring.
After earning her culinary diploma and becoming a certified Nutrition and Wellness Consultant, she set out to help others fall in love with simple, wholesome cooking.
She’s all about celebrating the small wins in the kitchen: a colorful yogurt bowl, a new twist on a classic dish, or a homemade snack that feels just a little extra special.
Outside the kitchen, Sarah is a gardener at heart, a yoga enthusiast, and a believer that fresh herbs can brighten any meal, and any day.