
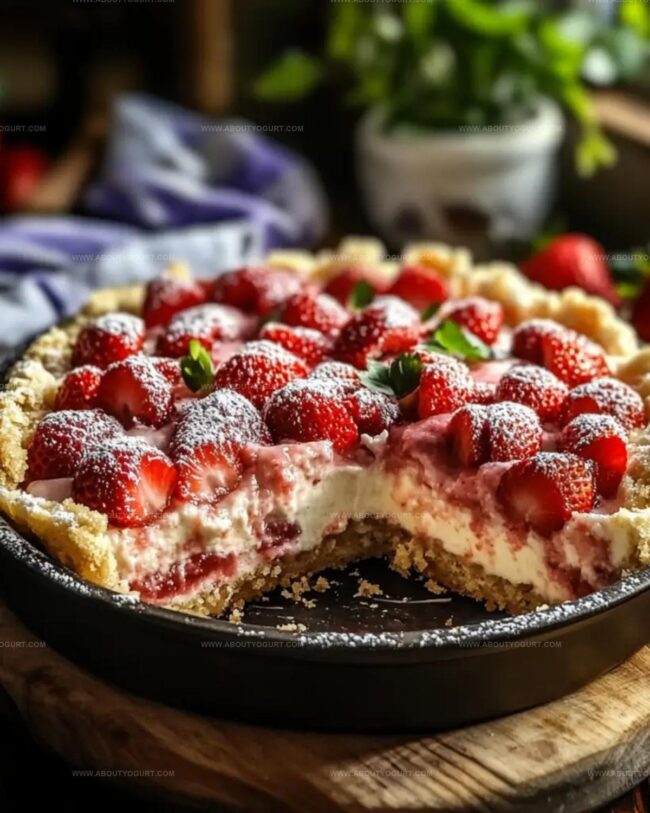
Sweet Strawberry Cheesecake Dump Cake Recipe for Busy Bakers
Sweet strawberry dreams collide with creamy cheesecake magic in this irresistible dump cake sensation.
Layers of simplicity merge into a dessert that practically makes itself.
Forget complicated baking techniques and complicated instructions.
Comfort meets elegance when minimal effort produces maximum deliciousness.
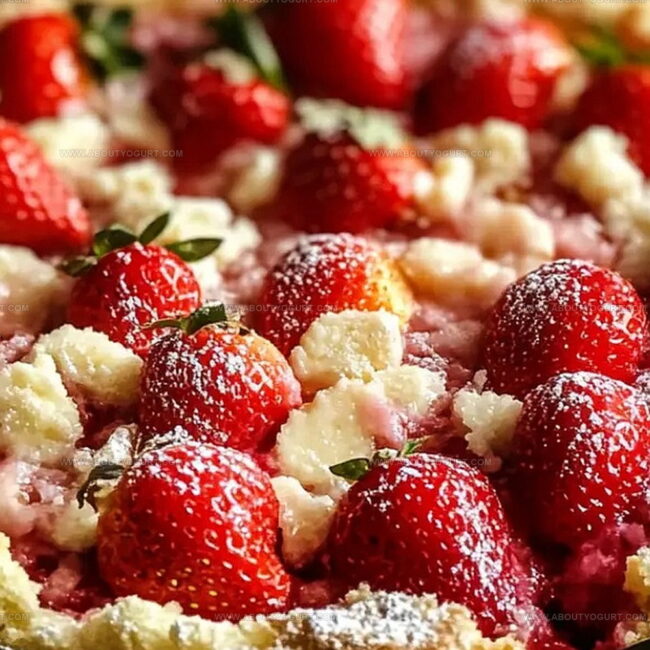
Crumbled ingredients cascade into a baking dish, creating mouthwatering patterns of pure indulgence.
Soft cream cheese mingles with bright berry notes, promising a dessert that will vanish faster than you can say “seconds.” Jump in and create something spectacular that everyone will adore.
Why Strawberry Cheesecake Dump Cake Stands Out
What You Need for Strawberry Dump Cake
Main Ingredients:
For the Fruit Layer:For the Cream Cheese Layer:For the Cake and Topping:Garnish:How to Make Strawberry Cheesecake Dump Cake
Step 1: Warm Up The Oven
Set your oven to 350°F (175°C). Grab a 9×13-inch baking dish and give it a light coating of cooking spray or butter to prevent sticking.
Step 2: Create The Fruity Base
Open the strawberry pie filling and spread it smoothly across the bottom of the baking dish, creating an even layer that covers the entire surface.
Step 3: Whip Up The Creamy Mixture
In a mixing bowl, blend these ingredients until silky smooth:Mix with an electric mixer or whisk until the texture becomes light and fluffy.
Step 4: Layer The Cream Cheese
Use a spoon to drop dollops of the cream cheese mixture over the strawberry filling. Gently spread it around, creating a marbled effect without completely mixing the layers.
Step 5: Dust With Cake Mix
Grab the dry cake mix and sprinkle it evenly across the cream cheese and strawberry layers. Make sure the entire surface gets a light, even coating.
Step 6: Drench With Butter
Melt the butter and drizzle it generously over the cake mix. Aim to cover most of the dry mix, which helps create a crispy, golden top.
Step 7: Bake To Perfection
Place the baking dish in the preheated oven and bake for 40-45 minutes. You’ll know it’s ready when the top turns a beautiful golden brown and the filling starts bubbling around the edges.
Step 8: Cool And Serve
Remove from the oven and let the cake rest for a few minutes. Serve warm, optionally topping with fresh strawberries for an extra burst of flavor.
Tips to Improve Strawberry Cheesecake Dump Cake
Ways to Change Strawberry Dump Cake Style
Top Pairings for Strawberry Cheesecake Dump Cake
How to Store Strawberry Cheesecake Dump Cake
FAQs
You’ll need strawberry pie filling, cream cheese, sugar, vanilla extract, dry cake mix, and butter. These simple ingredients create a delicious dessert with minimal effort.
Absolutely! While strawberry works great, you can swap it with cherry, blueberry, or raspberry pie filling for a different flavor profile. Just make sure to use the same amount specified in the recipe.
Yes! Dump cakes are perfect for novice bakers because they require minimal skills and preparation. Just layer ingredients and bake – no complicated mixing or precise techniques needed.
Print
Strawberry Cheesecake Dump Cake Recipe
- Total Time: 1 hour
- Yield: 8 1x
Description
Sweet strawberry cheesecake dump cake brings classic dessert magic to your table with minimal effort. Creamy, tangy layers meld perfectly, creating a simple yet irresistible treat you’ll crave again and again.
Ingredients
Main Ingredients:
- 1 box (15.25 ounces) yellow cake mix
- 1 can (21 ounces) strawberry pie filling
- 1 package (8 ounces) cream cheese, softened
Dairy and Sweeteners:
- 1/2 cup unsalted butter, melted
- 1/2 cup sugar
Flavor Enhancers:
- 1/2 teaspoon vanilla extract
- Fresh strawberries (optional for garnish)
Instructions
- Preheat oven to 350°F (175°C) and coat a 9×13-inch baking dish with cooking spray or butter.
- Distribute strawberry pie filling uniformly across the bottom of the prepared dish, creating an even base layer.
- Whip cream cheese, sugar, and vanilla extract in a mixing bowl until achieving a silky, uniform consistency.
- Carefully dollop cream cheese mixture over strawberry filling, gently dispersing it across the surface without fully mixing.
- Uniformly scatter dry cake mix over the cream cheese and strawberry layers, ensuring complete coverage.
- Methodically drizzle melted butter across the cake mix, aiming to saturate most of the powdery surface.
- Transfer dish to preheated oven and bake for 40-45 minutes, monitoring until the top transforms to a golden hue and filling develops effervescent bubbles.
- Allow cake to rest and slightly cool for 10-15 minutes, enabling filling to set and stabilize.
- Slice and serve while still warm, optionally garnishing with fresh strawberry slices for enhanced visual appeal and fruity freshness.
Notes
- Allow cream cheese to sit at room temperature for 30 minutes before mixing to ensure a smooth, lump-free texture.
- Prepare the cake up to a day in advance and refrigerate, then bake when ready to serve for maximum convenience.
- Swap regular cake mix with gluten-free alternatives and use dairy-free cream cheese for a celiac or lactose-intolerant friendly version.
- Top with whipped cream, vanilla ice cream, or a sprinkle of powdered sugar to elevate the dessert’s richness and presentation.
- Prep Time: 15 minutes
- Cook Time: 45 minutes
- Category: Desserts
- Method: Baking
- Cuisine: American
Nutrition
- Serving Size: 8
- Calories: 460
- Sugar: 38 g
- Sodium: 330 mg
- Fat: 26 g
- Saturated Fat: 15 g
- Unsaturated Fat: 9 g
- Trans Fat: 1 g
- Carbohydrates: 52 g
- Fiber: 1 g
- Protein: 5 g
- Cholesterol: 55 mg
Michael Thompson
Founder & Recipe Developer
Expertise
Education
Cascade Culinary Institute – Bend, OR
ServSafe Food Handler Certification – Portland, OR
Focus: Certified in core food safety and hygiene principles for both home and professional kitchens, with emphasis on ingredient handling, kitchen cleanliness, and safe preparation methods.
Mike’s kitchen journey began with a single goal: to make everyday meals feel like something worth celebrating.
After earning his Certificate in Culinary Arts from Cascade Culinary Institute, he spent years working with local farmers and small kitchens across Oregon, learning the beauty of seasonal, small-batch cooking.
Mike’s approach is simple, cook with what’s fresh, keep it approachable, and always leave room for a little creativity. When he’s not testing yogurt marinades or designing single-serving meals, you’ll find him hiking trails or hunting down the best berries at local markets.