Strawberry Kiss Cookies Recipe with a Sweet Berry Touch
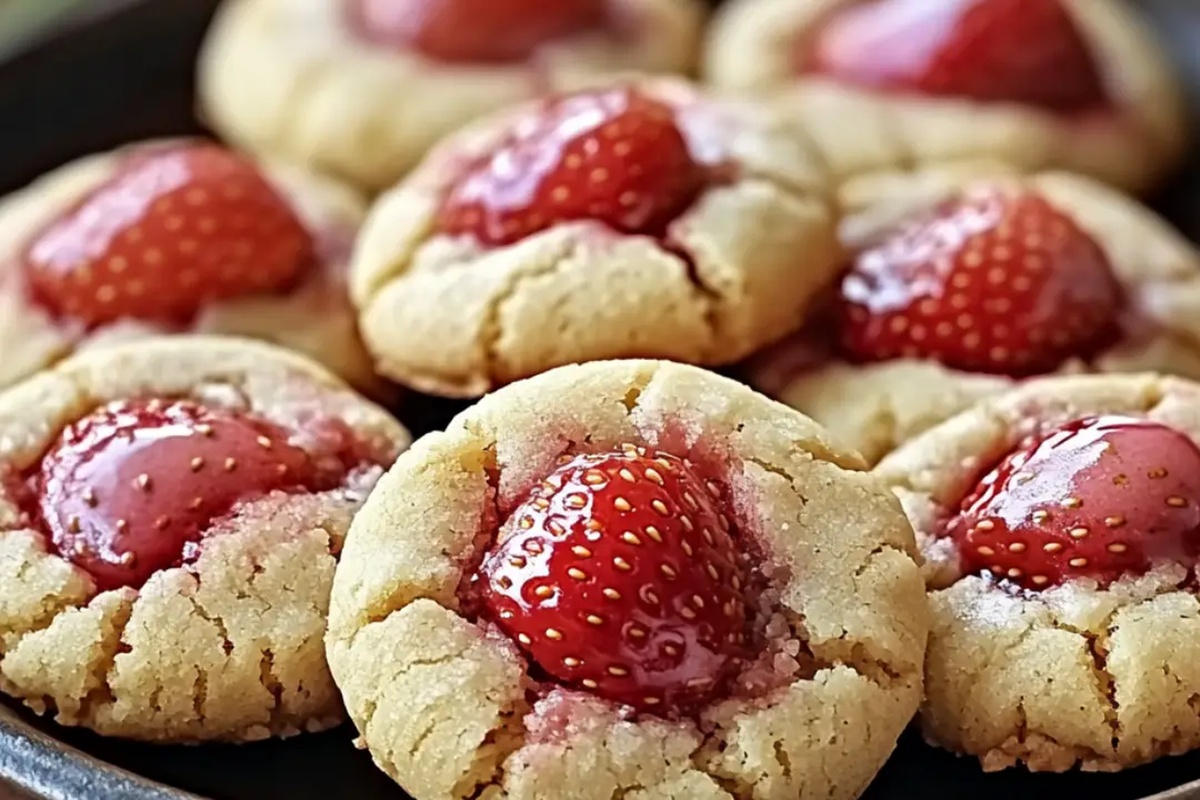
Sweet strawberry kiss cookies dance between delicate pastry and fruity charm, promising a delightful treat for anyone seeking moments of pure delight.
Soft butter cookies cradle delicate chocolate kisses in a tender embrace.
Memories of childhood baking rush back with each adorable morsel.
Strawberry’s vibrant essence adds a playful twist to classic cookie recipes.
Chocolate and fruit create magical flavor combinations that spark joy.
Baking these treats becomes an effortless celebration of simple pleasures.
We guarantee you’ll fall in love with every single bite.
Sweet Treats: Strawberry Kiss Cookies to Savor
Ingredients for Delicate Strawberry Kiss Cookies
For the Base:For the Coating:For the Topping:Baking Guide for Perfect Strawberry Kiss Cookies
Step 1: Warm Up the Oven
Turn your oven to 350F (175C) and line a baking sheet with parchment paper for perfect cookie preparation.
Step 2: Mix Cookie Dough
In a large mixing bowl, combine:Blend everything until a soft, smooth dough forms.
Step 3: Shape Sugary Delights
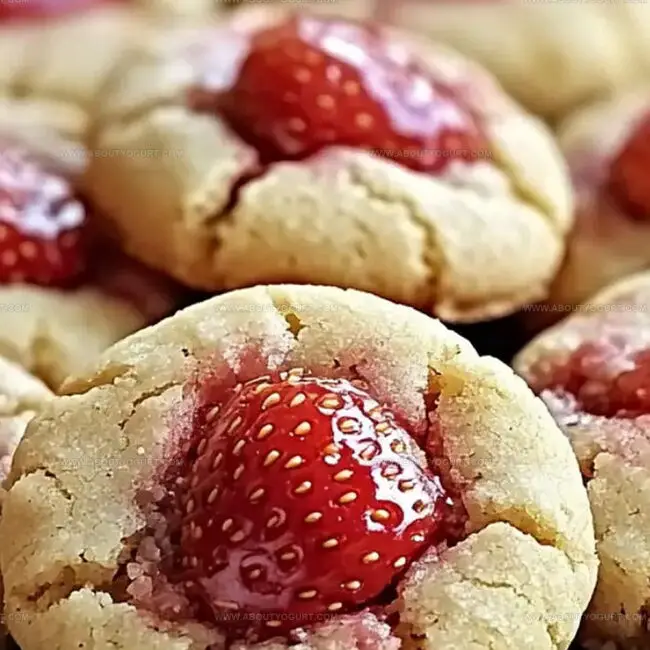
Roll the dough into small, bite-sized balls (roughly 1 inch wide). Roll each ball generously in granulated sugar for a sweet, sparkling exterior.
Step 4: Arrange on Baking Sheet
Place the sugar-coated dough balls on the prepared baking sheet, leaving about 2 inches between each cookie to allow room for spreading.
Step 5: Bake to Golden Perfection
Slide the baking sheet into the oven and bake for 8-10 minutes.
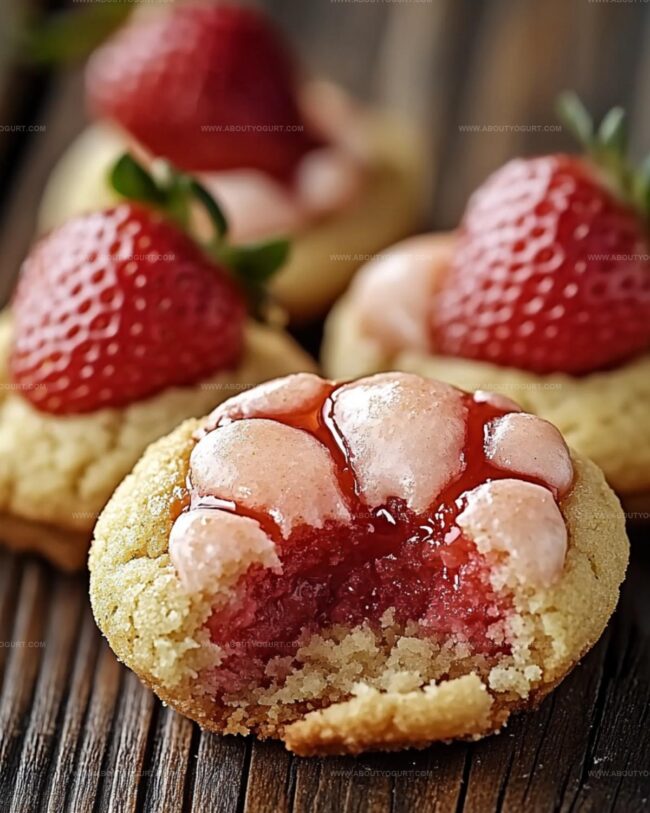
Watch for lightly golden edges and a slight spreading of the cookies.
Step 6: Crown with Chocolate Kisses
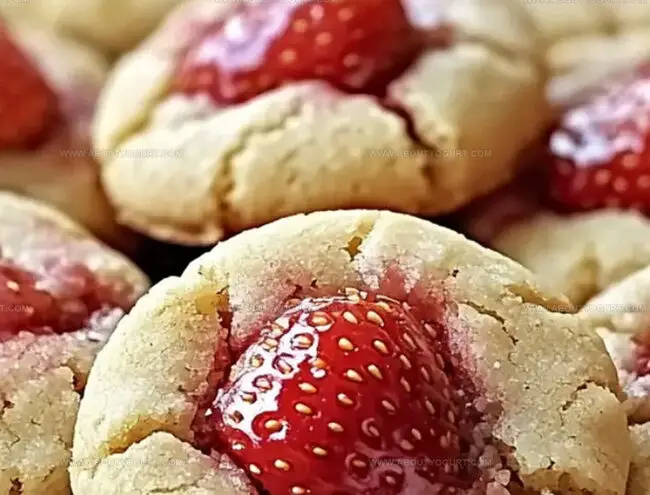
Right after removing the cookies from the oven, gently press a chocolate kiss into the center of each warm cookie.
Let the cookies rest on the baking sheet for 5 minutes, then transfer to a wire rack to cool completely.
Tips for Soft and Flavorful Kiss Cookies
Variations to Refresh Strawberry Kiss Cookies
Pairing Ideas for Kiss Cookies and More
Storage Advice for Strawberry Kiss Cookies
Store cookies in an airtight container between parchment paper layers for up to 5 days. Keep them in the coolest part of the refrigerator to maintain freshness.
Place cookies in a freezer-safe container, separating layers with wax paper. Freeze for up to 3 months. Thaw at room temperature for 30 minutes before serving.
Warm cookies briefly in the microwave for 10-15 seconds to restore softness. Alternatively, place in a preheated oven at 300F for 2-3 minutes to revive their just-baked texture.
Keep cookies in a sealed container away from direct sunlight and heat. Consume within 3 days for optimal taste and texture.
FAQs
Yes, you can swap the strawberry cake mix with other flavors like vanilla, white, or chocolate for variety in your cookies.
Press the kiss gently into the warm cookie right after baking, and let the cookies cool on the baking sheet for a few minutes to help the kiss maintain its shape.
Rolling the dough in granulated sugar creates a sweet, crispy exterior and gives the cookies a beautiful sparkly finish.
You can prepare the cookie dough balls in advance and refrigerate them for up to 24 hours before baking, or freeze the unbaked dough balls for up to a month.
Print
Strawberry Kiss Cookies Recipe
- Total Time: 25 minutes
- Yield: 24 1x
Description
Sweet, delicate Strawberry Kiss Cookies dance with romantic charm, blending buttery shortbread and luscious strawberry kisses into an irresistible dessert. Romantic bakers can easily craft these elegant treats that promise to delight and enchant with each delicate bite.
Ingredients
Main Ingredients:
- 1 box (15.25 ounces/432 grams) strawberry cake mix
- 2 large eggs
- 1/3 cup vegetable oil
Liquid and Flavor Enhancers:
- 1 teaspoon vanilla extract
Coating and Topping:
- 24 chocolate kisses (unwrapped)
- 1/4 cup granulated sugar (for rolling)
Instructions
- Preheat the oven to 350°F and prepare a baking sheet with parchment paper for optimal cookie preparation.
- Thoroughly blend strawberry cake mix, vegetable oil, eggs, and vanilla extract in a large mixing bowl until a cohesive, soft dough forms.
- Create uniform cookie balls approximately 1 inch in diameter, ensuring consistent size for even baking.
- Gently coat each dough ball in granulated sugar, providing a delicate, sparkling exterior.
- Arrange cookie balls on the prepared baking sheet, maintaining approximately 2 inches of spacing between each to allow proper spreading.
- Bake for 8-10 minutes, watching for light golden edges and subtle cookie expansion as indicators of doneness.
- Immediately after removing from the oven, delicately press a chocolate kiss into the center of each warm cookie, creating an elegant chocolate focal point.
- Allow cookies to rest on the baking sheet for 5 minutes to stabilize their structure.
- Transfer cookies to a wire cooling rack, permitting them to reach complete room temperature and achieve optimal texture.
Notes
- Swap the cake mix with a gluten-free alternative to make these cookies celiac-friendly and accommodate dietary restrictions.
- Chill the dough for 30 minutes before rolling to prevent excessive spreading and maintain a perfect round shape during baking.
- Experiment with different kiss flavors like caramel, peanut butter, or dark chocolate to create unique variations of these delightful cookies.
- Store cookies in an airtight container at room temperature for up to 5 days, separating layers with parchment paper to prevent sticking and maintain freshness.
- Prep Time: 15 minutes
- Cook Time: 10 minutes
- Category: Snacks, Desserts
- Method: Baking
- Cuisine: American
Nutrition
- Serving Size: 24
- Calories: 118 kcal
- Sugar: 7 g
- Sodium: 110 mg
- Fat: 5 g
- Saturated Fat: 1.5 g
- Unsaturated Fat: 3.2 g
- Trans Fat: 0 g
- Carbohydrates: 18 g
- Fiber: 0.5 g
- Protein: 1.5 g
- Cholesterol: 27 mg
Michael Thompson
Founder & Recipe Developer
Expertise
Education
Cascade Culinary Institute – Bend, OR
ServSafe Food Handler Certification – Portland, OR
Focus: Certified in core food safety and hygiene principles for both home and professional kitchens, with emphasis on ingredient handling, kitchen cleanliness, and safe preparation methods.
Mike’s kitchen journey began with a single goal: to make everyday meals feel like something worth celebrating.
After earning his Certificate in Culinary Arts from Cascade Culinary Institute, he spent years working with local farmers and small kitchens across Oregon, learning the beauty of seasonal, small-batch cooking.
Mike’s approach is simple, cook with what’s fresh, keep it approachable, and always leave room for a little creativity. When he’s not testing yogurt marinades or designing single-serving meals, you’ll find him hiking trails or hunting down the best berries at local markets.