Sweet and Sour Chicken Recipe for Cozy Nights
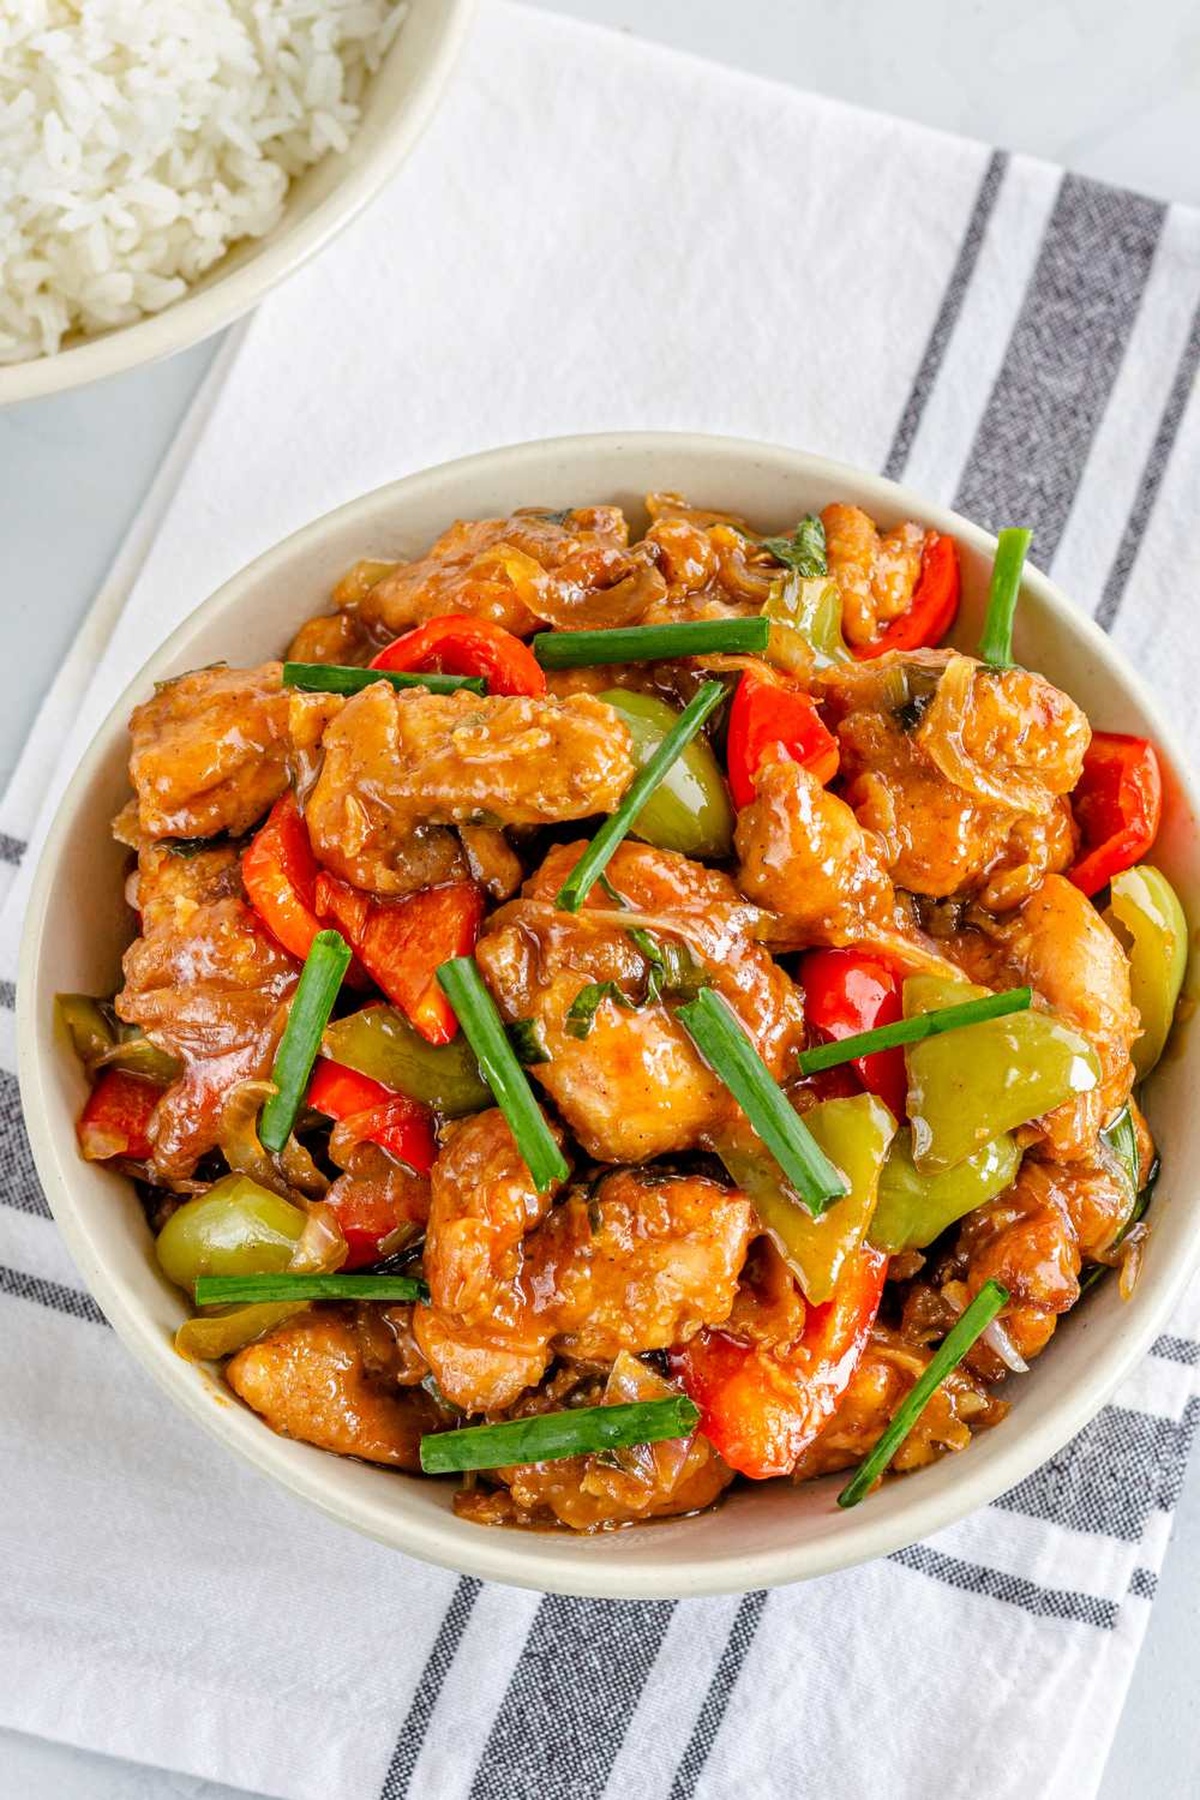
Crispy chicken pieces dancing in a vibrant sweet and sour chicken sauce capture the essence of takeout magic right in your kitchen.
Colorful bell peppers and tender meat create a delightful harmony of flavors that sing on your plate.
Weeknight dinners rarely feel this exciting or effortless.
Pantry staples merge into a sauce so delicious, you might forget about ordering delivery.
Restaurant-quality meals emerge from simple ingredients and clever techniques.
Each bite promises a perfect balance between tangy and sweet notes that make taste buds celebrate.
Jump into this culinary adventure and see how easy it is to craft restaurant-worthy magic at home.
What Makes Mary Berry Sweet And Sour Chicken So Irresistible
What Goes Into Mary Berry Sweet And Sour Chicken
Main Protein:Batter Ingredients:Sauce Ingredients:Vegetable Ingredients:Cooking Ingredients:Optional Serving Suggestions:Instructions for Making Mary Berry Sweet And Sour Chicken

Step 1: Prepare Chicken
Clean and dry chicken pieces thoroughly. Sprinkle salt and pepper over the chicken, ensuring even coating. Allow chicken to rest and absorb seasonings for 20 minutes at room temperature.
Step 2: Create Crispy Batter
Whisk together flour, cornstarch, eggs, water, and a pinch of salt in a mixing bowl. Blend until smooth and free of lumps. Let the batter sit and develop texture while preparing other ingredients.
Step 3: Craft Tangy Sauce
Combine in a separate bowl:Stir ingredients until sugar dissolves completely and sauce looks glossy and well-mixed.
Step 4: Fry Chicken To Golden Perfection
Heat vegetable oil in a deep wok or heavy-bottomed pan until temperature reaches 350°F. Dip each chicken piece into batter, ensuring full coverage. Carefully lower battered chicken into hot oil. Fry in small batches until exterior turns crispy and golden brown. Remove and drain excess oil on paper towels.
Step 5: Sauté Colorful Vegetables
Quickly stir-fry bell peppers in a clean pan over high heat for one minute. Vegetables should remain crisp and vibrant.
Step 6: Combine And Coat
Pour prepared sauce into the pan with peppers. Allow sauce to bubble and thicken for 2-3 minutes. Add fried chicken pieces, gently tossing to ensure complete sauce coverage.
Step 7: Plate And Serve
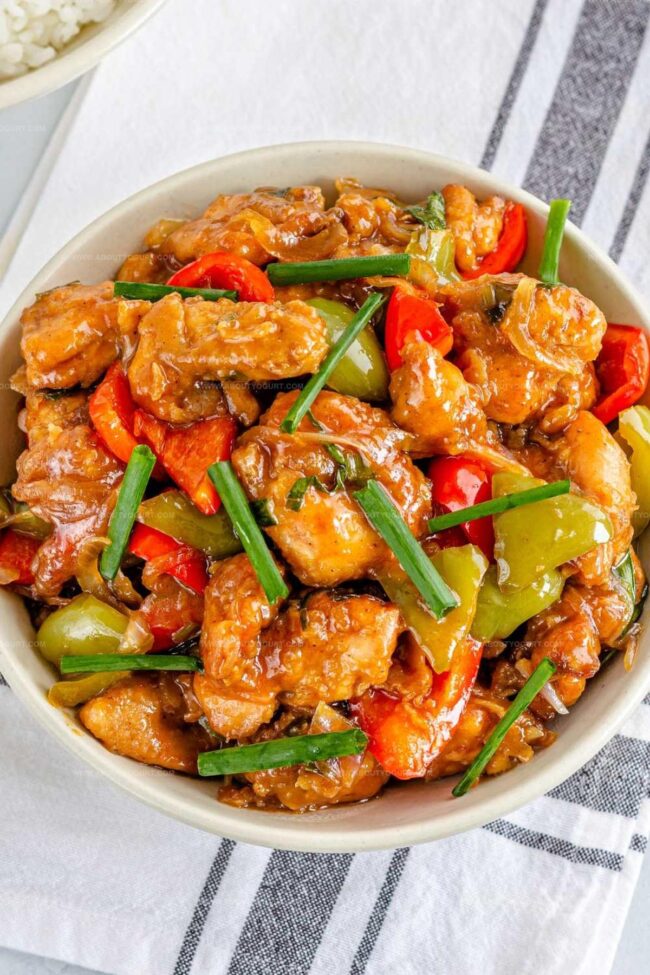
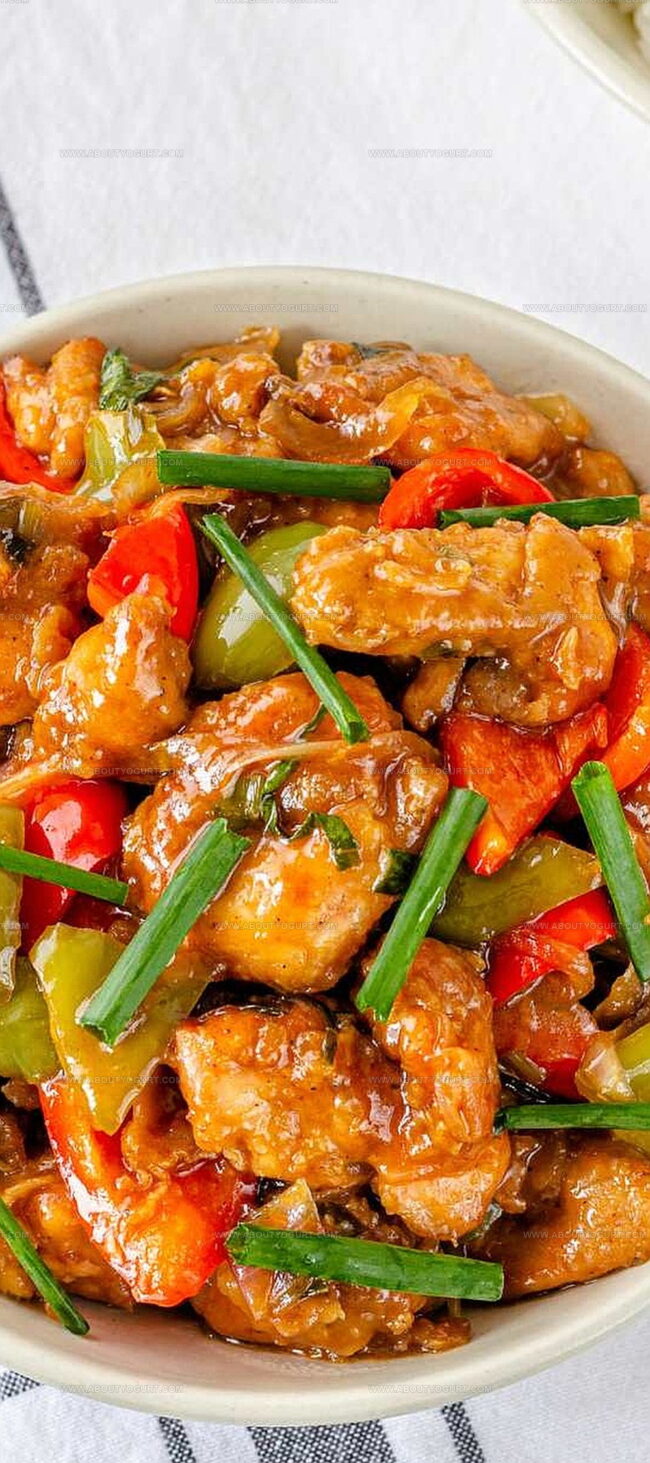
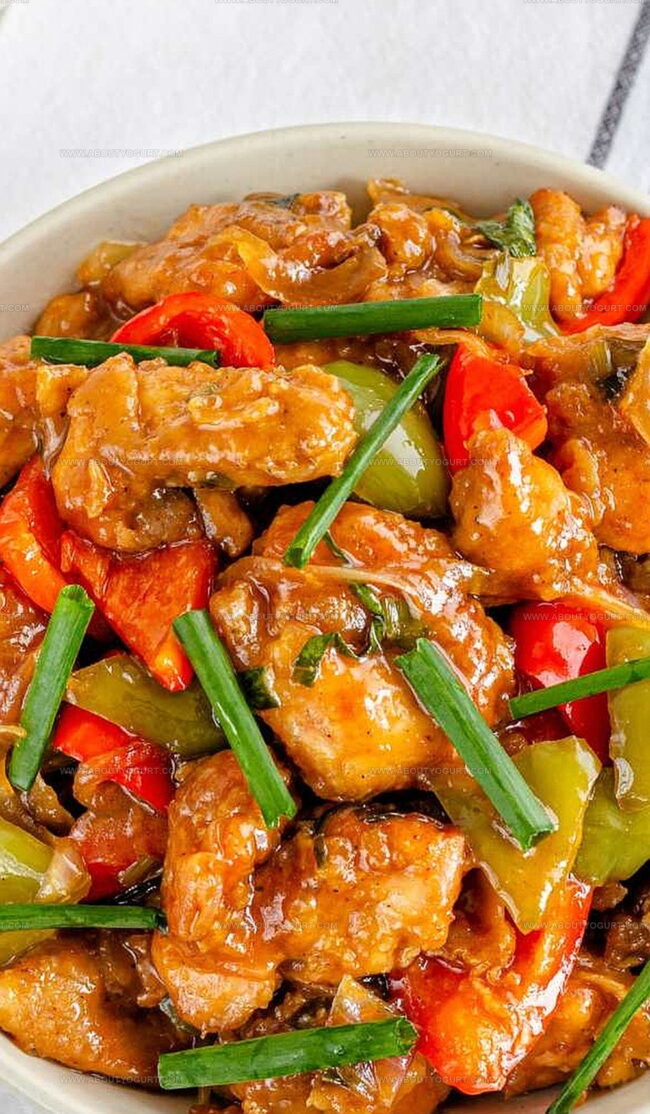
Transfer chicken to serving plate. Garnish with chopped green onions or sesame seeds if desired. Serve immediately alongside steamed rice or noodles.
Helpful Tips for Mary Berry Sweet And Sour Chicken
Fun Options for Mary Berry Sweet And Sour Chicken
What to Pair with Mary Berry Sweet And Sour Chicken
Storing Mary Berry Sweet And Sour Chicken Correctly
Your Questions on Mary Berry Sweet And Sour Chicken Answered
The cornstarch and flour combination creates a light, crisp coating that helps the chicken stay crunchy even after adding the sauce.
Yes, you can substitute chicken with pork or shrimp while keeping the same batter and sauce technique.
Drain the fried chicken on a wire rack instead of paper towels to maintain its crispiness, and add the sauce just before serving.
The traditional sweet and sour chicken is not spicy, but you can add red pepper flakes or sriracha if you want some heat.
Print
Sweet And Sour Chicken Recipe
- Total Time: 30 mins
- Yield: 2 1x
Description
Sizzling Chinese sweet and sour chicken delivers a perfect balance of tangy and savory flavors that dance across your palate. Crispy battered chicken pieces nestled in a glossy sauce promise a restaurant-quality meal you can easily create at home.
Ingredients
Protein:
- 300 grams (10.6 ounces) boneless chicken in bite-sized pieces
Coating Ingredients:
- 3 tablespoons all-purpose flour
- 1 tablespoon cornstarch
- 1/4 teaspoon baking powder
- 1/4 teaspoon salt
- 1 egg white
- 4 tablespoons chilled water
Sauce Ingredients:
- 4 tablespoons tomato ketchup
- 3 tablespoons sugar
- 3 tablespoons white vinegar
- 3/4 teaspoon dark soy sauce
- 1 cup (70 grams) green bell peppers/capsicum, cubed
- 1 cup (70 grams) red bell peppers/capsicum, cubed
- 1/2 tablespoon oil + additional oil for deep frying chicken
Instructions
- Air-dry chicken pieces after patting them completely moisture-free, then generously season with salt and ground pepper. Allow protein to absorb seasonings for approximately 20 minutes at room temperature.
- Prepare a light, crispy coating by whisking together batter ingredients until smooth and free of lumps. Let mixture rest to develop texture.
- Create a vibrant sweet and sour sauce by combining all liquid and seasoning components, ensuring thorough blending for balanced flavor profile.
- Heat vegetable oil in a deep wok or heavy-bottomed pan to 350°F, maintaining consistent temperature for optimal frying.
- Carefully dredge seasoned chicken pieces through prepared batter, allowing excess to drip off before gently lowering into hot oil.
- Fry chicken in small batches, rotating occasionally, until exterior turns golden brown and internal temperature reaches 165°F, approximately 4-5 minutes per batch.
- Transfer fried chicken onto wire rack or paper towels to drain excess oil and maintain crispiness.
- In a separate clean pan, quickly sauté bell pepper strips over high heat for 60-90 seconds, preserving their vibrant color and slight crunch.
- Pour prepared sauce into pan, stirring continuously until mixture bubbles and thickens to a glossy consistency.
- Gently fold fried chicken pieces into sauce, ensuring each morsel is evenly coated with the tangy glaze.
- Plate immediately alongside steamed jasmine rice or thin egg noodles, garnishing with optional chopped scallions.
Notes
- Choose lean chicken breast for a healthier version, trimming excess fat before cooking.
- Marinate chicken in a little soy sauce and ginger for extra flavor depth before battering.
- Use cornstarch in the batter for a crispier, lighter coating that stays crunchy longer.
- Opt for baking instead of deep-frying to reduce oil content without compromising texture by placing battered chicken on a wire rack at 400°F for 20-25 minutes.
- Prep Time: 20 mins
- Cook Time: 10 mins
- Category: Lunch, Dinner
- Method: Frying
- Cuisine: Chinese
Nutrition
- Serving Size: 2
- Calories: 425 kcal
- Sugar: 18 g
- Sodium: 700 mg
- Fat: 20 g
- Saturated Fat: 3.5 g
- Unsaturated Fat: 16 g
- Trans Fat: 0.1 g
- Carbohydrates: 30 g
- Fiber: 2.5 g
- Protein: 35 g
- Cholesterol: 55 mg
Michael Thompson
Founder & Recipe Developer
Expertise
Education
Cascade Culinary Institute – Bend, OR
ServSafe Food Handler Certification – Portland, OR
Focus: Certified in core food safety and hygiene principles for both home and professional kitchens, with emphasis on ingredient handling, kitchen cleanliness, and safe preparation methods.
Mike’s kitchen journey began with a single goal: to make everyday meals feel like something worth celebrating.
After earning his Certificate in Culinary Arts from Cascade Culinary Institute, he spent years working with local farmers and small kitchens across Oregon, learning the beauty of seasonal, small-batch cooking.
Mike’s approach is simple, cook with what’s fresh, keep it approachable, and always leave room for a little creativity. When he’s not testing yogurt marinades or designing single-serving meals, you’ll find him hiking trails or hunting down the best berries at local markets.