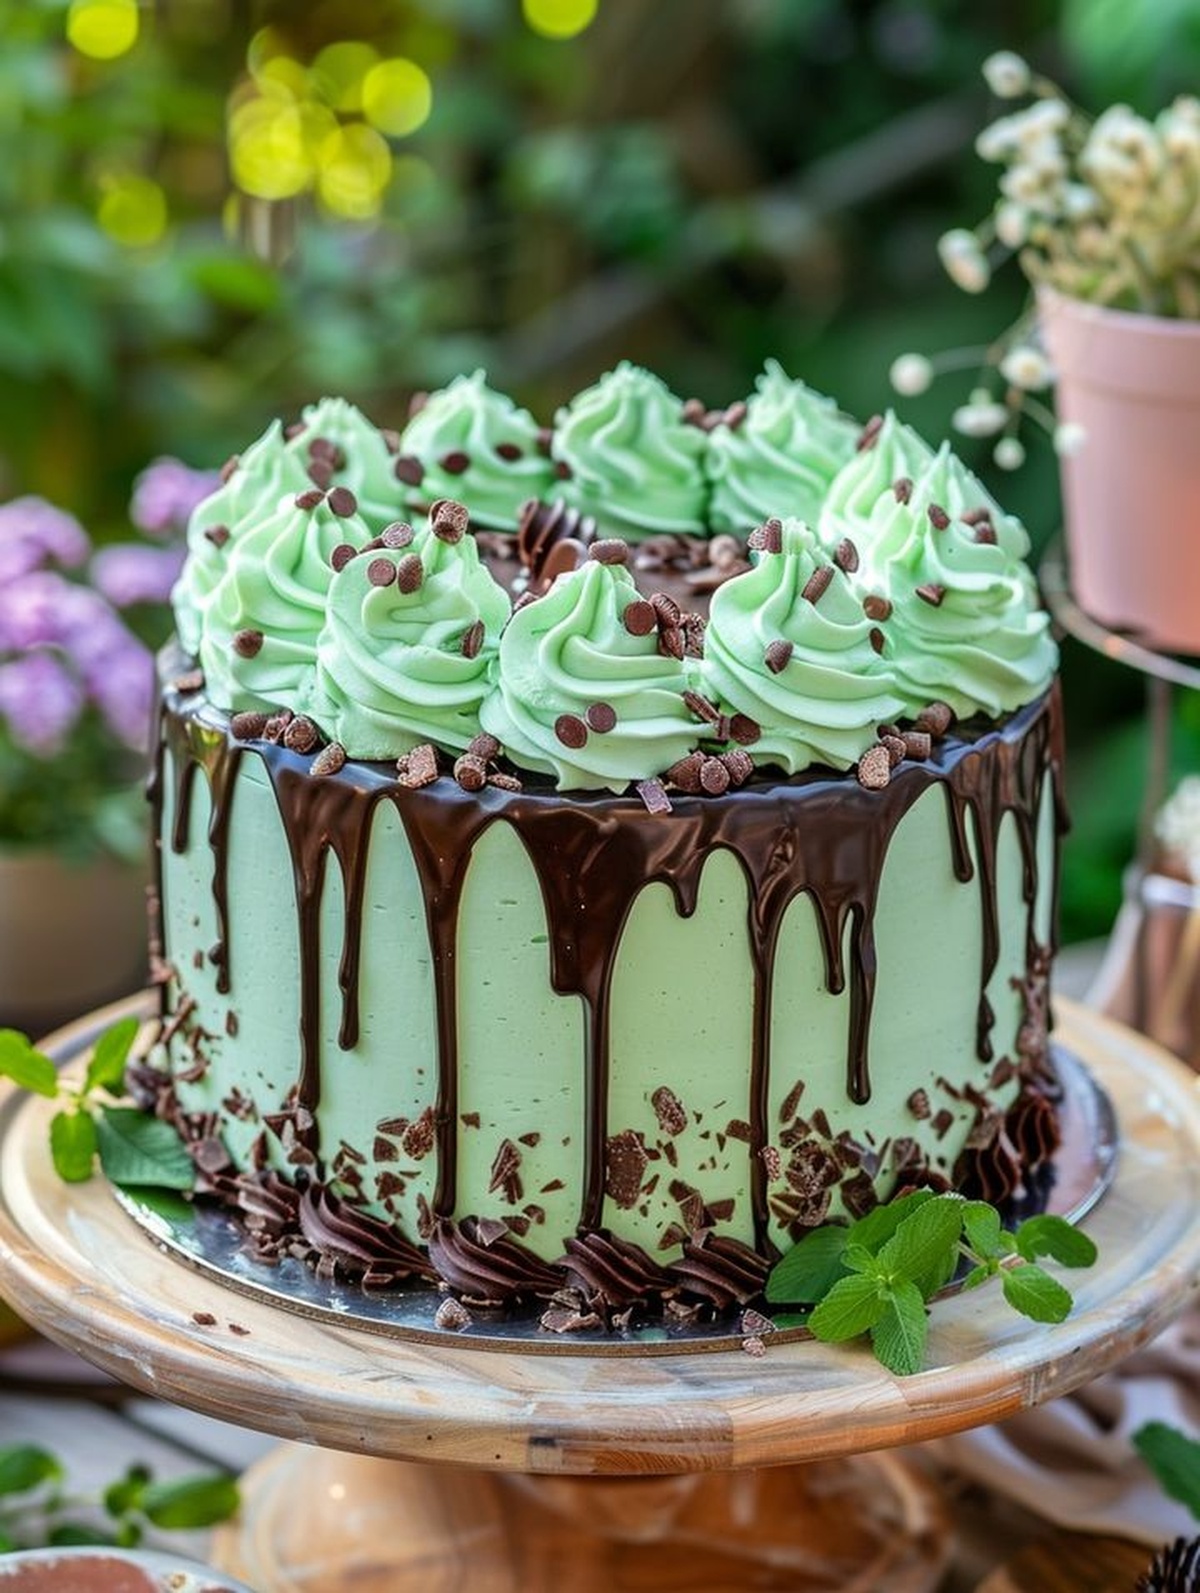
Tall Mint Chocolate Fudge Cheesecake Recipe That’s Lush
Crafting a decadent mint chocolate fudge cheesecake transports you into a realm of pure dessert magic.
Sweet dreams come alive through layers of creamy richness and intense chocolate notes.
Delicate mint whispers promise incredible flavor complexity with each stunning slice.
Chocolate and mint dance together in perfect harmony across multiple tantalizing textures.
Bold bakers will find this recipe both challenging and supremely rewarding.
Precision matters when assembling such an intricate dessert masterpiece.
Your kitchen adventure awaits – one slice promises to become an unforgettable culinary memory.
Why Tall Multi-Layered Mint Chocolate Fudge Cheesecake Cake Impresses
Ingredients For Tall Multi-Layered Mint Chocolate Fudge Cheesecake Cake
Cake Base Ingredients:Wet Ingredients:Baking Preparation:Instructions To Bake Tall Multi-Layered Mint Chocolate Fudge Cheesecake Cake
Step 1: Prepare Baking Equipment
Get three 8-inch round cake pans ready by greasing them thoroughly and lining with parchment paper. Set your oven to warm up at 350F (175C).
Step 2: Create Chocolate Cake Base
Grab a large mixing bowl and sift together these ingredients:Ensure all dry ingredients are completely blended and free of lumps.
Step 3: Combine Liquid Components
In a separate bowl, whisk together:Pour the liquid mixture into the dry ingredients slowly, stirring continuously to create a smooth batter. Add boiling water and mix until the batter looks glossy and well-incorporated.
Step 4: Bake Chocolate Cake Layers
Distribute the chocolate batter evenly across the prepared cake pans. Slide the pans into the preheated oven and bake for 25-30 minutes. Check doneness by inserting a toothpick into the center – it should come out clean. Let the cakes rest in their pans for 10 minutes, then transfer to a wire rack for complete cooling.
Pro Tips For The Perfect Tall Multi-Layered Mint Chocolate Fudge Cheesecake Cake
Variations To Personalize Tall Multi-Layered Mint Chocolate Fudge Cheesecake Cake
Ideal Pairings For Tall Multi-Layered Mint Chocolate Fudge Cheesecake Cake
Storage Advice For Tall Multi-Layered Mint Chocolate Fudge Cheesecake Cake
FAQs On Tall Multi-Layered Mint Chocolate Fudge Cheesecake Cake
Absolutely! The cake is packed with rich mint chocolate flavors, combining decadent chocolate cake layers with creamy mint chocolate elements for an indulgent dessert experience.
Yes, you can prepare the cake layers in advance. Wrap them tightly in plastic wrap and store at room temperature for 1-2 days or freeze for up to a month before assembling the final cake.
The combination of buttermilk, vegetable oil, and boiling water creates an incredibly tender and moist chocolate cake texture that’s soft and rich.
Print
Tall Multi-Layered Mint Chocolate Fudge Cheesecake Cake Recipe
- Total Time: 40-45 minutes
- Yield: 12 1x
Description
Indulgent mint chocolate fudge cheesecake layers create a luxurious dessert that blends rich chocolate with cool mint undertones. Silky smooth textures and intense flavors invite you to savor each delectable bite of this irresistible culinary masterpiece.
Ingredients
Cake Layers:
- 1 3/4 cups (220 grams) all-purpose flour
- 1 1/2 cups (300 grams) granulated sugar
- 3/4 cup (75 grams) unsweetened cocoa powder
- 1 1/2 teaspoons (7.5 milliliters) baking powder
- 1 1/2 teaspoons (7.5 milliliters) baking soda
- 1/2 teaspoon (2.5 milliliters) salt
- 2 large eggs
- 1 teaspoon (5 milliliters) vanilla extract
Liquid Ingredients:
- 1 cup (240 milliliters) buttermilk
- 1/2 cup (120 milliliters) vegetable oil
- 1 cup (240 milliliters) boiling water
Instructions
- Prepare workspace by positioning oven rack in center and heating to 350F (175C). Thoroughly coat three 8-inch round cake pans with non-stick spray and line bottoms with parchment paper.
- Create chocolate cake base by sifting dry ingredients together in a spacious mixing bowl, ensuring no lumps remain in flour, cocoa powder, sugar, baking powder, baking soda, and salt.
- Whisk wet ingredients separately, combining buttermilk, vegetable oil, eggs, and vanilla extract until fully integrated and smooth.
- Gently fold liquid mixture into dry ingredients, stirring carefully to prevent overmixing. Incorporate boiling water gradually, mixing until batter achieves a uniform, silky consistency.
- Distribute batter evenly across prepared pans, using a spatula to smooth surfaces and eliminate air pockets.
- Bake layers for 25-30 minutes, rotating pans midway to ensure uniform cooking. Test doneness by inserting a toothpick into cake center – it should emerge clean with minimal crumbs.
- Remove cakes from oven and allow to rest in pans for 10 minutes. Transfer layers to wire cooling rack, letting them reach room temperature completely before further assembly.
Notes
- Ensure all ingredients are at room temperature for smoother mixing and better texture.
- Sift dry ingredients thoroughly to prevent lumps and create a more uniform cake batter.
- Use high-quality cocoa powder for a richer, more intense chocolate flavor.
- For a gluten-free version, substitute all-purpose flour with a gluten-free flour blend, adding xanthan gum for better structure.
- Prep Time: 15 minutes
- Cook Time: 25-30 minutes
- Category: Desserts
- Method: Baking
- Cuisine: American
Nutrition
- Serving Size: 12
- Calories: 263
- Sugar: 18 g
- Sodium: 293 mg
- Fat: 9 g
- Saturated Fat: 1 g
- Unsaturated Fat: 8 g
- Trans Fat: 0 g
- Carbohydrates: 42 g
- Fiber: 3 g
- Protein: 4 g
- Cholesterol: 37 mg
Sarah Mitchell
Content Specialist & Home Cooking Enthusiast
Expertise
Education
Asheville-Buncombe Technical Community College – Asheville, NC
American Fitness Professionals & Associates – Online
Sarah’s passion for food was sparked by weekend trips to the farmers’ market and her belief that healthy meals should never feel boring.
After earning her culinary diploma and becoming a certified Nutrition and Wellness Consultant, she set out to help others fall in love with simple, wholesome cooking.
She’s all about celebrating the small wins in the kitchen: a colorful yogurt bowl, a new twist on a classic dish, or a homemade snack that feels just a little extra special.
Outside the kitchen, Sarah is a gardener at heart, a yoga enthusiast, and a believer that fresh herbs can brighten any meal, and any day.