Tuna Rice Bowls Recipe That’s Quick and Filling
Crafting delightful tuna rice bowls can turn an ordinary meal into a culinary adventure that sparks joy at your dining table.
Vibrant ingredients dance together, creating a symphony of flavors and textures you’ll absolutely love.
Mediterranean-inspired seasonings bring depth to this simple yet satisfying dish.
Fresh chunks of tuna complement perfectly cooked rice, making each bite a delectable experience.
Colorful vegetables add crunch and nutrition, elevating the bowl from basic to brilliant.
Protein-packed and quick to assemble, these bowls fit seamlessly into busy lifestyles.
You’ll want to savor every delicious spoonful and make this recipe a regular part of your meal rotation.
Why Tuna Rice Bowls Are Always Satisfying
Ingredients Needed For Tuna Rice Bowls
Fish Protein:Rice Base:Sauce and Seasoning:Optional Toppings:Steps To Make Tuna Rice Bowls At Home
Step 1: Whip Up Zesty Tuna Blend
In a mixing bowl, combine these tasty ingredients:Stir everything together until the ingredients are perfectly blended, creating a mouth-watering sauce that will make your taste buds dance.
Step 2: Create Your Rice Base
Grab a serving bowl and spread out the warm, fluffy cooked white rice as your delicious foundation. This will be the canvas for your flavor-packed tuna creation.
Step 3: Layer on the Goodness
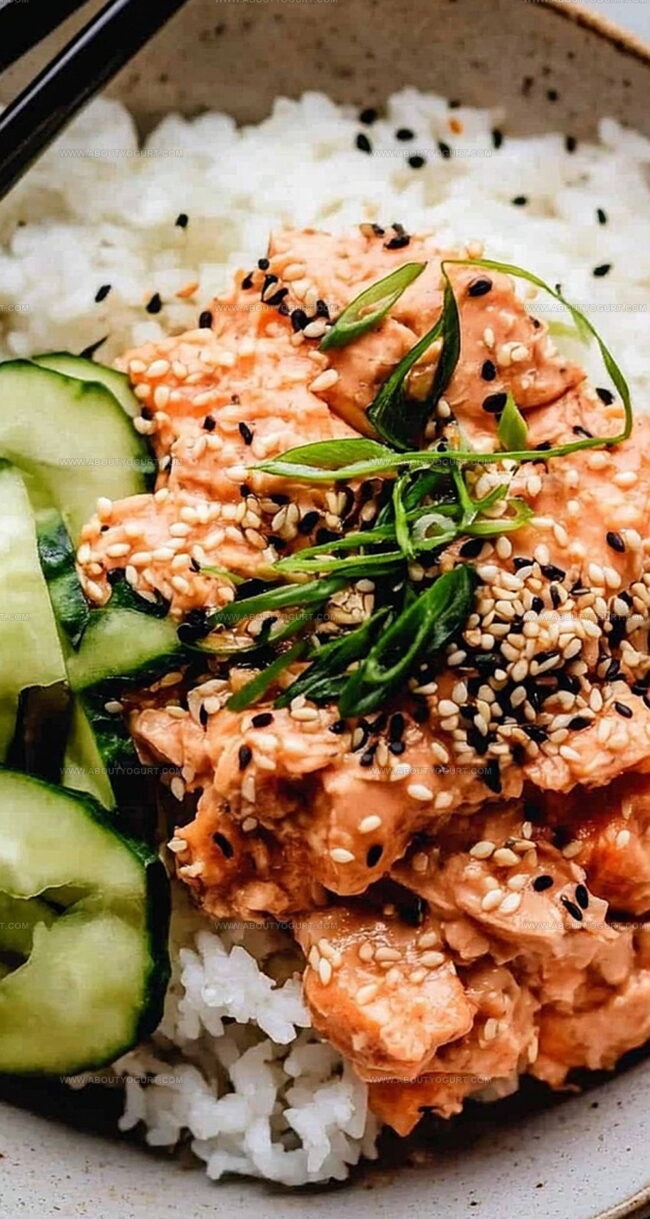
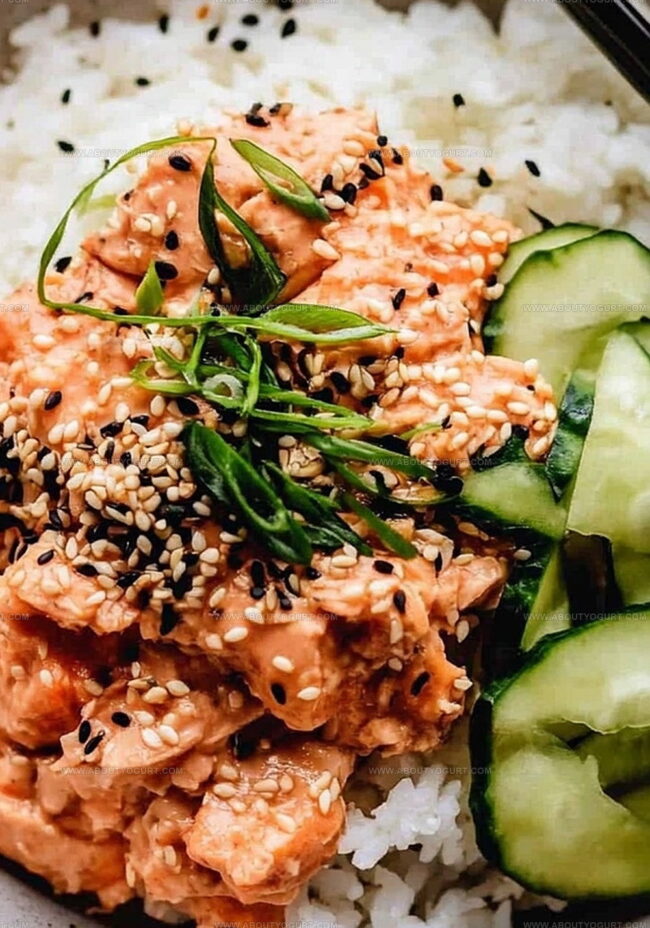
Carefully spoon the zesty tuna mixture directly over the rice, ensuring an even distribution that guarantees a burst of flavor in every single bite.
Step 4: Customize with Exciting Toppings
Sprinkle your favorite garnishes to add extra crunch and personality. Some awesome options include:Step 5: Dive Right In
Grab your fork and prepare for a flavor explosion! Serve the tuna rice bowl immediately while everything is fresh and vibrant. Each bite promises a perfect balance of textures and tastes that will leave you craving more.
Helpful Tips When Cooking Tuna Rice Bowls
Ways To Switch Up Tuna Rice Bowls
Good Sides With Tuna Rice Bowls
How To Store And Reheat Tuna Rice Bowls
Tuna Rice Bowls FAQ Section
The combination of mayonnaise, sriracha, rice wine vinegar, sesame oil, and soy sauce creates a creamy, tangy, and slightly spicy sauce that enhances the tuna’s natural flavor.
Yes, you can substitute white rice with brown rice, cauliflower rice, or even quinoa for a different base that still complements the tuna mixture.
Absolutely! You can prepare the tuna mixture and rice separately, storing them in the refrigerator, and assemble the bowl when ready to eat, making it perfect for quick lunches or dinners.
Print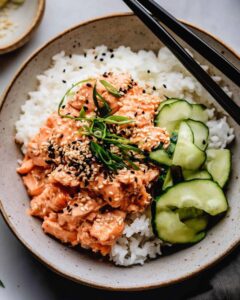
Tuna Rice Bowls Recipe
- Total Time: 10 minutes
- Yield: 2 1x
Description
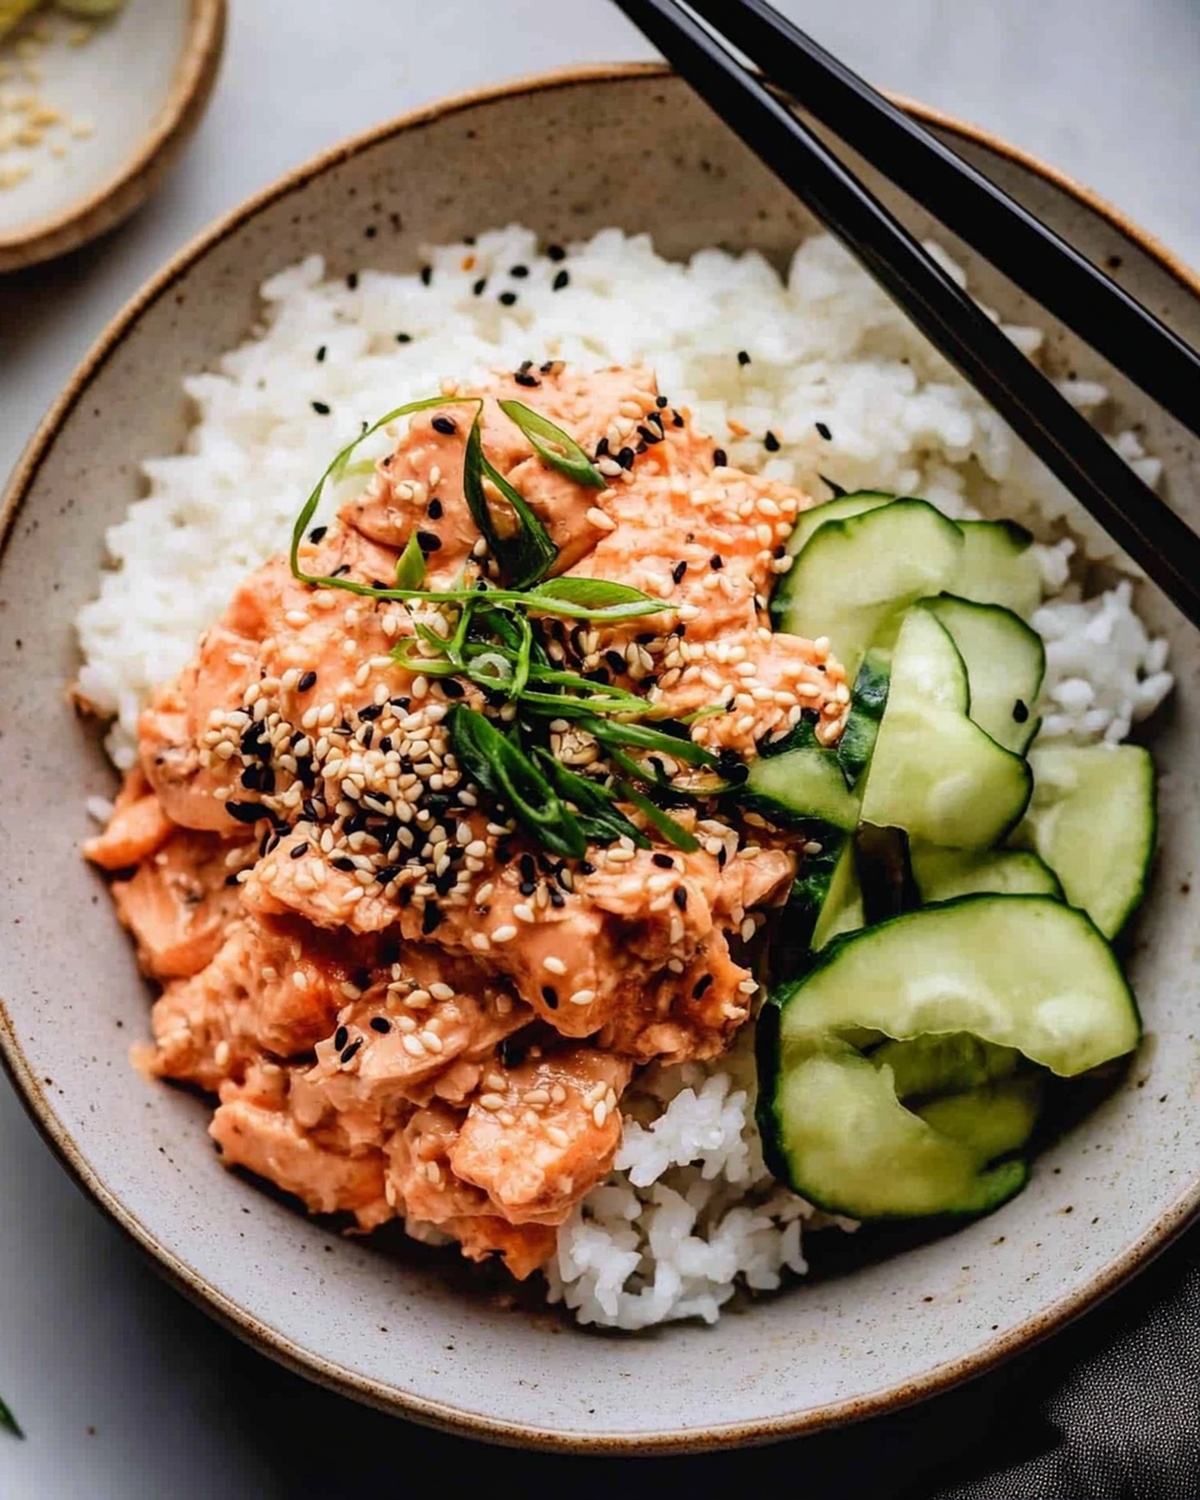
Delightful Tuna Rice Bowls elevate weeknight dinners with fresh Pacific fish and zesty Asian-inspired flavors. Crisp vegetables, sushi-grade tuna, and perfectly seasoned rice create a quick, nutritious meal you’ll crave again and again.
Ingredients
Protein:
- 1 5-ounce can tuna, drained (oil-packed tuna preferred)
Grains and Base:
- 1 1/2 cups cooked white rice
Toppings and Seasonings:
- 2 tablespoons mayonnaise (Kewpie Japanese mayonnaise preferred)
- 2 teaspoons sriracha
- 1 teaspoon rice wine vinegar
- 1 teaspoon toasted sesame oil
- 1/2 teaspoon soy sauce
- Black sesame seeds
- Furikake
- 1 cucumber (sliced)
- 1 sheet nori (seaweed, cut into strips)
- 2 green onions (sliced)
Instructions
- Whisk tuna, mayonnaise, sriracha, rice wine vinegar, sesame oil, and soy sauce in a mixing container until thoroughly combined, creating a zesty marinade.
- Transfer fluffy cooked white rice into individual serving bowls, ensuring an even base layer.
- Carefully spoon the prepared tuna mixture directly over the rice, allowing the flavors to meld and distribute evenly.
- Garnish with selected toppings such as sliced green onions, toasted sesame seeds, diced cucumber, or avocado cubes for added texture and visual appeal.
- Serve immediately while ingredients are fresh and at optimal temperature, ensuring a delightful and satisfying meal experience.
Notes
- Swap mayo for Greek yogurt to create a lighter, protein-packed version of the tuna mixture that adds extra tanginess.
- For gluten-free options, use tamari instead of traditional soy sauce and ensure all ingredients are certified gluten-free.
- Consider adding diced cucumber or avocado for extra crunch and healthy fats that complement the tuna’s rich flavor.
- Make this dish meal-prep friendly by preparing tuna mixture and rice separately, storing them in airtight containers for quick lunches throughout the week.
- Prep Time: 10 minutes
- Cook Time: 0 minutes
- Category: Lunch, Dinner
- Method: Blending
- Cuisine: Japanese
Nutrition
- Serving Size: 2
- Calories: 465 kcal
- Sugar: 2 g
- Sodium: 650 mg
- Fat: 28 g
- Saturated Fat: 4.5 g
- Unsaturated Fat: 21 g
- Trans Fat: 0 g
- Carbohydrates: 35 g
- Fiber: 1.5 g
- Protein: 30 g
- Cholesterol: 40 mg
Michael Thompson
Founder & Recipe Developer
Expertise
Education
Cascade Culinary Institute – Bend, OR
ServSafe Food Handler Certification – Portland, OR
Focus: Certified in core food safety and hygiene principles for both home and professional kitchens, with emphasis on ingredient handling, kitchen cleanliness, and safe preparation methods.
Mike’s kitchen journey began with a single goal: to make everyday meals feel like something worth celebrating.
After earning his Certificate in Culinary Arts from Cascade Culinary Institute, he spent years working with local farmers and small kitchens across Oregon, learning the beauty of seasonal, small-batch cooking.
Mike’s approach is simple, cook with what’s fresh, keep it approachable, and always leave room for a little creativity. When he’s not testing yogurt marinades or designing single-serving meals, you’ll find him hiking trails or hunting down the best berries at local markets.