Winter Wonderland Christmas Cookies Recipe
Winter nights sparkle with magical chocolate chip christmas cookies that promise warmth and comfort.
Cozy kitchens fill with sweet aromas of buttery goodness.
Memories of childhood celebrations dance through each delightful bite.
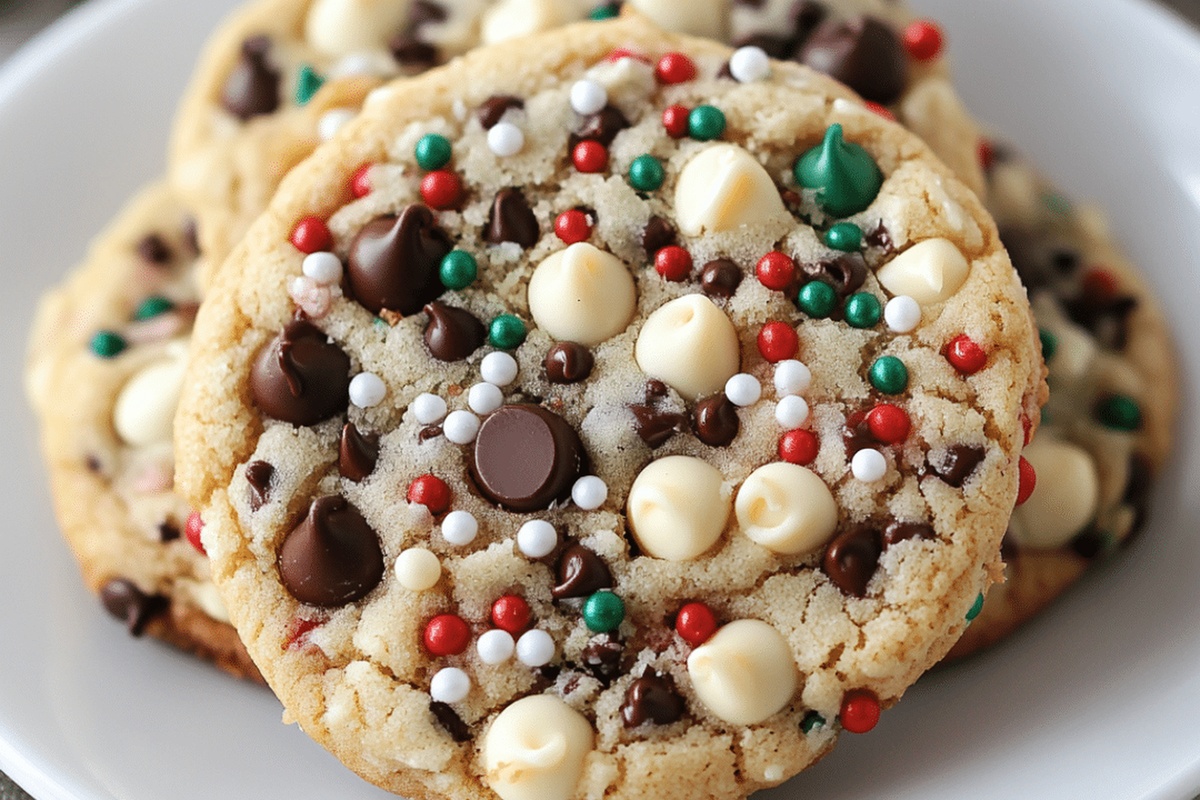
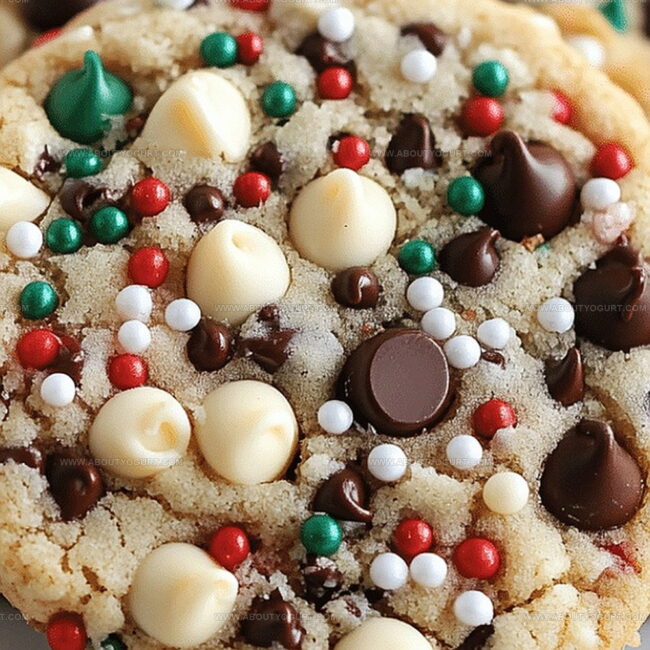
Delicate snowflake-shaped treats shimmer with sugary crystals and rich chocolate chunks.
Festive baking creates moments of pure joy and connection.
Crisp edges and soft centers invite you to indulge in seasonal happiness.
These delectable morsels will become your new holiday tradition.
Why Winter Wonderland Chocolate Chip Christmas Cookies Are Festive and Fun
Ingredients for Winter Wonderland Chocolate Chip Christmas Cookies
Main Ingredients:Chocolate and Flavor Enhancers:Dry Ingredients and Leavening Agents:How to Bake Winter Wonderland Chocolate Chip Christmas Cookies
Step 1: Prepare Baking Station
Grab your baking sheets and line them with parchment paper. Preheat the oven to a cozy 350°F (180°C), creating the perfect warm environment for your holiday treats.
Step 2: Create Creamy Base
In a spacious mixing bowl, whip together:Blend until the mixture becomes light, airy, and looks like fluffy snow.
Step 3: Add Moisture and Flavor
Gently incorporate eggs one at a time, ensuring each is fully mixed. Splash in vanilla extract for an extra burst of warmth and aroma.
Step 4: Combine Dry Ingredients
In a separate bowl, mix together:Gradually fold these dry ingredients into the wet mixture, stirring until everything is perfectly combined.
Step 5: Sprinkle Holiday Magic
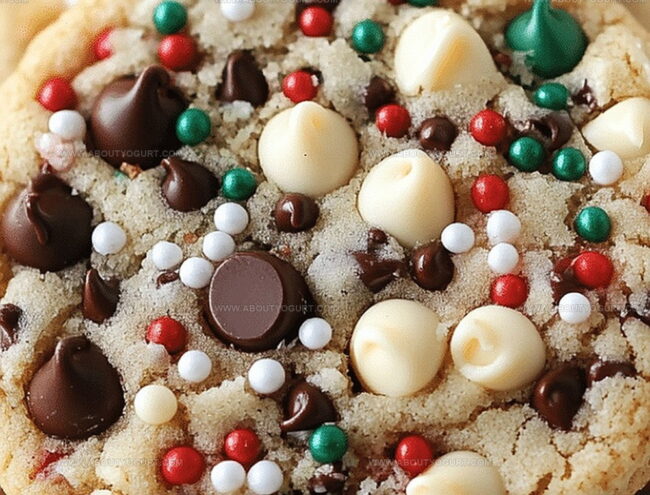
Gently fold into the dough:Ensure the mix-ins are evenly distributed for maximum deliciousness.
Step 6: Shape Magical Cookies
Drop rounded tablespoons of cookie dough onto the prepared baking sheets, leaving space between each dollop.
Step 7: Bake to Golden Perfection
Slide the baking sheets into the preheated oven. Bake for 10-12 minutes until the edges turn a beautiful golden brown.
Step 8: Cool and Celebrate
Let the cookies rest on the baking sheets for a few minutes. Transfer to wire racks and allow them to cool completely. Your winter wonderland treats are ready to bring joy and sweetness to your holiday celebration!
Pro Tips for Festive Chocolate Chip Cookies
Flavor Variations for Winter Wonderland Cookies
Perfect Pairings for Winter Wonderland Cookies
Storage Advice for Winter Wonderland Cookies
FAQs on Winter Wonderland Chocolate Chip Christmas Cookies
Yes, but reduce or omit the added salt in the recipe to prevent the cookies from becoming too salty.
Chill the dough for 30 minutes before baking, and ensure your butter isn’t too soft. Using cold butter can help maintain the cookie’s shape.
You can substitute with regular sprinkles or colored sugar to add a festive touch to your cookies. Regular rainbow sprinkles work perfectly fine.
Absolutely! Roll the dough into balls and freeze for up to 3 months. When ready to bake, place frozen dough directly on the baking sheet and add 2-3 extra minutes to the baking time.
Print
Winter Wonderland Chocolate Chip Christmas Cookies Recipe
- Total Time: 25-27 minutes
- Yield: 24 1x
Description
Festive winter wonderland chocolate chip christmas cookies bring pure holiday magic to kitchen counters everywhere. Sweet chocolate morsels nestled in buttery dough create delightful memories you’ll savor long after the season’s sparkle fades.
Ingredients
Main Ingredients:
- 3 cups all-purpose flour
- 1 cup unsalted butter, softened
- 1 cup granulated sugar
- 1 cup brown sugar, packed
- 2 large eggs
Chocolate and Sweet Additions:
- 1 cup white chocolate chips
- 1 cup dark chocolate chips
- 1/2 cup holiday sprinkles (red and green)
Leavening and Flavor Agents:
- 1 tablespoon vanilla extract
- 1 teaspoon baking soda
- 1/2 teaspoon baking powder
- 1/2 teaspoon salt
Instructions
- Prepare the oven by heating to 350F (180C) and line baking sheets with parchment paper for easy cookie removal.
- In a large bowl, whip butter and both sugars until the mixture becomes airy and pale, creating a smooth base for the cookies.
- Incorporate eggs individually, ensuring each is fully blended, then mix in vanilla extract to enhance the flavor profile.
- Sift together flour, baking soda, baking powder, and salt in a separate bowl to eliminate lumps and ensure even distribution.
- Gradually combine dry ingredients with the wet mixture, stirring until a cohesive dough forms without overmixing.
- Gently fold white and dark chocolate chips along with holiday sprinkles, distributing them evenly throughout the dough.
- Using a spoon or cookie scoop, place rounded dollops of dough onto prepared baking sheets, leaving space between each cookie.
- Bake for 10-12 minutes, watching for golden-brown edges that indicate perfect doneness and crisp exterior.
- Let cookies rest on baking sheets for 3-4 minutes to set, then transfer to wire cooling racks to prevent continued baking and achieve ideal texture.
Notes
- Chill the dough for 30 minutes before baking to prevent spreading and create thicker, chewier cookies.
- Experiment with different chocolate chip combinations like milk chocolate, semi-sweet, or festive colored chips for variety.
- Use parchment paper or silicone baking mats to ensure even baking and easy cookie removal.
- Store cookies in an airtight container at room temperature for up to 5 days to maintain freshness and soft texture.
- Prep Time: 15 minutes
- Cook Time: 10-12 minutes
- Category: Desserts, Snacks
- Method: Baking
- Cuisine: American
Nutrition
- Serving Size: 24
- Calories: 192
- Sugar: 13 g
- Sodium: 89 mg
- Fat: 10 g
- Saturated Fat: 6 g
- Unsaturated Fat: 4 g
- Trans Fat: 0.2 g
- Carbohydrates: 26 g
- Fiber: 1 g
- Protein: 2 g
- Cholesterol: 17 mg
Michael Thompson
Founder & Recipe Developer
Expertise
Education
Cascade Culinary Institute – Bend, OR
ServSafe Food Handler Certification – Portland, OR
Focus: Certified in core food safety and hygiene principles for both home and professional kitchens, with emphasis on ingredient handling, kitchen cleanliness, and safe preparation methods.
Mike’s kitchen journey began with a single goal: to make everyday meals feel like something worth celebrating.
After earning his Certificate in Culinary Arts from Cascade Culinary Institute, he spent years working with local farmers and small kitchens across Oregon, learning the beauty of seasonal, small-batch cooking.
Mike’s approach is simple, cook with what’s fresh, keep it approachable, and always leave room for a little creativity. When he’s not testing yogurt marinades or designing single-serving meals, you’ll find him hiking trails or hunting down the best berries at local markets.