Fudgy Brownie Mix Cookies Recipe: Simple Joy in Every Bite
Mixing store-bought brownie mix with simple ingredients creates an incredibly easy cookie treat that surprises everyone.
Chocolate lovers will adore this quick dessert hack.
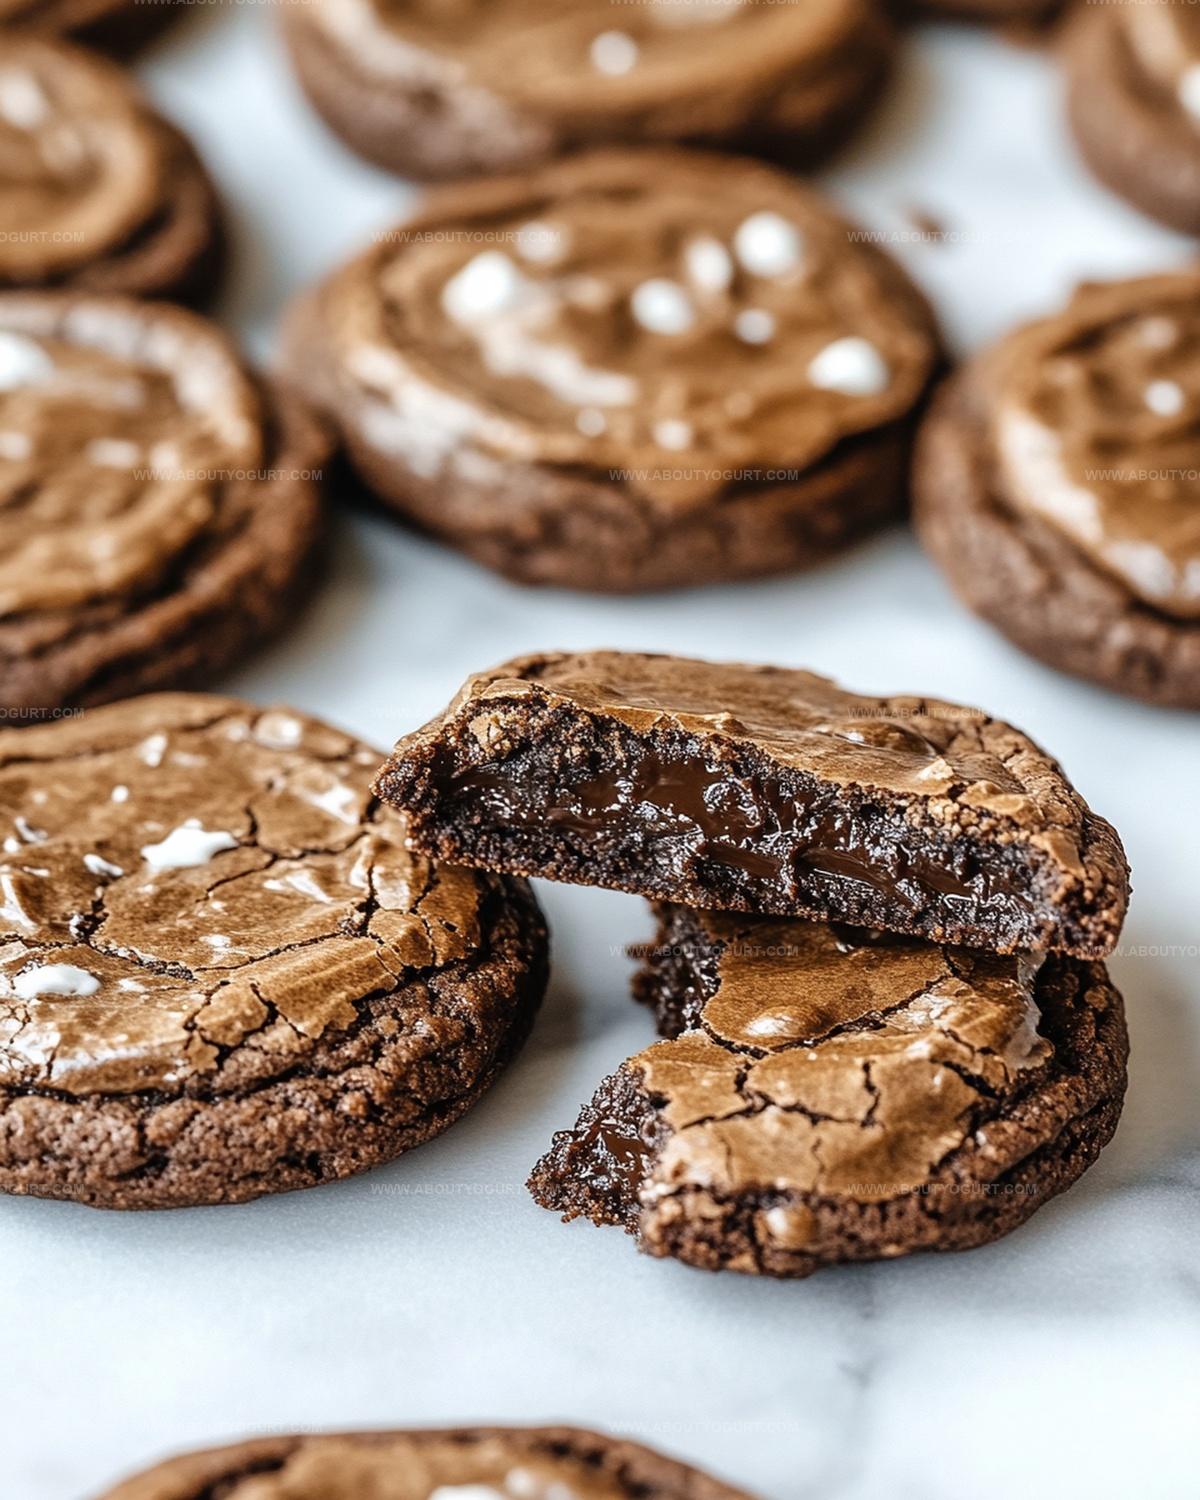
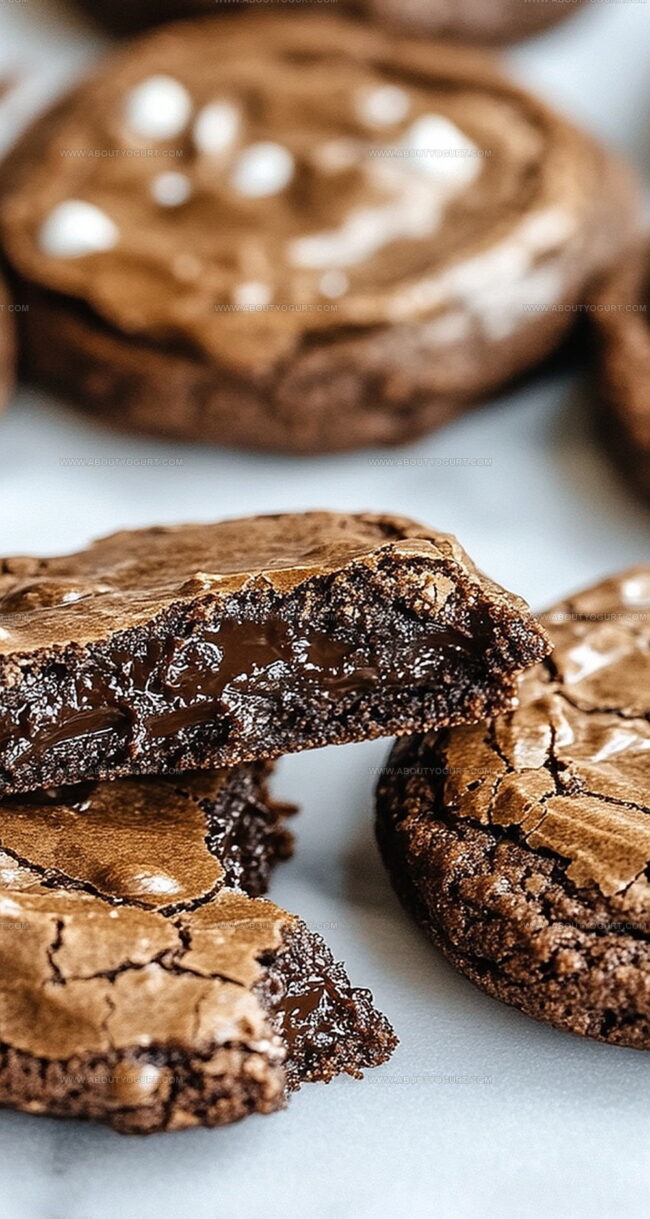
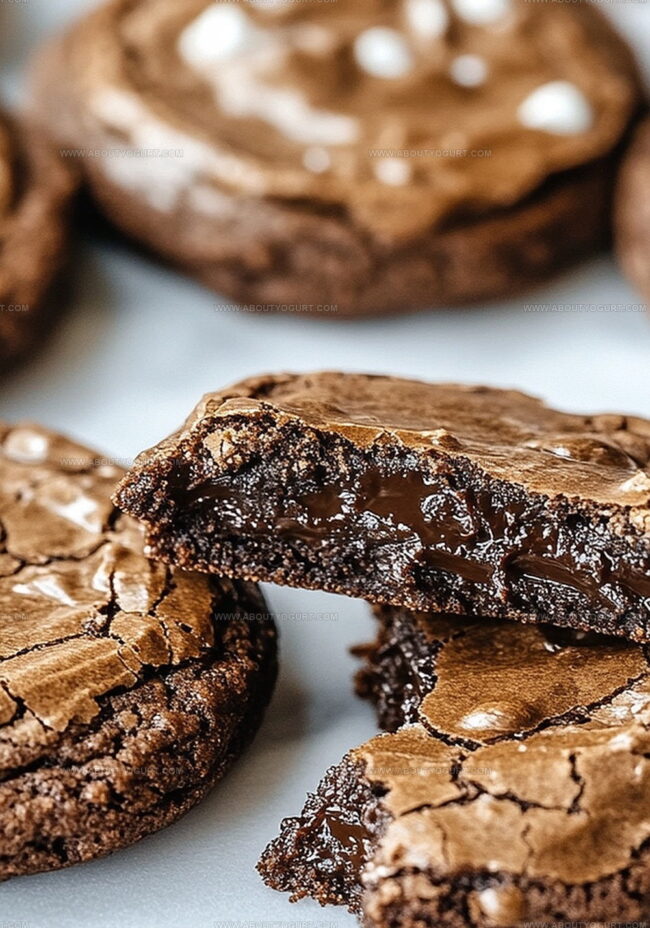
Soft, fudgy centers emerge from a surprisingly simple process.
Pantry staples combine effortlessly to produce decadent results.
No complicated techniques or professional baking skills required here.
We promise these cookies deliver rich chocolate satisfaction in minutes.
Whip up a batch and watch smiles spread across faces.
Why Brownie Mix Cookies Hit The Spot
Ingredients Needed For Brownie Mix Cookies
Brownie Dry Mix:Wet Ingredients:Mix-In Ingredients:Steps To Make Brownie Mix Cookies
Step 1: Warm Up the Oven
Set your oven to 350°F and grab a baking sheet. Cover the sheet with parchment paper to prevent sticking and make cleanup super easy.
Step 2: Create the Dough Base
Grab a large mixing bowl and toss in the brownie mix. Add these ingredients:Grab a wooden spoon and mix everything together until a soft, glossy dough forms. The mixture should look rich and smooth.
Step 3: Sprinkle in Chocolate Goodness
Fold chocolate chips into the dough. Make sure they’re evenly distributed so every bite gets a chocolate punch.
Step 4: Shape the Cookies
Use a cookie scoop or spoon to drop dollops of dough onto the prepared baking sheet. Space them out so they have room to spread and become deliciously crispy around the edges.
Step 5: Bake to Perfection
Slide the baking sheet into the preheated oven. Bake for 10 minutes. You’ll know they’re ready when the edges look set and the centers seem slightly underbaked – this keeps them wonderfully soft.
Step 6: Cool and Enjoy
Pull the baking sheet out of the oven and place it on a wire rack. Let the cookies rest on the pan for 10 minutes. Then transfer them to the rack to cool completely. This helps them firm up without overcooking.
Tips To Nail Brownie Mix Cookies
Simple Twists On Brownie Mix Cookies
Best Sips Or Snacks With Brownie Mix Cookies
How To Store Brownie Mix Cookies Right
Brownie Mix Cookies Common Questions
Yes, most boxed brownie mixes will work well in this recipe. Just ensure it’s a standard 15-16 oz mix for best results.
Add extra chocolate chips or mix in chopped chocolate chunks to intensify the chocolate flavor. You can also drizzle melted chocolate over cooled cookies.
Vegetable oil is recommended, but canola or light olive oil are good substitutes. Avoid using strong-flavored oils like coconut or extra virgin olive oil.
Absolutely! Scoop the dough onto a baking sheet, freeze until solid, then transfer to a freezer bag. Bake directly from frozen, adding 1-2 minutes to the baking time.
Print
Brownie Mix Cookies Recipe
- Total Time: 20 minutes
- Yield: 24 1x
Description
Chocolate lovers rejoice with these irresistible brownie mix cookies that blend rich fudgy goodness and classic cookie charm. Crisp edges, gooey centers, and minimal effort make these treats perfect for quick dessert cravings you’ll savor in every delightful bite.
Ingredients
Chocolate Ingredients:
- 1 18.3 ounces (518 grams) fudge brownie mix
- 1 cup (170 grams) chocolate chips
Liquid and Binding Ingredients:
- 1/2 cup (120 milliliters) vegetable oil
- 2 large eggs
Mixing Ingredients:
(no additional ingredients)
Instructions
- Warm the oven to 350°F and prepare a baking sheet with parchment paper for optimal cookie release.
- Blend brownie mix, vegetable oil, and eggs in a large mixing bowl, stirring until a cohesive, soft dough emerges.
- Gently incorporate chocolate chips, ensuring they are distributed evenly throughout the mixture.
- Using a cookie scoop or spoon, deposit uniform dollops of dough onto the prepared baking sheet, maintaining consistent spacing between each cookie.
- Slide the baking sheet into the preheated oven and bake for 10 minutes, watching for set edges and slightly underdone centers.
- Extract the sheet from the oven and position it on a wire cooling rack, allowing cookies to rest on the pan for 10 minutes.
- Transfer cookies directly to the wire rack, permitting them to cool completely and achieve their ideal texture.
Notes
- Customize mix-ins by swapping chocolate chips with chopped nuts, dried fruit, or white chocolate for exciting flavor variations.
- Ensure soft, chewy texture by slightly underbaking cookies and allowing them to set on the hot baking sheet after removing from oven.
- Transform recipe into gluten-free version by selecting a gluten-free brownie mix and checking all ingredient labels carefully.
- Create vegan cookies by using egg substitute like mashed banana or commercial egg replacer and selecting dairy-free brownie mix.
- Prep Time: 10 minutes
- Cook Time: 10 minutes
- Category: Desserts, Snacks
- Method: Baking
- Cuisine: American
Nutrition
- Serving Size: 24
- Calories: 182 kcal
- Sugar: 15 g
- Sodium: 95 mg
- Fat: 10 g
- Saturated Fat: 3.5 g
- Unsaturated Fat: 6 g
- Trans Fat: 0.1 g
- Carbohydrates: 23 g
- Fiber: 1.2 g
- Protein: 2.5 g
- Cholesterol: 30 mg
Michael Thompson
Founder & Recipe Developer
Expertise
Education
Cascade Culinary Institute – Bend, OR
ServSafe Food Handler Certification – Portland, OR
Focus: Certified in core food safety and hygiene principles for both home and professional kitchens, with emphasis on ingredient handling, kitchen cleanliness, and safe preparation methods.
Mike’s kitchen journey began with a single goal: to make everyday meals feel like something worth celebrating.
After earning his Certificate in Culinary Arts from Cascade Culinary Institute, he spent years working with local farmers and small kitchens across Oregon, learning the beauty of seasonal, small-batch cooking.
Mike’s approach is simple, cook with what’s fresh, keep it approachable, and always leave room for a little creativity. When he’s not testing yogurt marinades or designing single-serving meals, you’ll find him hiking trails or hunting down the best berries at local markets.