Scrumptious Butterfinger Balls Recipe: Sweet Homemade Joy
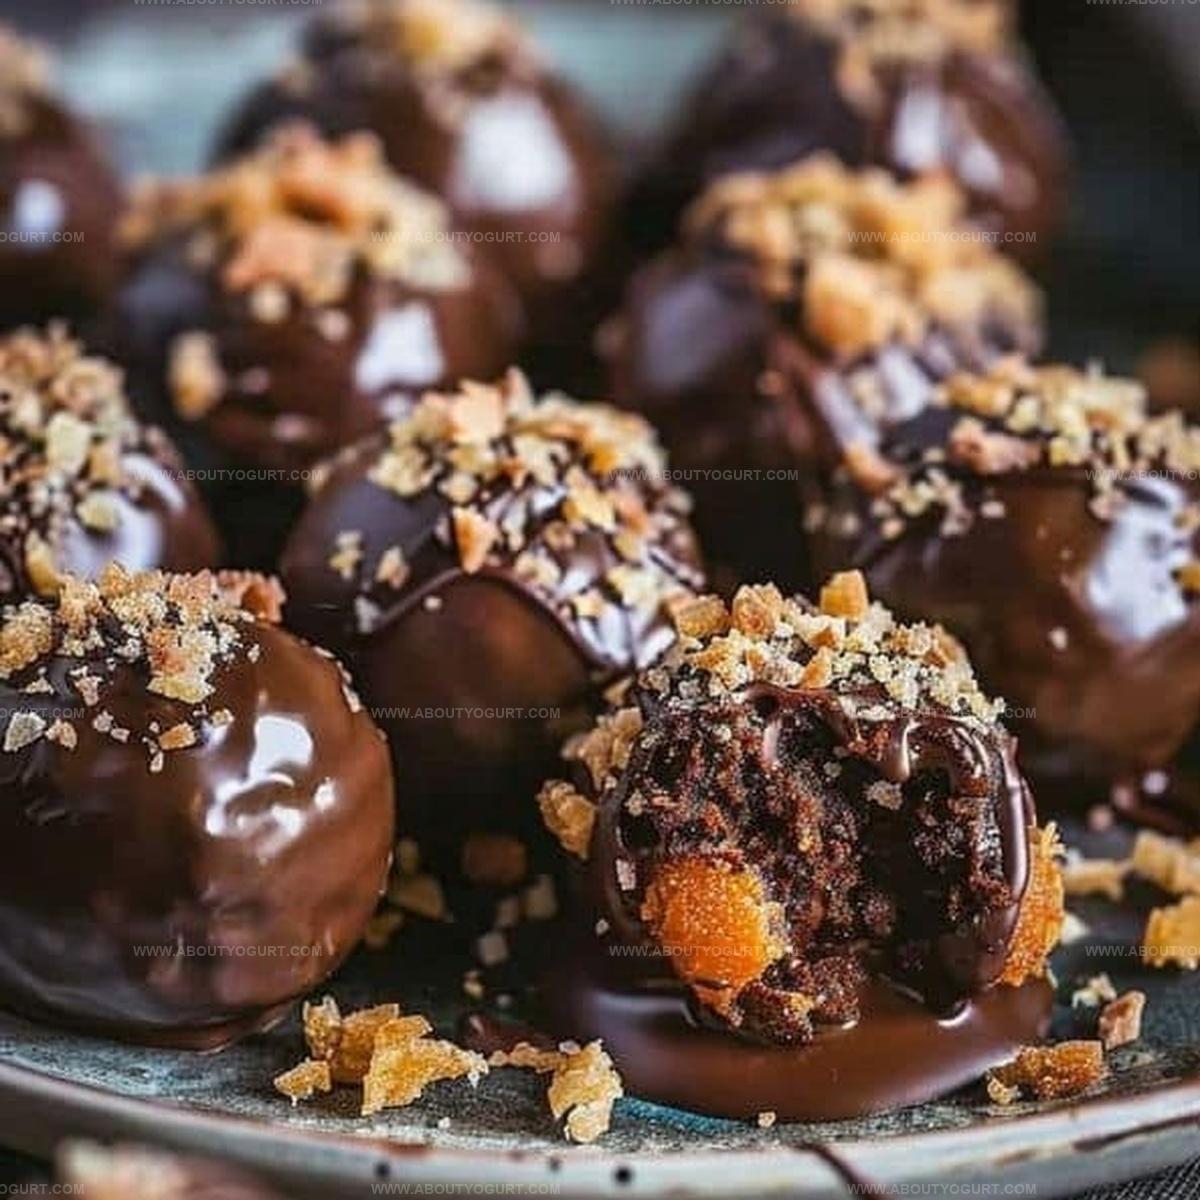
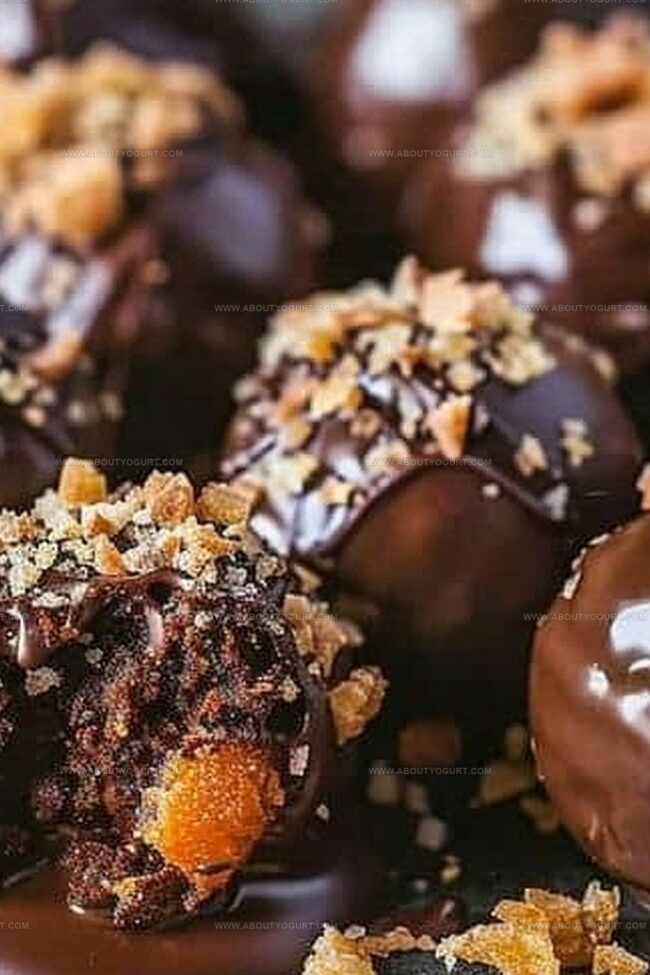
Sweet-tooth adventurers will adore these decadent butterfinger balls that promise a carnival of crunch and creamy indulgence.
Chocolate lovers recognize the magic when classic candy meets homemade creativity.
Crushing those signature orange-wrapped treats becomes the secret weapon for an irresistible no-bake dessert.
Minimal ingredients and zero baking skills make this recipe accessible to anyone with a mixer and serious snack ambitions.
Few kitchen projects deliver such delightful results with such little effort.
A quick chill in the refrigerator sets these bite-sized delights into perfect spheres of pure pleasure.
Why Butterfinger Balls Are a Crunchy Sweet Treat
Ingredients for Butterfinger Balls
Base Ingredients:Coating Ingredients:Preparation Ingredient:How to Make Butterfinger Balls Step by Step
Step 1: Whip Up the Creamy Base
In a large mixing bowl, combine softened peanut butter, finely crushed Butterfinger bars, powdered sugar, and melted butter. Stir the ingredients thoroughly until you create a smooth, well-blended mixture that holds together easily.
Step 2: Shape Into Delightful Treats
Using clean hands or a small cookie scoop, roll the mixture into bite-sized balls. Gently place each ball on a parchment-lined baking sheet, ensuring they are not touching each other.
Step 3: Chill and Firm Up
Transfer the baking sheet to the freezer and let the balls set for about 30 minutes. This cooling period helps the balls maintain their shape and makes the chocolate coating process easier.
Step 4: Prepare the Chocolate Coating
In a microwave-safe bowl, melt chocolate chips in 30-second intervals, stirring between each interval until the chocolate is completely smooth and glossy.
Step 5: Dunk and Decorate
Remove the chilled balls from the freezer. Using a fork or dipping tool, carefully lower each ball into the melted chocolate, ensuring full coverage. Gently tap off excess chocolate and return the coated balls to the parchment-lined baking sheet.
Step 6: Let Chocolate Set
Allow the chocolate-covered Butterfinger balls to rest at room temperature or in the refrigerator until the chocolate coating hardens completely. The chocolate will become firm and create a delicious shell around the creamy interior.
Pro Tips for Perfectly Crispy Butterfinger Balls

Creative Variations for Butterfinger Balls
Pairing Suggestions for Butterfinger Balls
Storage Tips for Butterfinger Balls
FAQs About Butterfinger Balls
Yes, you can substitute Butterfinger with other chocolate or peanut butter candy bars like Reese’s or Crunch bars for a similar result.
When stored in an airtight container in the refrigerator, they can last up to 1 week without losing their texture or flavor.
No, you just need basic kitchen tools like a mixing bowl, baking sheet, parchment paper, and a spoon or spatula for mixing and rolling.
No, these contain peanut butter and are not safe for individuals with peanut allergies. Always check ingredients carefully if preparing for others with dietary restrictions.
Print
Butterfinger Balls Recipe
- Total Time: 45 minutes
- Yield: 24 1x
Description
Irresistible Butterfinger Balls combine crushed candy bars with creamy peanut butter, creating a delightful no-bake dessert. Sweet chocolate coating and crunchy texture make these treats perfect for satisfying your ultimate candy craving.
Ingredients
Main Ingredients:
- 1 cup creamy peanut butter
- 1 cup crushed Butterfinger candy bars
- 1/2 cup unsalted butter, softened
Sweeteners:
- 2 cups powdered sugar
Coating:
- 1 1/2 cups semi-sweet chocolate chips
Instructions
- In a spacious mixing bowl, combine creamy peanut butter, finely pulverized Butterfinger candy bars, sifted powdered sugar, and softened butter, blending thoroughly until a uniform, cohesive mixture forms.
- Using clean hands or a small cookie scoop, carefully shape the mixture into compact, uniform spheres approximately one inch in diameter, positioning each ball onto a parchment-lined baking sheet.
- Transfer the baking sheet to the freezer and allow the balls to chill for approximately 25-35 minutes, ensuring they become firm and maintain their shape.
- Prepare a double boiler or microwave-safe bowl to gently melt chocolate chips, stirring occasionally to achieve a smooth, glossy consistency without scorching.
- Remove the chilled balls from the freezer and methodically dip each one into the melted chocolate, ensuring complete and even coverage by using a fork or dipping tool.
- Carefully return the chocolate-coated balls to the parchment-lined baking sheet, allowing excess chocolate to drip off and create a clean, refined appearance.
- Place the coated balls in the refrigerator for 10-15 minutes to rapidly set the chocolate coating, creating a crisp, glossy shell around the creamy peanut butter center.
Notes
- Experiment with different chocolate coatings like dark, milk, or white chocolate for varied flavor profiles.
- Crush Butterfingers finely to ensure a smooth, even texture throughout the mixture.
- Chill the mixture before rolling to make handling easier and prevent sticky hands.
- Store these treats in an airtight container in the refrigerator for up to a week, maintaining their delightful crunch and creamy texture.
- Prep Time: 10 minutes
- Cook Time: 35 minutes
- Category: Snacks, Desserts
- Method: Freezing
- Cuisine: American
Nutrition
- Serving Size: 24
- Calories: 196 kcal
- Sugar: 18 g
- Sodium: 42 mg
- Fat: 12 g
- Saturated Fat: 5 g
- Unsaturated Fat: 6 g
- Trans Fat: 0.2 g
- Carbohydrates: 20 g
- Fiber: 1 g
- Protein: 3 g
- Cholesterol: 15 mg
Sarah Mitchell
Content Specialist & Home Cooking Enthusiast
Expertise
Education
Asheville-Buncombe Technical Community College – Asheville, NC
American Fitness Professionals & Associates – Online
Sarah’s passion for food was sparked by weekend trips to the farmers’ market and her belief that healthy meals should never feel boring.
After earning her culinary diploma and becoming a certified Nutrition and Wellness Consultant, she set out to help others fall in love with simple, wholesome cooking.
She’s all about celebrating the small wins in the kitchen: a colorful yogurt bowl, a new twist on a classic dish, or a homemade snack that feels just a little extra special.
Outside the kitchen, Sarah is a gardener at heart, a yoga enthusiast, and a believer that fresh herbs can brighten any meal, and any day.