
Sweet & Fluffy Buttermilk Cake Recipe for Homemade Happiness
My grandma’s secret buttermilk cake recipe has been a cherished family tradition for generations.
Soft, pillowy textures make this dessert absolutely irresistible.
Memories of childhood summers flood back with each delectable slice.
Rich, tangy notes from buttermilk create a magical depth of flavor that sets this cake apart.
Baking this treat feels like wrapping yourself in a warm, comforting embrace.
Delicate crumbs melt on your tongue, promising pure culinary bliss.
You absolutely need to experience this extraordinary dessert right now.
Why Mary Berry Buttermilk Cake Is So Soft And Sweet

Ingredients In Mary Berry Buttermilk Cake
Primary Ingredients:Leavening and Seasoning:Flavor Enhancers:Topping Ingredients:How To Bake Mary Berry Buttermilk Cake With Ease

Step 1: Prepare Baking Equipment
Grab a 9-inch round cake tin and line it with parchment paper. Lightly grease the sides and bottom to ensure easy cake removal.
Step 2: Preheat The Oven
Warm up your oven to 350°F (175°C), creating the perfect environment for baking your cake.
Step 3: Cream Butter And Sugar
In a large mixing bowl, blend butter and brown sugar until the mixture becomes smooth and creamy, creating a rich foundation for your cake.
Step 4: Incorporate Egg
Add the egg and whisk until the mixture becomes silky and well-integrated, ensuring a consistent texture.
Step 5: Add Liquid Ingredients
Pour in buttermilk and vanilla, stirring gently to combine all the wet ingredients into a harmonious blend.
Step 6: Mix Dry Ingredients
Gradually sprinkle flour, baking soda, and salt into the wet mixture. Stir carefully until just combined, avoiding overmixing.
Step 7: Transfer Batter
Carefully pour the cake batter into the prepared tin, spreading it evenly for uniform baking.
Step 8: Initial Baking
Place the cake in the preheated oven and bake for 30 minutes until golden and a toothpick comes out clean.
Step 9: Prepare Topping
While the cake bakes, mix the topping ingredients in a separate bowl.
Step 10: Final Baking
After the initial 30 minutes, remove the cake and pour the prepared topping over it. Return to the oven and bake for an additional 10 minutes.
Step 11: Cool And Serve
Allow the cake to cool in the pan for 20 minutes. Serve warm or at room temperature, enjoying the delicious homemade treat.
Tips That Help With Mary Berry Buttermilk Cake
Tasty Changes For Mary Berry Buttermilk Cake
What Goes Well With Mary Berry Buttermilk Cake
How To Store Mary Berry Buttermilk Cake Correctly
Mary Berry Buttermilk Cake Questions Made Simple
No, buttermilk provides the unique tangy flavor and helps create a tender crumb. If you don’t have buttermilk, mix 1 tablespoon of white vinegar or lemon juice with 1 cup of milk and let it sit for 5 minutes.
Overmixing can develop gluten in the flour, making the cake tough and dense. Gently mix until ingredients are just incorporated to keep the cake tender and light.
Insert a toothpick or cake tester into the center. If it comes out clean or with just a few moist crumbs, the cake is done. Avoid overbaking, which can dry out the cake.
Print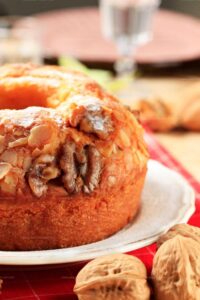
Buttermilk Cake Recipe
- Total Time: Approximately 55 minutes
- Yield: 8 1x
Description
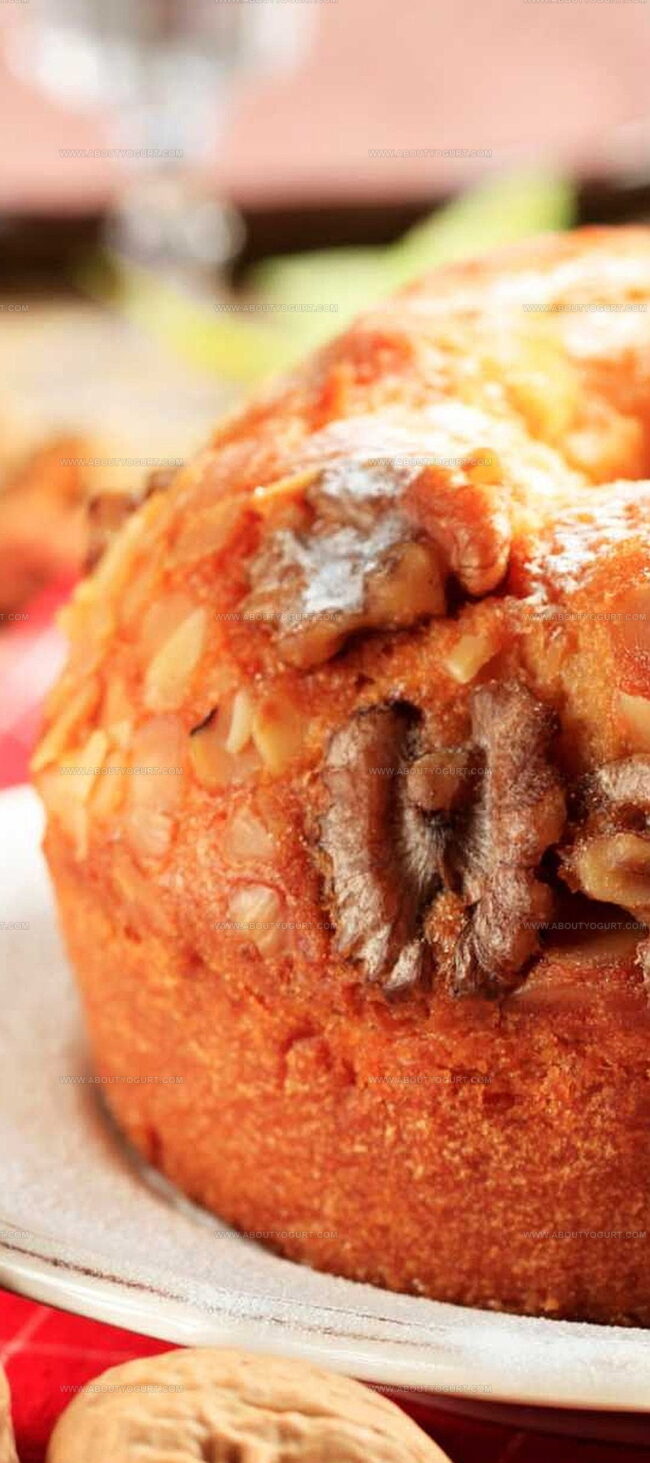
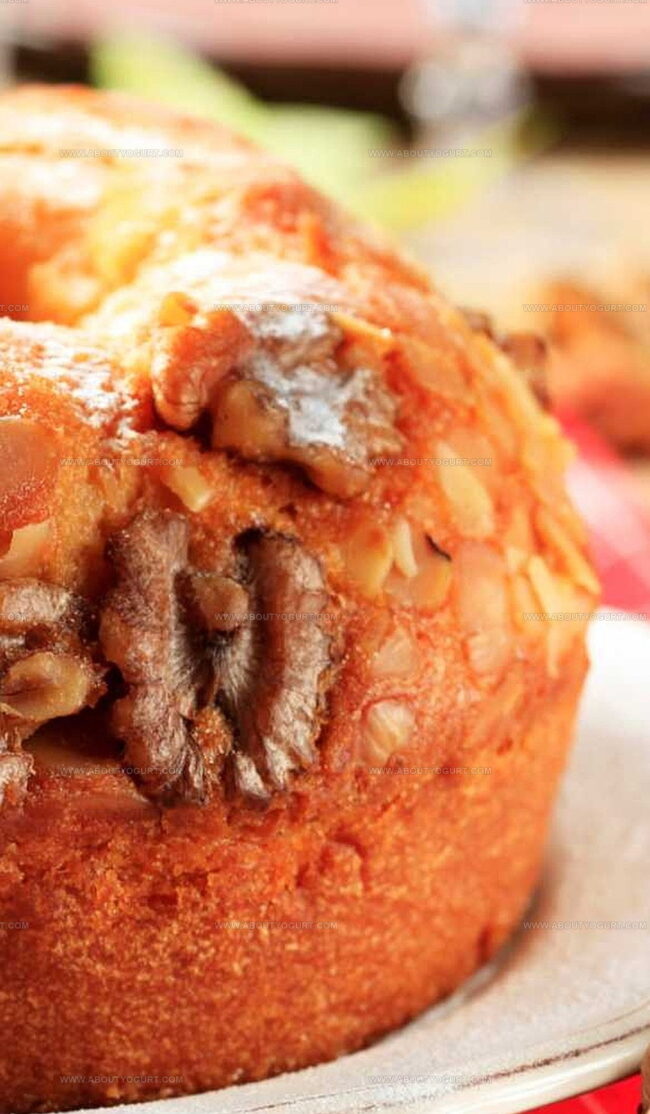
Buttermilk cake delivers a luxurious slice of homemade comfort with its moist, tender crumb and subtle tangy richness. Rich vanilla notes and delicate sweetness make this classic dessert a perfect companion for afternoon tea or special celebrations you’ll savor with pure delight.
Ingredients
Main Ingredients:
- 1 1/2 cups all-purpose flour
- 1 cup buttermilk
- 1 large egg
Cake Base Ingredients:
- 1/4 cup butter (very soft)
- 1 cup light brown sugar (firmly packed)
- 1 teaspoon vanilla extract
- 1 teaspoon baking soda
- 1/2 teaspoon salt
Topping Ingredients:
- 3 tablespoons melted butter
- 1/2 cup light brown sugar (firmly packed)
- 2 tablespoons half and half
- 1/8 teaspoon salt
- 3/4 cup diced pecans
Instructions
- Prepare a 9-inch round cake tin by lining and greasing the surface to prevent sticking.
- Warm the oven to 350°F (175°C) for optimal baking conditions.
- Cream butter and brown sugar together until the mixture becomes light and uniform.
- Incorporate the egg thoroughly, mixing until the batter appears smooth and well-integrated.
- Gently fold in buttermilk and vanilla extract, stirring until ingredients are evenly distributed.
- Gradually add flour, baking soda, and salt, mixing carefully to avoid overmixing and maintain a tender texture.
- Transfer the batter into the prepared cake tin, ensuring an even spread.
- Place the cake in the preheated oven and bake for 30 minutes, allowing the cake to develop a golden color and firm structure.
- Prepare the topping mixture while the cake is baking, combining ingredients until well blended.
- After the initial 30-minute baking period, carefully pour the prepared topping over the partially baked cake.
- Return the cake to the oven and continue baking for an additional 10 minutes to set the topping and complete the cooking process.
- Remove from the oven and let the cake rest in the pan for 20 minutes, allowing it to cool and set.
- Serve the cake warm or at room temperature, enjoying the rich, moist texture and complementary flavors.
Notes
- Ensure butter is softened at room temperature for smoother mixing and better cake texture.
- Use fresh buttermilk for the most tender and moist cake crumb, avoiding substitutes when possible.
- Check cake doneness by inserting a toothpick in the center – it should come out clean with a few moist crumbs.
- For gluten-free version, swap wheat flour with a 1:1 gluten-free baking blend to maintain similar consistency.
- Prep Time: Approximately 15 minutes
- Cook Time: 40 minutes
- Category: Desserts
- Method: Baking
- Cuisine: American
Nutrition
- Serving Size: 8
- Calories: 283 kcal
- Sugar: 20 g
- Sodium: 186 mg
- Fat: 15 g
- Saturated Fat: 7 g
- Unsaturated Fat: 7 g
- Trans Fat: 0.5 g
- Carbohydrates: 33 g
- Fiber: 1.5 g
- Protein: 3 g
- Cholesterol: 40 mg
Michael Thompson
Founder & Recipe Developer
Expertise
Education
Cascade Culinary Institute – Bend, OR
ServSafe Food Handler Certification – Portland, OR
Focus: Certified in core food safety and hygiene principles for both home and professional kitchens, with emphasis on ingredient handling, kitchen cleanliness, and safe preparation methods.
Mike’s kitchen journey began with a single goal: to make everyday meals feel like something worth celebrating.
After earning his Certificate in Culinary Arts from Cascade Culinary Institute, he spent years working with local farmers and small kitchens across Oregon, learning the beauty of seasonal, small-batch cooking.
Mike’s approach is simple, cook with what’s fresh, keep it approachable, and always leave room for a little creativity. When he’s not testing yogurt marinades or designing single-serving meals, you’ll find him hiking trails or hunting down the best berries at local markets.