
Cheesy Jalapeno Popper Balls Recipe for Game Night
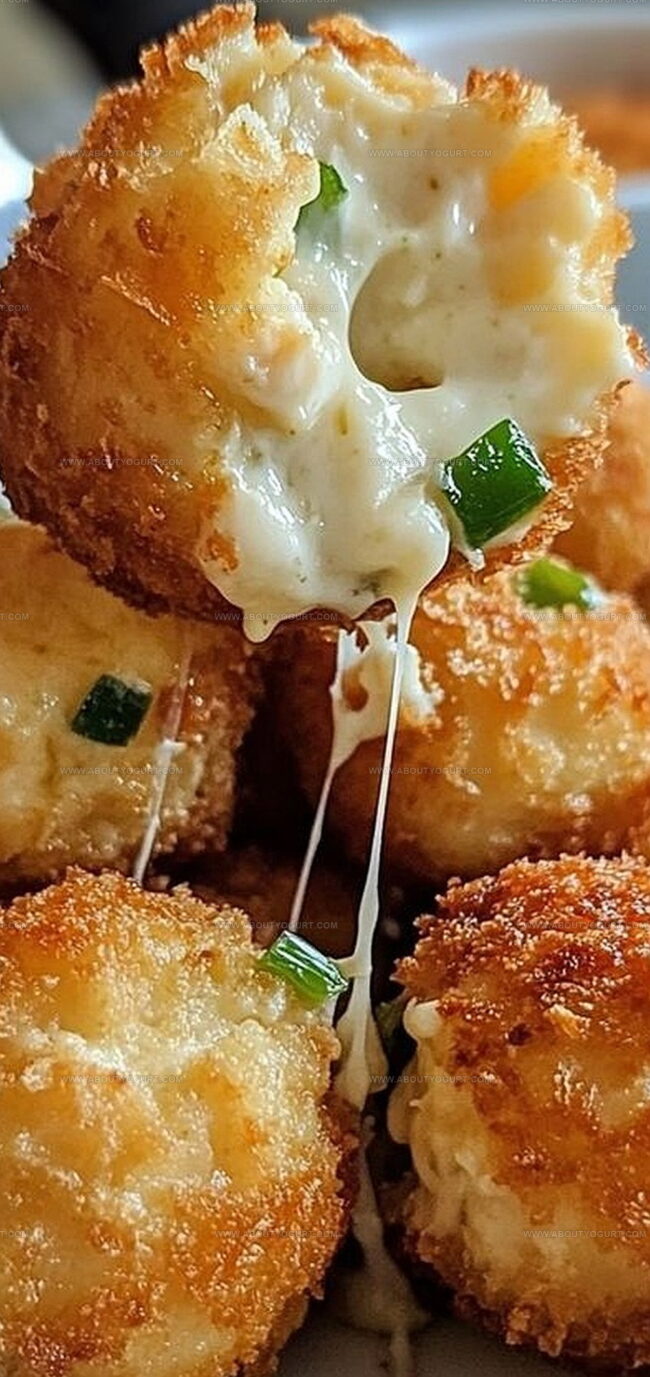
Crispy, golden cheesy jalapeño popper balls dance with spicy excitement on your plate.
Packed with zesty peppers and creamy cheese, these little bites pack a serious punch.
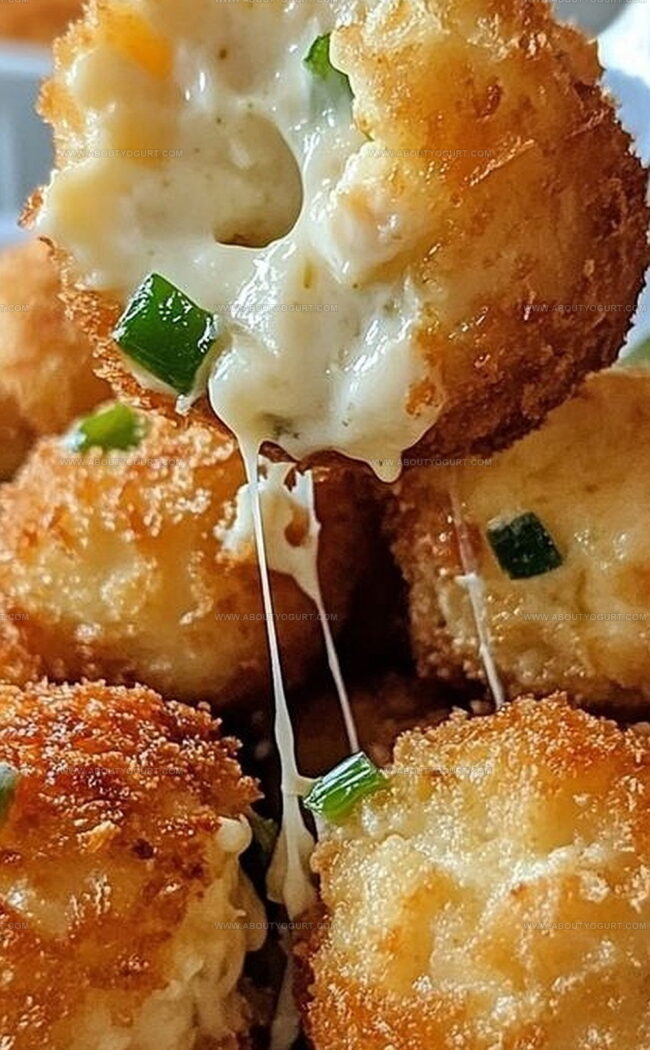
Crunchy exterior meets molten center in a delightful flavor explosion.
Small gatherings or game nights absolutely crave these irresistible snacks.
Each morsel promises a perfect balance of heat and richness that makes everyone smile.
Cheese lovers and spice enthusiasts will find themselves reaching for just one more – but we know that’s impossible.
Roll up your sleeves and let’s make magic happen in the kitchen.
What Makes Cheesy Jalapeno Popper Balls So Tasty
Components of Cheesy Jalapeno Popper Balls
Main Ingredients:Breading Ingredients:Cooking Ingredients:Step-by-Step Cheesy Jalapeno Popper Balls Recipe
Step 1: Blend Flavor-Packed Ingredients
Grab a spacious mixing bowl and toss in softened cream cheese, shredded cheddar cheese, crispy crumbled bacon, diced jalapenos, and chopped green onions. Stir everything together until the mixture looks evenly combined and smells amazing.
Step 2: Shape Delicious Cheese Bites
Using clean hands or a handy cookie scoop, transform the cheesy mixture into small, bite-sized balls. Gently place each ball onto a clean baking sheet, making sure they’re not touching each other.
Step 3: Create Crispy Coating Station
Set up three separate bowls for your breading adventure:Step 4: Coat Cheese Balls
Roll each cheese ball through the stations:Step 5: Fry to Golden Perfection
Heat vegetable oil in a large skillet or deep fryer until it reaches 350°F. Carefully drop cheese balls into the hot oil, cooking in small batches. Fry until they turn a gorgeous golden brown and become wonderfully crispy, about 3-4 minutes per batch.
Step 6: Drain Excess Oil
Use a slotted spoon to rescue the cheese balls from the oil. Let them rest on paper towels to drain any extra oil.
Step 7: Serve and Enjoy
Plate these hot, crispy cheese balls immediately. Pair with your favorite dipping sauce for an extra flavor explosion.
Cooking Tips for Cheesy Jalapeno Popper Balls
Flavorful Variations of Cheesy Jalapeno Popper Balls
Pairing Ideas for Cheesy Jalapeno Popper Balls
How to Keep Cheesy Jalapeno Popper Balls Fresh
FAQs Regarding Cheesy Jalapeno Popper Balls
The heat level depends on the jalapenos. Remove seeds and membranes for milder flavor, or keep them for extra kick.
Prepare cheese balls in advance and refrigerate. Bread and fry just before serving to maintain crispiness.
Regular breadcrumbs work fine. For extra crunch, try crushed crackers or cornflake crumbs as alternative coatings.
Ensure cheese balls are tightly packed and fully coated in breadcrumbs. Chill before frying to help them hold shape better.
Print
Cheesy Jalapeno Popper Balls Recipe
- Total Time: 25 minutes
- Yield: 46 1x
Description
Spicy and creamy cheesy jalapeno popper balls bring explosive flavor straight from appetizer heaven. Crispy golden breading hides molten cheese and zesty pepper core, promising irresistible bites that spark party excitement for hungry guests.
Ingredients
Main Ingredients:
- 1 cup shredded cheddar cheese
- 8 ounces (226 grams) cream cheese, softened
- 4 strips (1/2 cup) crumbled bacon
- 4–6 fresh jalapenos, seeded and finely chopped
- 1/2 cup chopped green onions
Binding Ingredients:
- 2 large eggs, beaten
- 1 cup all-purpose flour
Coating Ingredients:
- 2 cups panko breadcrumbs
- Vegetable oil for frying
Instructions
- Create a creamy filling by thoroughly blending softened cream cheese, sharp cheddar, crispy bacon fragments, finely diced jalapenos, and fresh green onions in a spacious mixing bowl.
- Craft uniform spheres approximately one inch in diameter using hands or a compact cookie scoop, positioning each carefully on a clean baking sheet.
- Establish a three-stage coating preparation: distribute flour, whisked eggs, and crunchy panko breadcrumbs into separate shallow containers.
- Transform each cheese sphere through a meticulous coating process: first roll in flour for initial coverage, submerge completely in beaten eggs, then generously encase with panko for ultimate crispiness.
- Prepare cooking oil in a deep skillet or fryer, heating to precise 350°F (175°C) for optimal frying performance.
- Carefully submerge cheese spheres in hot oil, frying in controlled batches until achieving a gorgeous golden-brown exterior and maintaining internal creaminess, approximately 3-4 minutes per batch.
- Extract fried spheres using a perforated spoon, allowing excess oil to drain thoroughly on absorbent paper towels.
- Present immediately while piping hot, accompanied by complementary dipping sauces that enhance the appetizer’s zesty flavor profile.
Notes
- Customize heat levels by removing jalapeno seeds for milder taste or adding extra chopped peppers for more spice.
- Prep balls ahead of time and refrigerate for 30 minutes before breading to help them hold shape better during frying.
- Use gluten-free breadcrumbs and flour for a celiac-friendly version without compromising crispy texture.
- Bake cheese balls at 400F for 15-20 minutes as a healthier alternative to deep-frying, ensuring they’re lightly sprayed with cooking oil for golden crispiness.
- Prep Time: 15 minutes
- Cook Time: 10 minutes
- Category: Appetizer, Snacks
- Method: Frying
- Cuisine: American
Nutrition
- Serving Size: 46
- Calories: 121
- Sugar: 0.5 g
- Sodium: 174 mg
- Fat: 8 g
- Saturated Fat: 3.5 g
- Unsaturated Fat: 4 g
- Trans Fat: 0.1 g
- Carbohydrates: 7 g
- Fiber: 0.6 g
- Protein: 4 g
- Cholesterol: 37 mg
Michael Thompson
Founder & Recipe Developer
Expertise
Education
Cascade Culinary Institute – Bend, OR
ServSafe Food Handler Certification – Portland, OR
Focus: Certified in core food safety and hygiene principles for both home and professional kitchens, with emphasis on ingredient handling, kitchen cleanliness, and safe preparation methods.
Mike’s kitchen journey began with a single goal: to make everyday meals feel like something worth celebrating.
After earning his Certificate in Culinary Arts from Cascade Culinary Institute, he spent years working with local farmers and small kitchens across Oregon, learning the beauty of seasonal, small-batch cooking.
Mike’s approach is simple, cook with what’s fresh, keep it approachable, and always leave room for a little creativity. When he’s not testing yogurt marinades or designing single-serving meals, you’ll find him hiking trails or hunting down the best berries at local markets.