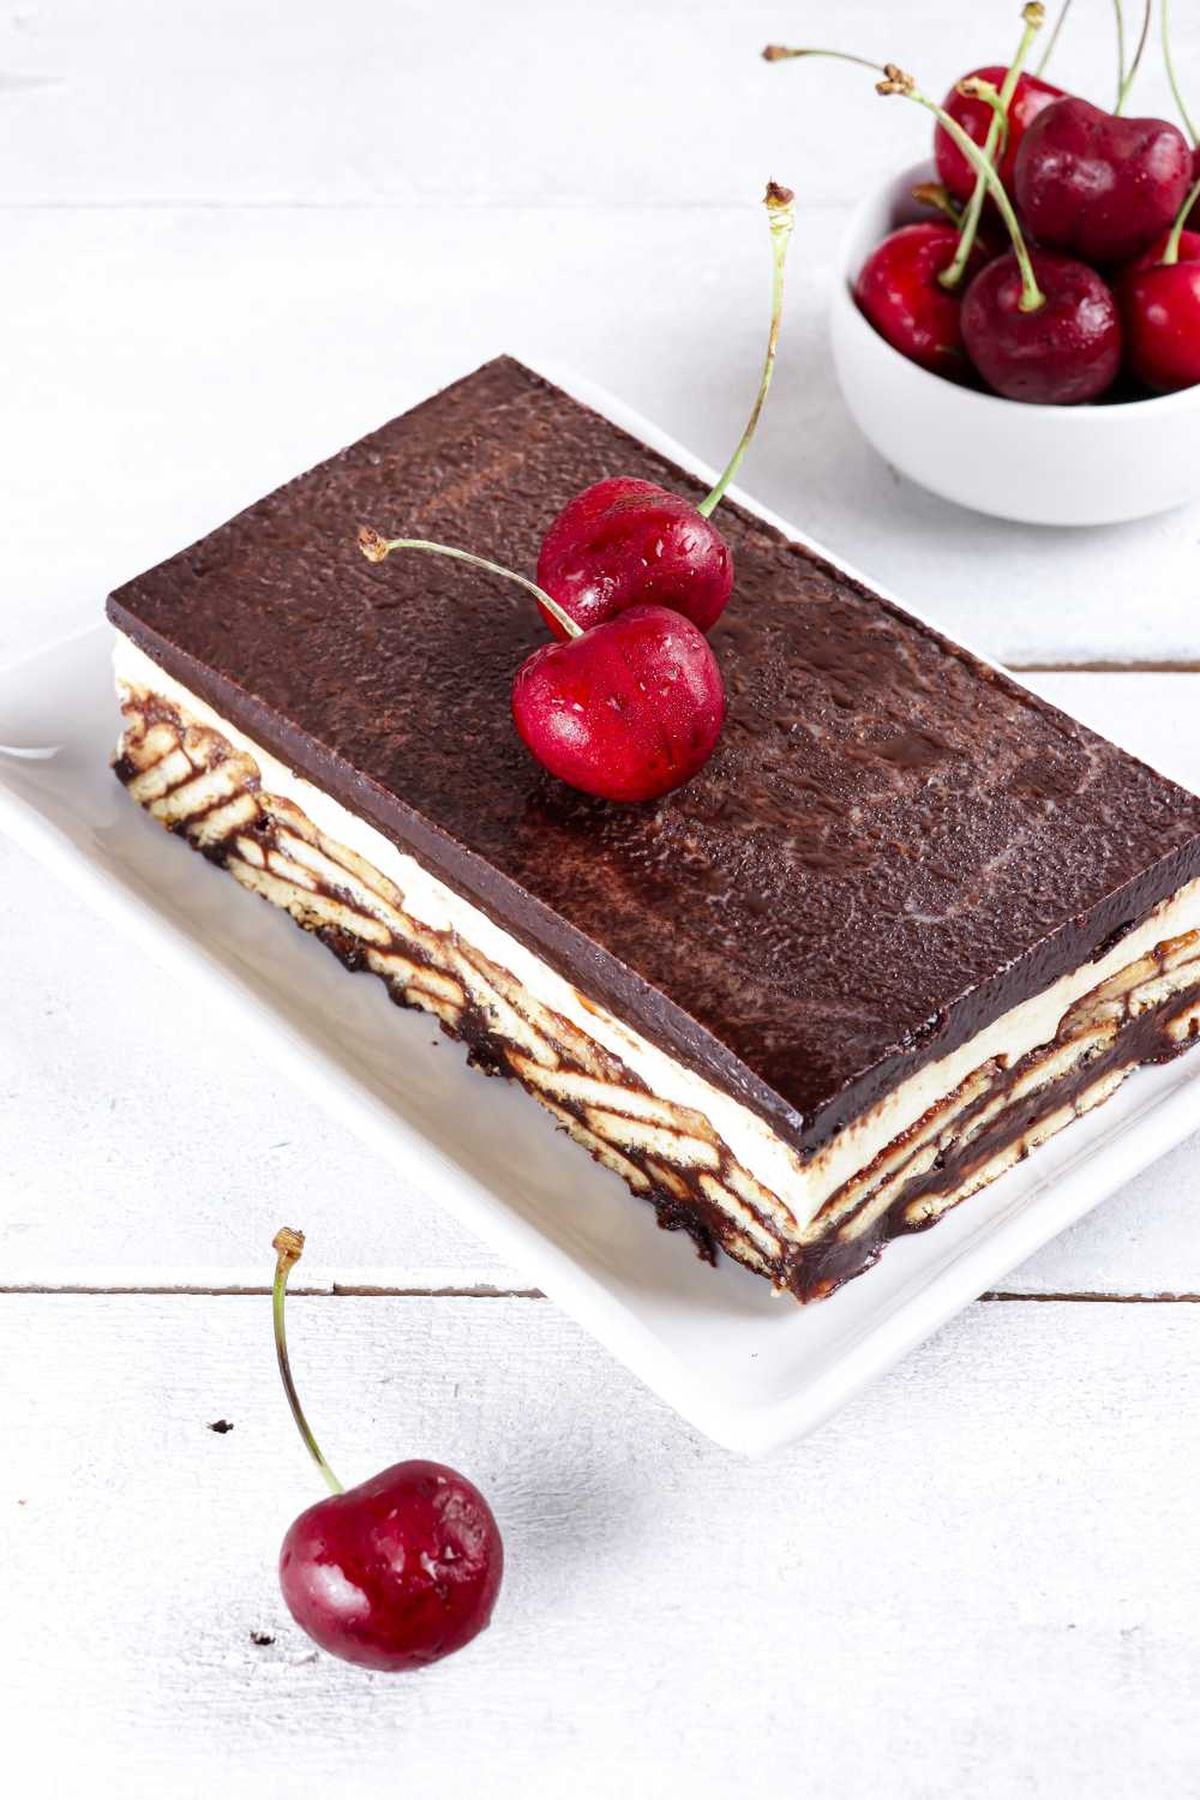
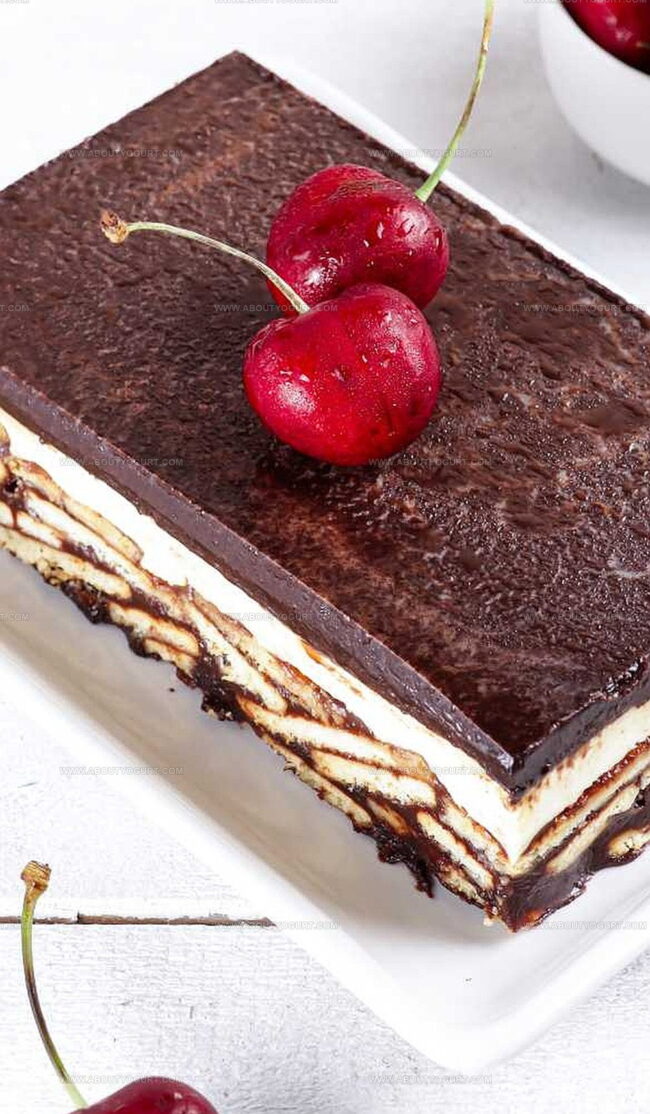
Chocolate Refrigerator Cake Recipe with Easy Sweet Slices
Creamy chocolate magic weaves its spell in this refrigerator cake that promises pure indulgence without turning on the oven.
Sweet layers of decadence come together effortlessly with minimal fuss and maximum flavor.
Chilled desserts have a special charm that captures everyone’s imagination.
No baking skills required means anyone can master this delightful treat.
Crisp cookies and rich chocolate merge into a luxurious no-bake experience that feels like a culinary secret.
Minimal ingredients and simple steps make this dessert a game-changer for busy cooks.
You’ll fall in love with how quickly this spectacular cake comes together, tempting everyone at the table.
Prepare to be amazed by a dessert that looks impressive but takes hardly any effort.
Why Nigella Chocolate Refrigerator Cake Is So Easy And Fun
What Goes In Nigella Chocolate Refrigerator Cake
Main Ingredients:Nuts and Fruits:Flavor Enhancers:How To Prepare Nigella Chocolate Refrigerator Cake
Step 1: Prepare Springform Pan
Line the bottom and sides of an 18cm springform pan with parchment paper, ensuring complete coverage to prevent sticking and make removal easier.
Step 2: Crumble Biscuit Base
Break biscuits into uneven, rustic chunks using your hands or a rolling pin, creating a variety of sizes for interesting texture.
Step 3: Create Chocolate Mixture
Gently melt together:Stir until smooth and fully combined in a large mixing bowl.
Step 4: Combine Cake Ingredients
Fold into the melted chocolate mixture:Mix thoroughly until all ingredients are evenly distributed.
Step 5: Shape and Compress Cake
Transfer the mixture into the prepared springform pan, pressing down firmly with the back of a spoon to create a compact, even layer.
Step 6: Create Chocolate Topping
Melt chocolate and butter together in a double boiler or microwave, stirring until glossy and completely smooth.
Step 7: Finish and Chill
Pour the melted chocolate topping over the cake, ensuring complete and even coverage. Refrigerate for at least 2 hours or preferably overnight to set completely.
Step 8: Serve Chilled
Remove from refrigerator, release from springform pan, slice into wedges, and serve directly from the fridge for the best texture and flavor.
Tips That Help With Nigella Chocolate Refrigerator Cake
Fun Twists For Nigella Chocolate Refrigerator Cake
What To Pair With Nigella Chocolate Refrigerator Cake
How To Keep Nigella Chocolate Refrigerator Cake Cold And Crisp
Nigella Chocolate Refrigerator Cake Question Guide
Yes, you can replace brandy with rum, orange juice, or simply omit it for a non-alcoholic version.
Digestive biscuits or graham crackers are ideal, but any plain, crisp cookies will work well.
Yes, the recipe is vegetarian-friendly, though check your specific ingredients to ensure they meet your dietary requirements.
The cake can be stored in the refrigerator for up to 5-7 days when kept in an airtight container.
Print
Chocolate Refrigerator Cake Recipe
- Total Time: 2 hours 25 minutes
- Yield: 6 1x
Description
Indulgent chocolate refrigerator cake promises a luxurious journey through rich, creamy layers of pure chocolate bliss. Chilled dessert delivers decadent satisfaction, inviting sweet-toothed enthusiasts to savor each velvety, irresistible bite.
Ingredients
Main Ingredients:
- 200g digestive biscuits
- 150g dark chocolate
- 100g dried pears, chopped
- 100g chopped pistachios
Wet Ingredients:
- 180g unsalted butter
- 2 tablespoons golden syrup
- 1 tablespoon brandy (or orange juice)
Flavor Enhancers:
- 2 tablespoons cocoa powder
- 3 teaspoons crystallised ginger
Instructions
- Prepare an 18cm springform tin by lining it completely with parchment paper, ensuring smooth coverage on bottom and sides.
- Roughly crush the biscuits into uneven, bite-sized fragments using a rolling pin or hands.
- Create a rich chocolate base by gently melting butter, cocoa powder, golden syrup, and brandy in a spacious mixing bowl, stirring until smooth and glossy.
- Incorporate crushed biscuits, chopped nuts, diced pears, and minced crystallized ginger into the melted chocolate mixture, blending thoroughly to distribute ingredients evenly.
- Transfer the decadent mixture into the prepared tin, using a spatula to compress and level the surface, eliminating air pockets.
- Prepare the chocolate glaze by melting chocolate and butter together using a double boiler or microwave, whisking until completely unified and silky.
- Cascade the molten chocolate glaze over the cake, ensuring complete and uniform coverage across the entire surface.
- Chill the cake in the refrigerator for a minimum of 2 hours, preferably overnight, to allow flavors to meld and texture to set firmly.
- When ready to serve, carefully release the springform tin and slice the cake into elegant portions directly from the refrigerator.
Notes
- Swap traditional biscuits with gluten-free alternatives to create a celiac-friendly version of this rich dessert.
- Experiment with different nuts like almonds or pecans to add unique texture and flavor profiles.
- Replace brandy with orange juice or coffee liqueur for a non-alcoholic twist that complements the chocolate’s depth.
- Use high-quality dark chocolate with 70% cocoa content for an intense, sophisticated taste that elevates the entire dessert.
- Prep Time: 15 minutes
- Cook Time: 10 minutes
- Category: Desserts
- Method: None
- Cuisine: American
Nutrition
- Serving Size: 6
- Calories: 444 kcal
- Sugar: 31 g
- Sodium: 55 mg
- Fat: 27 g
- Saturated Fat: 14 g
- Unsaturated Fat: 12 g
- Trans Fat: 0.2 g
- Carbohydrates: 44 g
- Fiber: 5 g
- Protein: 6 g
- Cholesterol: 45 mg
Michael Thompson
Founder & Recipe Developer
Expertise
Education
Cascade Culinary Institute – Bend, OR
ServSafe Food Handler Certification – Portland, OR
Focus: Certified in core food safety and hygiene principles for both home and professional kitchens, with emphasis on ingredient handling, kitchen cleanliness, and safe preparation methods.
Mike’s kitchen journey began with a single goal: to make everyday meals feel like something worth celebrating.
After earning his Certificate in Culinary Arts from Cascade Culinary Institute, he spent years working with local farmers and small kitchens across Oregon, learning the beauty of seasonal, small-batch cooking.
Mike’s approach is simple, cook with what’s fresh, keep it approachable, and always leave room for a little creativity. When he’s not testing yogurt marinades or designing single-serving meals, you’ll find him hiking trails or hunting down the best berries at local markets.