Homemade Chocolate Truffles Recipe with Velvety Richness
Crafting delectable chocolate truffles can transport you to a world of rich, velvety indulgence.
Sweet sensations emerge from simple ingredients blended with care and passion.
Chocolate becomes the star of this decadent culinary adventure.
Silky ganache melts together, creating magical moments in your kitchen.
Professional pastry techniques feel surprisingly achievable with this straightforward approach.
Each truffle promises a luxurious experience that delights the senses.
You’ll find yourself falling in love with every smooth, mouthwatering bite.
Dive into this recipe and unlock the secrets of irresistible homemade treats.
Why Nigella Chocolate Truffles Are A Sweet Treat

Nigella Chocolate Truffles Ingredient Guide
Chocolate Base:Flavor Enhancers:Coating Options:How To Prepare Nigella Chocolate Truffles
Step 1: Prepare Chocolate Base
Finely chop high-quality dark chocolate into small, uniform pieces and transfer them into a spacious heatproof bowl. Ensure the chocolate pieces are similar in size for even melting.
Step 2: Warm Cream and Butter
Combine heavy cream and unsalted butter in a saucepan. Heat the mixture gently over medium-low heat until it starts to steam, watching carefully to prevent boiling. The liquid should be hot but not bubbling.
Step 3: Create Chocolate Ganache
Pour the steaming cream and butter mixture directly over the chopped chocolate. Allow the mixture to sit undisturbed for exactly one minute, which helps the chocolate begin to melt smoothly.
Step 4: Blend Chocolate Mixture
Using a silicone spatula, stir the chocolate slowly and consistently. Continue blending until the mixture transforms into a glossy, completely smooth ganache with no chocolate chunks remaining.
Step 5: Enhance Flavor Profile
Incorporate vanilla extract and optional espresso powder into the ganache. Stir gently to distribute the flavors evenly throughout the chocolate mixture.
Step 6: Chill and Set Ganache
Transfer the ganache to the refrigerator. Let it rest and firm up for approximately two hours, ensuring the mixture becomes solid enough to handle.
Step 7: Shape Truffles
Using a small cookie scoop or spoon, portion out the chilled ganache. Roll each portion between your palms to create perfect round spheres, working quickly to prevent melting.
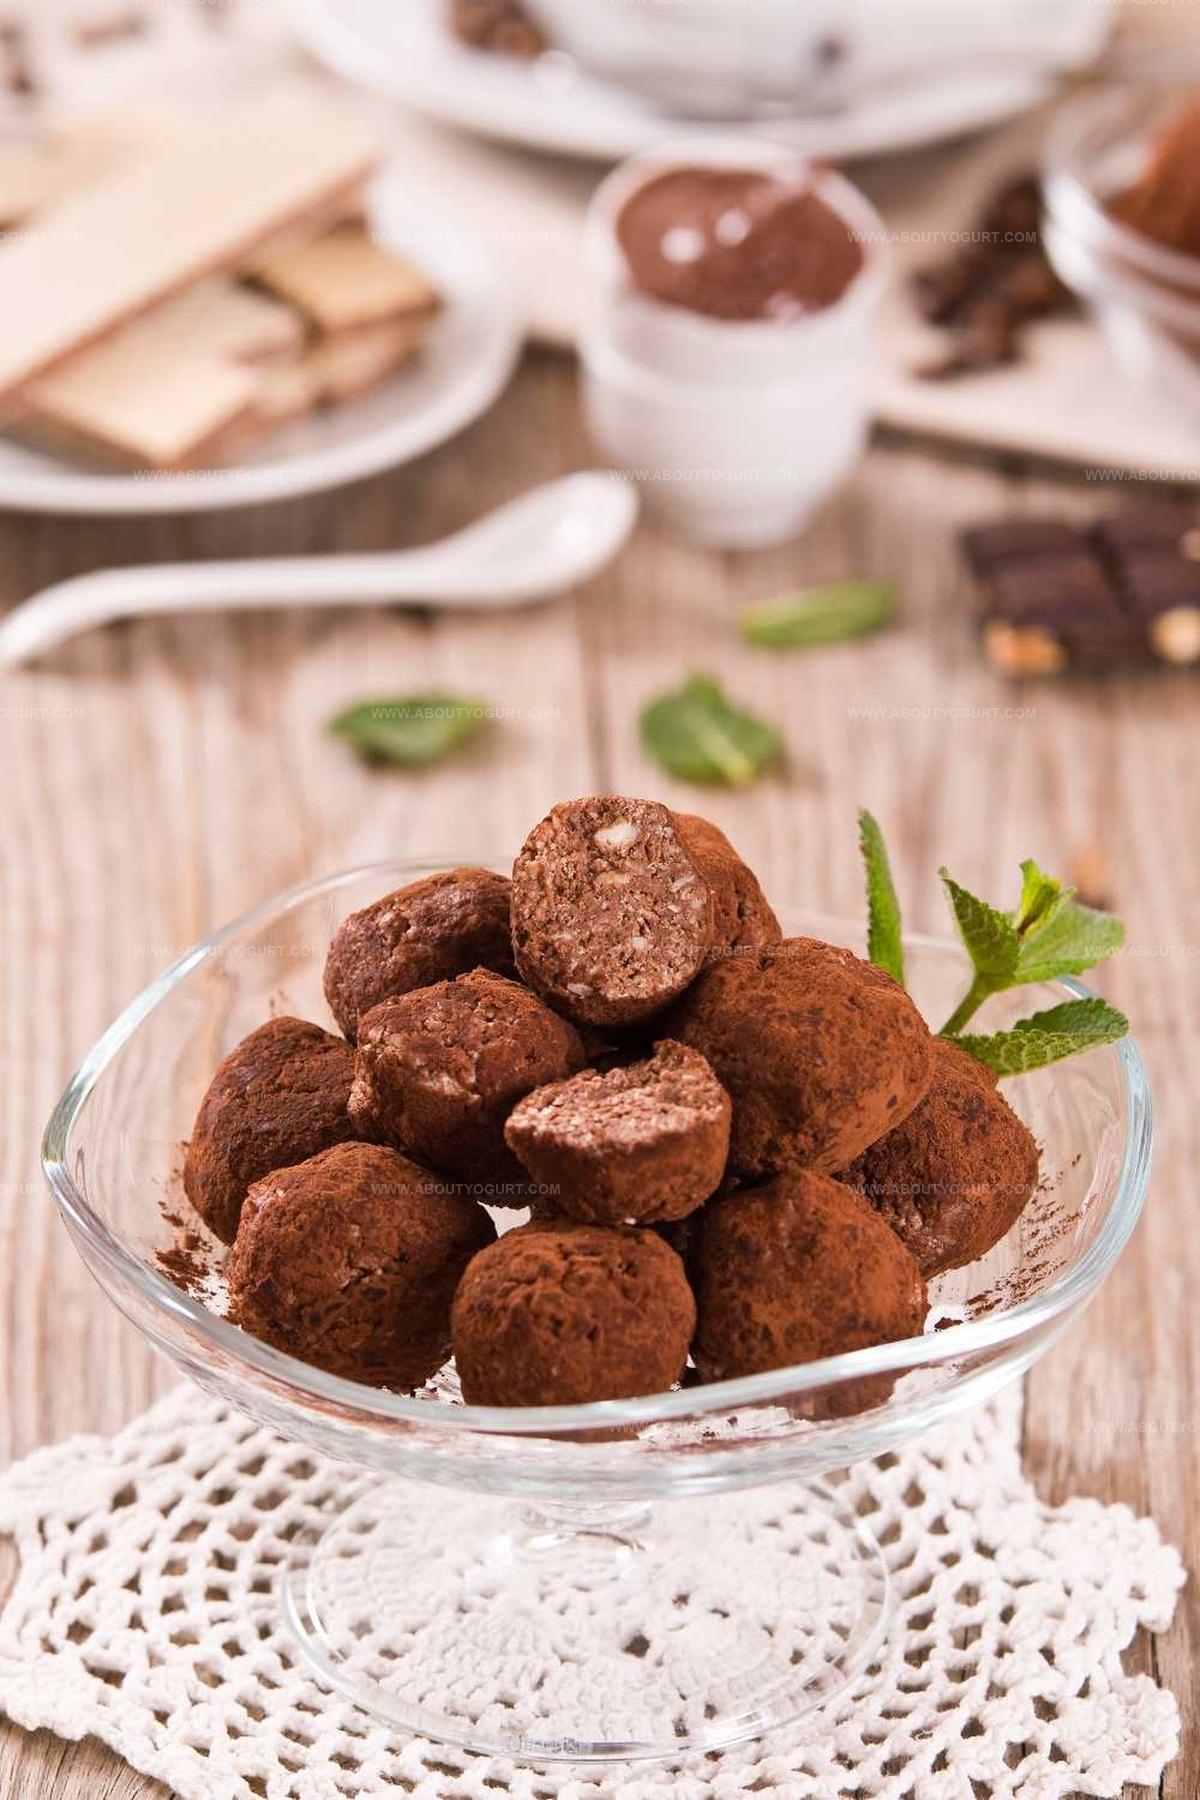
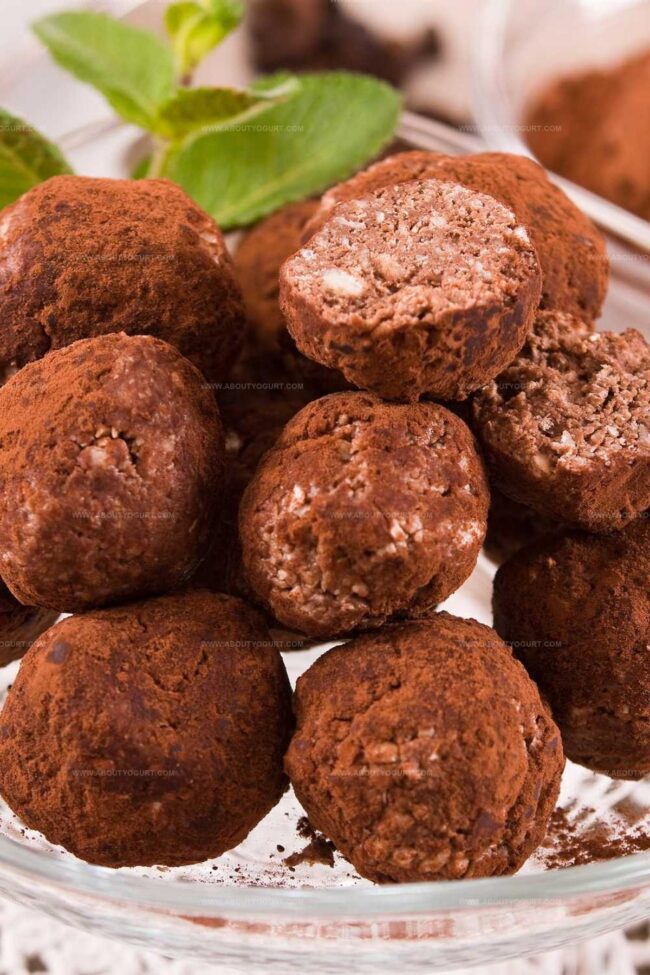
Step 8: Apply Delicious Coating
Select your preferred coating such as:Roll each truffle in the chosen coating, ensuring complete coverage.
Tips For Perfect Nigella Chocolate Truffles

Fun Flavors For Nigella Chocolate Truffles

What Goes With Nigella Chocolate Truffles
Store Nigella Chocolate Truffles The Right Way
Common Questions On Nigella Chocolate Truffles
You can roll truffles in cocoa powder, chopped nuts, powdered sugar, sprinkles, or melted chocolate for different textures and flavors.
No, you just need a heatproof bowl, a saucepan, a spoon, and a baking sheet. Basic kitchen tools work perfectly.
Truffles can stay fresh in the refrigerator for about 1-2 weeks when stored in an airtight container.
Absolutely! The espresso powder is optional and just enhances the chocolate flavor. You can skip it entirely or substitute with a tiny pinch of instant coffee if you want.
Print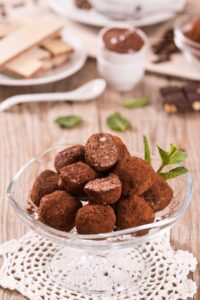
Chocolate Truffles Recipe
- Total Time: 2 hours 20 minutes
- Yield: 12 1x
Description
Rich chocolate truffles elevate dessert moments with French-inspired elegance. Silky ganache centers coated in cocoa powder create a luxurious bite that melts seamlessly on palates, inviting pure indulgence.
Ingredients
Main Chocolate Ingredients:
- 280 grams (10 ounces) dark chocolate
- 120 milliliters (4 fluid ounces) heavy cream
Butter and Flavoring Ingredients:
- 4 tablespoons unsalted butter
- 1 teaspoon vanilla extract
- 1/2 teaspoon espresso powder (optional)
Coating and Dusting Ingredients:
- 2 tablespoons cocoa powder
- Coating of choice (powdered sugar or crushed nuts)
Instructions
- Finely fragment the chocolate into uniform pieces, ensuring a smooth melting process.
- Combine heavy cream and butter in a saucepan, warming to approximately 180°F with gentle steam rising.
- Pour the hot cream mixture directly over the chocolate fragments, allowing the heat to initiate melting.
- Let the mixture rest undisturbed for 60 seconds to facilitate even chocolate dissolution.
- Gently whisk the chocolate and cream together until achieving a glossy, completely homogeneous texture.
- Incorporate vanilla extract and espresso powder, stirring until thoroughly integrated.
- Transfer the ganache to a shallow container and refrigerate for 120 minutes, or until the mixture becomes firm and scoopable.
- Using a small melon baller or spoon, extract uniform portions of the chilled ganache.
- Roll the ganache between palms, creating smooth spherical truffles with consistent size and shape.
- Delicately coat each truffle in selected garnishes like cocoa powder, chopped nuts, or powdered sugar, ensuring complete and even coverage.
- Store truffles in a sealed container within the refrigerator, allowing flavors to meld and texture to stabilize.
Notes
- Ensure chocolate is high-quality for rich, intense flavor that elevates the entire truffle experience.
- Use room temperature ingredients to create smoother, more consistent ganache mixture without temperature shock.
- Chill truffles between rolling stages to prevent melting and maintain perfect round shape.
- Experiment with alternative coatings like crushed nuts, cocoa powder, or even freeze-dried fruit powders for unique texture and taste variations.
- Prep Time: 15 minutes
- Cook Time: 5 minutes
- Category: Desserts, Snacks
- Method: Chilling
- Cuisine: French
Nutrition
- Serving Size: 12
- Calories: 192 kcal
- Sugar: 9 g
- Sodium: 7 mg
- Fat: 16 g
- Saturated Fat: 10 g
- Unsaturated Fat: 5 g
- Trans Fat: 0.1 g
- Carbohydrates: 12 g
- Fiber: 3 g
- Protein: 2 g
- Cholesterol: 35 mg
Michael Thompson
Founder & Recipe Developer
Expertise
Education
Cascade Culinary Institute – Bend, OR
ServSafe Food Handler Certification – Portland, OR
Focus: Certified in core food safety and hygiene principles for both home and professional kitchens, with emphasis on ingredient handling, kitchen cleanliness, and safe preparation methods.
Mike’s kitchen journey began with a single goal: to make everyday meals feel like something worth celebrating.
After earning his Certificate in Culinary Arts from Cascade Culinary Institute, he spent years working with local farmers and small kitchens across Oregon, learning the beauty of seasonal, small-batch cooking.
Mike’s approach is simple, cook with what’s fresh, keep it approachable, and always leave room for a little creativity. When he’s not testing yogurt marinades or designing single-serving meals, you’ll find him hiking trails or hunting down the best berries at local markets.