Festive Christmas Red Velvet Poke Cake Recipe for Holiday Joy
Nestled in holiday traditions, this christmas red velvet poke cake brings warmth to winter gatherings.
Sweet memories flood back with each delectable slice.
Soft crimson layers promise decadent indulgence for festive celebrations.
Creamy textures and rich flavor combinations dance across your palate.
Seasonal comfort wraps around classic dessert techniques with delightful charm.
Unexpected twists make this recipe special for intimate moments.
Explore and savor every magical bite.
Why Christmas Red Velvet Poke Cake Is Irresistible
Ingredients Needed For Christmas Red Velvet Poke Cake
Cake Base:Pudding Layer:Topping and Decoration:Step-By-Step Instructions For Christmas Red Velvet Poke Cake
Step 1: Bake Festive Red Velvet Base
Grab your favorite red velvet cake mix and follow the package directions. Pour the vibrant batter into a rectangular baking pan and bake until a toothpick comes out clean. Let the cake cool completely at room temperature.
Step 2: Create Delightful Holes
Take the handle end of a wooden spoon and gently poke evenly spaced holes across the entire surface of the cake. Make sure the holes are deep enough to hold the upcoming creamy filling.
Step 3: Whip Up Creamy Pudding Filling
In a mixing bowl, combine:Whisk the ingredients together until the mixture becomes smooth and starts to thicken slightly.
Step 4: Fill Cake with Pudding Magic
Slowly pour the pudding mixture over the cake, ensuring it seeps into every hole. Use a spatula to help distribute the pudding evenly across the cake’s surface.
Step 5: Add Fluffy Cloud Topping
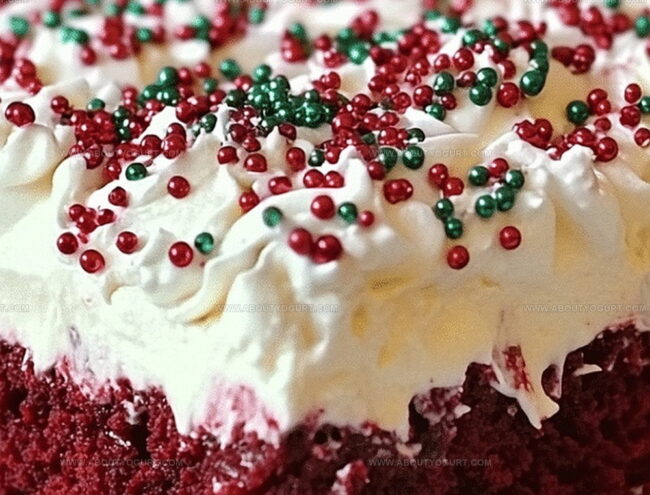
Generously spread whipped topping over the entire pudding layer. Use smooth, sweeping motions to create an even, cloud-like covering.
Step 6: Sprinkle Holiday Cheer
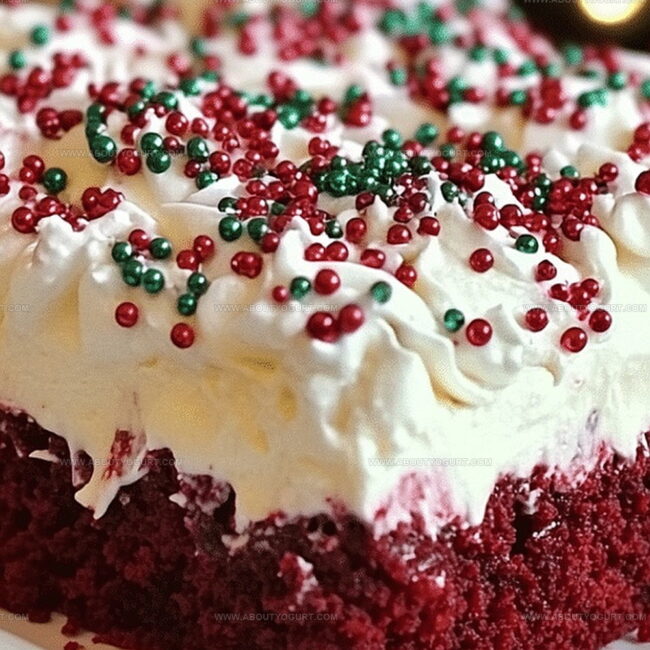
Scatter festive Christmas sprinkles across the top of the cake. Choose red, green, and white sprinkles to create a merry and bright appearance.
Step 7: Chill and Serve
Refrigerate the cake for at least one hour to allow the layers to set and flavors to meld. Slice and serve this delightful holiday dessert to your loved ones.
Helpful Tips For Christmas Red Velvet Poke Cake
Flavor Variations For Christmas Red Velvet Poke Cake
Pairing Recommendations For Christmas Red Velvet Poke Cake
Storage Tips For Christmas Red Velvet Poke Cake
Frequently Asked Questions On Christmas Red Velvet Poke Cake
Red velvet cake has a distinctive deep red color and a subtle cocoa flavor, traditionally achieved by combining cocoa powder with buttermilk and vinegar, which creates a unique chemical reaction.
Yes, you can create a homemade red velvet cake by mixing flour, cocoa powder, buttermilk, vinegar, and red food coloring. However, using a box mix makes the recipe quicker and easier.
Poke cakes get their distinctive appearance by creating multiple holes in the baked cake and then filling those holes with a liquid or creamy mixture, which adds extra moisture and flavor.
Print
Christmas Red Velvet Poke Cake Recipe
- Total Time: 1 hour 45 minutes
- Yield: 12 1x
Description
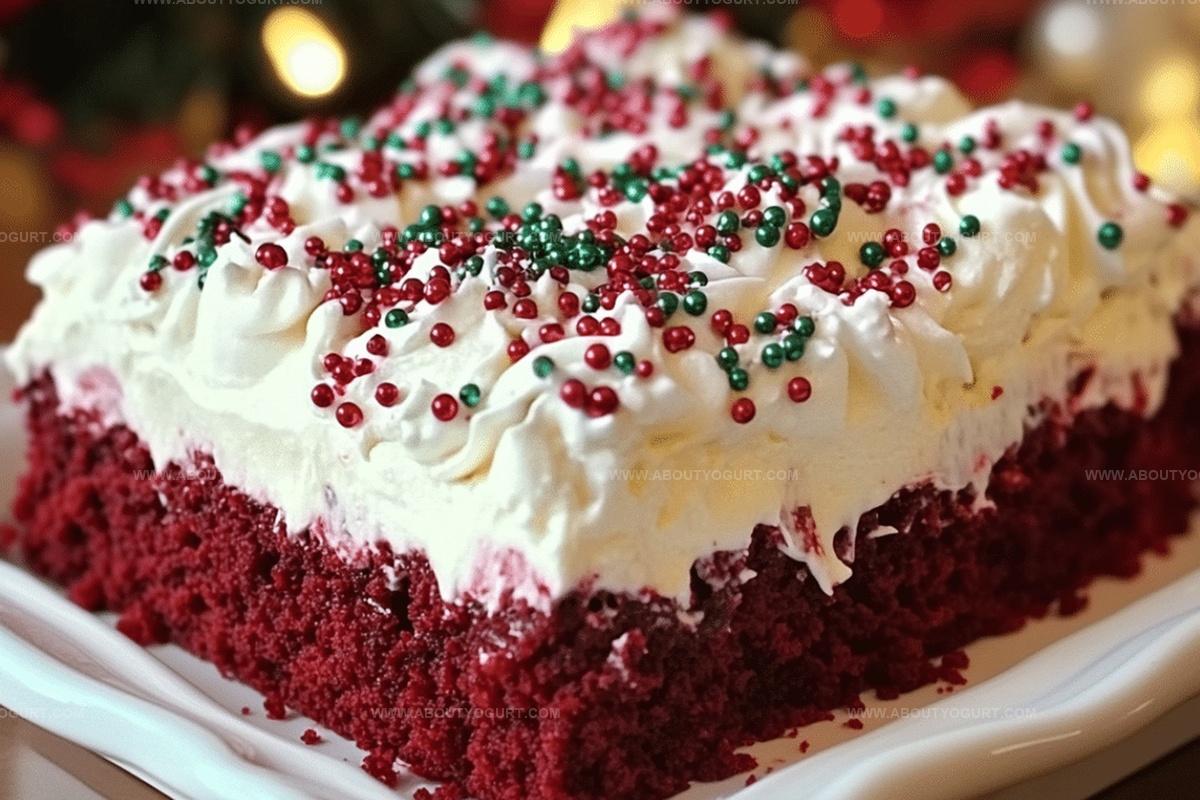
Festive Christmas red velvet poke cake brings holiday magic to dessert tables with its rich crimson layers and creamy filling. Spirited cream cheese frosting and delicate holiday sprinkles complete this merry seasonal treat you’ll want to share with loved ones.
Ingredients
Main Ingredients:
- 1 box red velvet cake mix
- 1 cup (240 ml) hot water
Pudding and Milk:
- 1 (3.4 ounces / 96 grams) box instant vanilla pudding mix
- 2 cups (480 ml) milk
Topping and Garnish:
- 1 (8 ounces / 227 grams) tub whipped topping, thawed
- Christmas sprinkles
Instructions
- Bake the red velvet cake following package directions, ensuring a vibrant crimson color and even texture.
- Once cooled, systematically create uniform holes across the entire cake surface using the rounded end of a wooden spoon.
- Whisk instant pudding mix and milk together until achieving a completely smooth, lump-free consistency.
- Carefully drizzle pudding mixture over the cake, allowing liquid to seep thoroughly into each carefully crafted hole.
- Gently spread whipped topping across the entire pudding-saturated surface, creating an even, creamy layer.
- Generously scatter festive Christmas sprinkles over the top, adding colorful holiday-themed decoration.
- Refrigerate the cake for a minimum of 60 minutes to allow flavors to meld and topping to set perfectly.
- Before serving, remove from refrigerator and slice into elegant squares that showcase the cake’s beautiful layers.
Notes
- Swap boxed mix for homemade red velvet cake to elevate flavor and reduce processed ingredients.
- Create dairy-free version by using coconut milk pudding and almond whipped topping for lactose-sensitive guests.
- Ensure holes are evenly spaced and deep enough to absorb pudding completely for maximum moisture and flavor distribution.
- Add crushed candy canes or white chocolate shavings on top for extra festive Christmas texture and visual appeal.
- Prep Time: 15 minutes
- Cook Time: 30 minutes
- Category: Desserts
- Method: Baking
- Cuisine: American
Nutrition
- Serving Size: 12
- Calories: 247 kcal
- Sugar: 27 g
- Sodium: 300 mg
- Fat: 9 g
- Saturated Fat: 4.5 g
- Unsaturated Fat: 3.5 g
- Trans Fat: 0.2 g
- Carbohydrates: 38 g
- Fiber: 1 g
- Protein: 3 g
- Cholesterol: 30 mg
Michael Thompson
Founder & Recipe Developer
Expertise
Education
Cascade Culinary Institute – Bend, OR
ServSafe Food Handler Certification – Portland, OR
Focus: Certified in core food safety and hygiene principles for both home and professional kitchens, with emphasis on ingredient handling, kitchen cleanliness, and safe preparation methods.
Mike’s kitchen journey began with a single goal: to make everyday meals feel like something worth celebrating.
After earning his Certificate in Culinary Arts from Cascade Culinary Institute, he spent years working with local farmers and small kitchens across Oregon, learning the beauty of seasonal, small-batch cooking.
Mike’s approach is simple, cook with what’s fresh, keep it approachable, and always leave room for a little creativity. When he’s not testing yogurt marinades or designing single-serving meals, you’ll find him hiking trails or hunting down the best berries at local markets.