Discover the Sweet Magic of Congress Tarts Recipe Today
Sweet memories of my childhood weekends often revolved around delightful congress tarts that my grandmother would carefully prepare.
Pastry shops in southern india first popularized these delicate treats with their unique crumbly texture.
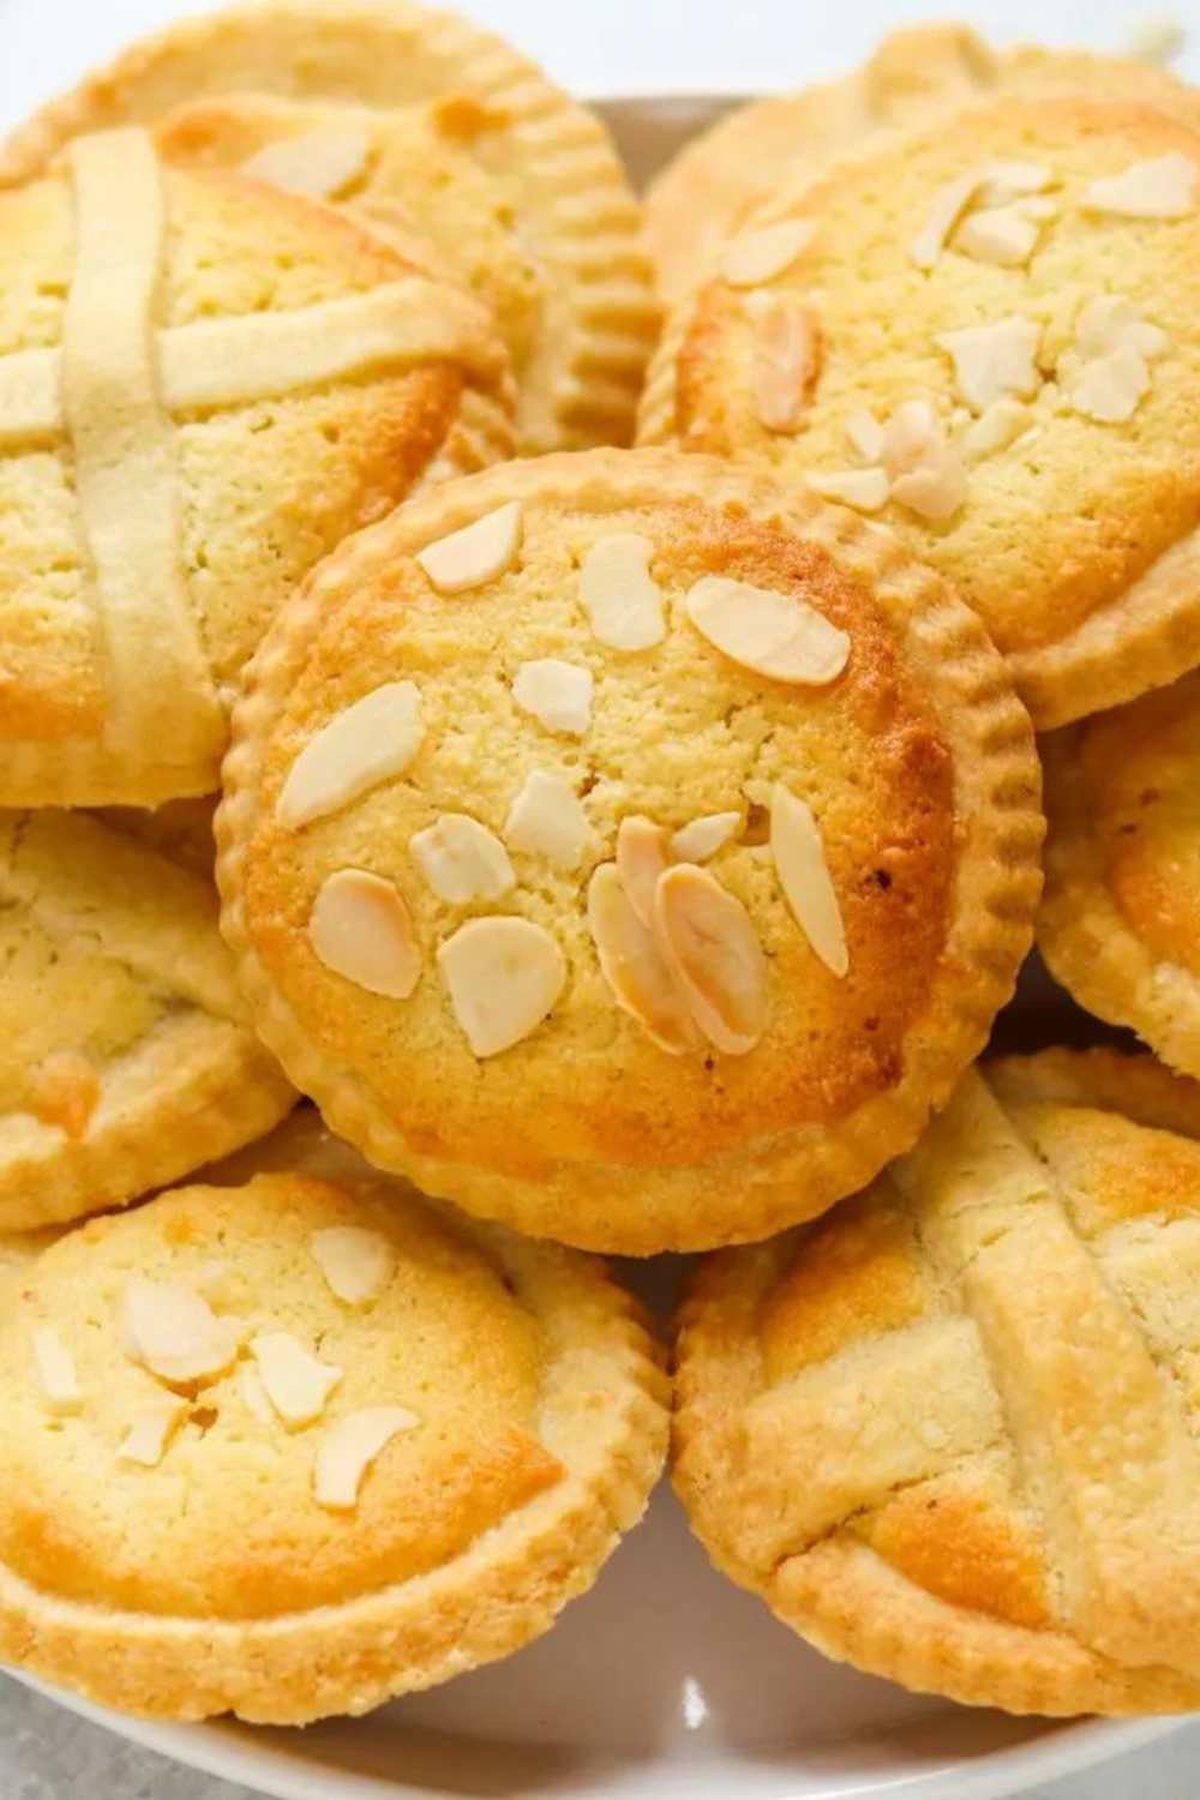
Buttery, flaky crusts envelop a rich, sweet filling that melts effortlessly on your tongue.
Local bakeries across bangalore and chennai have perfected this classic recipe over generations.
Crisp edges and soft centers create a perfect balance of flavors that surprise and delight.
Each bite carries a whisper of nostalgia, connecting you to cherished culinary traditions.
You’ll find these tarts irresistibly simple yet wonderfully complex in their delicate composition.
Bake these and transport yourself to a world of comforting, homemade goodness.
What Makes Mary Berry Congress Tarts A Delight
Mary Berry Congress Tarts Ingredient List
Pastry Base:Filling:Tart Topping and Finishing:Easy Method For Mary Berry Congress Tarts
Step 1: Prepare Pastry Dough
Combine flour and butter in a food processor, pulsing until the mixture resembles coarse breadcrumbs. Add sugar, egg, and cold water, blending until a smooth dough forms. Wrap the dough in plastic wrap and refrigerate for 30 minutes to firm up.
Step 2: Create Almond Filling
In a mixing bowl, cream together:Incorporate egg and almond extract, beating until light and fluffy. Gently fold in dry ingredients until well combined.
Step 3: Preheat and Prepare Baking Setup
Warm the oven to 180°C / 350°F. Lightly grease a cupcake tin.
Step 4: Shape Pastry Shells
Roll out the chilled pastry on a lightly floured surface. Cut circular shapes to fit cupcake tin cavities. Carefully line each cavity with pastry, gently pressing into place.
Step 5: Add Filling Layers
Prick the bottom of each pastry shell with a fork. Spread a small amount of jam across the base. Top with the prepared almond filling.
Step 6: Decorate and Finish
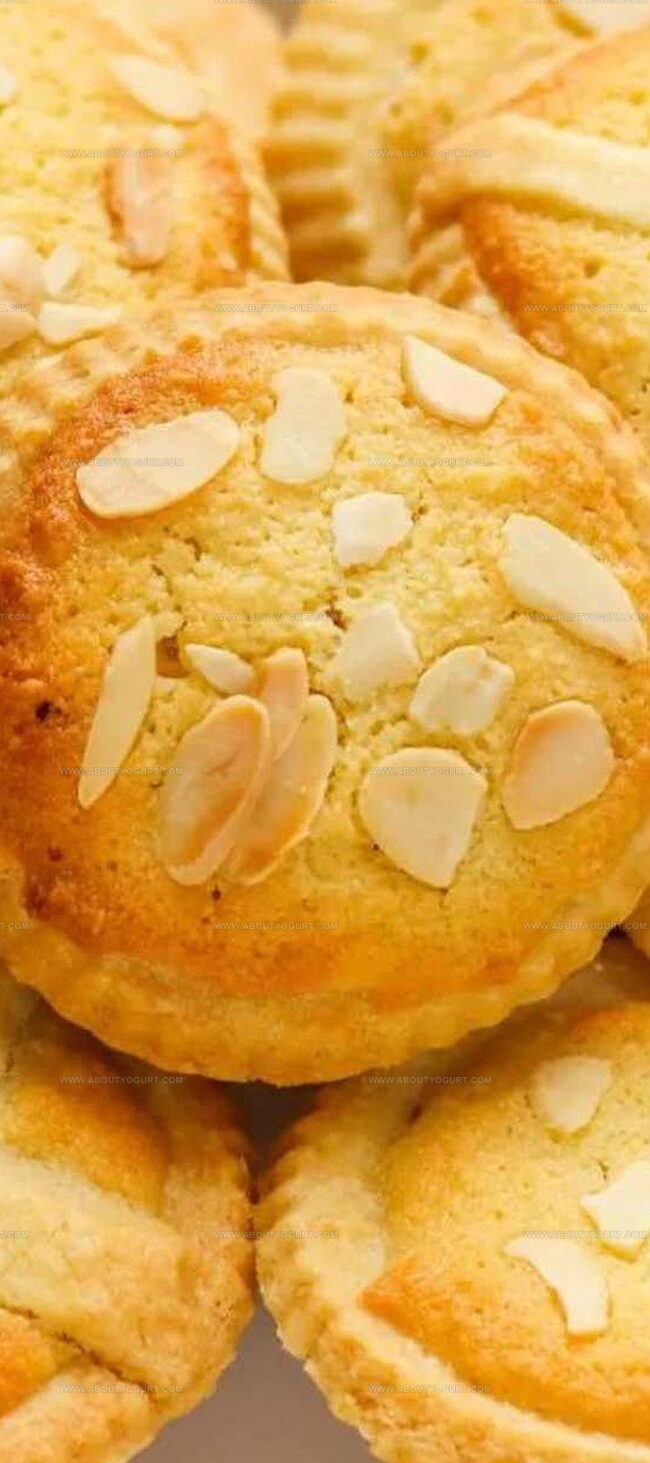
Sprinkle flaked almonds over the top of each tart for added texture and visual appeal.
Step 7: Bake to Golden Perfection
Place the cupcake tin in the preheated oven. Bake for 18-20 minutes until the tarts turn a beautiful golden brown.
Step 8: Cool and Serve
Remove from the oven and let the tarts cool completely on a wire rack. The tarts will develop a delightful crisp texture as they cool.
Baking Tips For Mary Berry Congress Tarts

Fun Twists On Mary Berry Congress Tarts
Tasty Pairings For Mary Berry Congress Tarts
How To Keep Mary Berry Congress Tarts Fresh
Mary Berry Congress Tarts Questions Answered
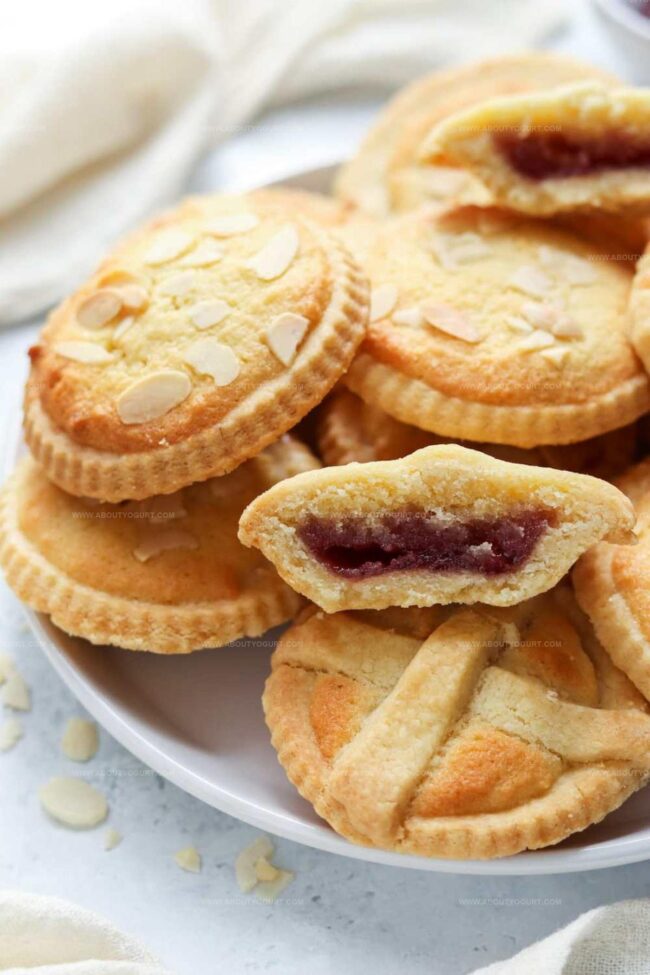
These tarts are unique British treats originating from traditional English baking, featuring a buttery pastry base, sweet jam, and almond filling that sets them apart from standard fruit tarts.
While traditional recipes use raspberry or strawberry jam, you can experiment with apricot, blackcurrant, or cherry jam to create your own flavor variation.
You’ll need a standard cupcake tin, rolling pin, mixing bowls, and basic baking tools. No specialized equipment is required to create these delightful pastries.
Print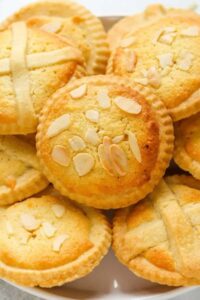
Congress Tarts Recipe
- Total Time: 58-60 minutes
- Yield: 12 1x
Description
Congress tarts whisper sweet memories of Portuguese colonial bakeries, nestled in Goa’s charming streets. Golden pastry shells cradle delicate coconut and egg custard, inviting you to savor a delightful slice of culinary heritage.
Ingredients
Pastry Base:
- 275 grams (2 cups) plain flour
- 125 grams (1/2 cup + 1 tablespoon) unsalted butter (cold, cubed)
- 3 tablespoons sugar
- 1 large egg
- 1–2 tablespoons cold water
Filling:
- 60 grams (1/3 cup) caster sugar
- 60 grams (1/4 cup) unsalted butter (softened)
- 1 large egg (beaten)
- 60 grams (2/3 cup) ground almonds
- 30 grams (3 1/2 tablespoons) plain flour
- 12 teaspoons almond extract
- 12 teaspoons seedless raspberry jam
Garnish and Finishing:
- 12 teaspoons baking powder
- 1/4 teaspoon salt
- Flaked almonds
Instructions
- Pulse cold butter and flour in a food processor until it resembles coarse breadcrumbs.
- Incorporate sugar, egg, and chilled water to create a cohesive pastry dough.
- Refrigerate the pastry for half an hour to firm up and enhance texture.
- Cream softened butter with sugar until light and fluffy for the almond filling.
- Whisk egg and almond extract into the butter mixture until smooth.
- Gently fold dry ingredients into the creamy filling to create a consistent texture.
- Heat oven to 180°C (350°F) and prepare a cupcake tin with non-stick spray.
- Roll out chilled pastry on a lightly floured surface to approximately 3mm thickness.
- Cut circular pastry shapes and carefully line each cupcake cavity.
- Use a fork to delicately prick the pastry bases to prevent rising.
- Spread a thin layer of jam across the pastry bases.
- Spoon almond filling over the jam layer, ensuring even distribution.
- Sprinkle flaked almonds on top of each tart for added crunch and visual appeal.
- Bake for 18-20 minutes until pastry turns golden and filling sets.
- Transfer tarts to a wire rack and allow to cool completely before serving.
Notes
- Pastry Perfection: Ensure butter is cold when blitzing with flour to achieve a flaky, tender crust that melts in your mouth.
- Chilling Magic: Refrigerating the dough helps prevent shrinkage and creates a more stable pastry that holds its shape beautifully.
- Gluten-Free Hack: Swap wheat flour with almond or gluten-free blend for a dietary-friendly version that doesn’t compromise on taste.
- Flavor Boost: Toast flaked almonds briefly before topping to intensify their nutty aroma and add a delightful crunch to these delicate tarts.
- Prep Time: 40 minutes
- Cook Time: 18-20 minutes
- Category: Desserts, Snacks
- Method: Baking
- Cuisine: British
Nutrition
- Serving Size: 12
- Calories: 197 kcal
- Sugar: 8 g
- Sodium: 97 mg
- Fat: 11 g
- Saturated Fat: 5 g
- Unsaturated Fat: 6 g
- Trans Fat: 0 g
- Carbohydrates: 20 g
- Fiber: 1 g
- Protein: 3 g
- Cholesterol: 37 mg
Michael Thompson
Founder & Recipe Developer
Expertise
Education
Cascade Culinary Institute – Bend, OR
ServSafe Food Handler Certification – Portland, OR
Focus: Certified in core food safety and hygiene principles for both home and professional kitchens, with emphasis on ingredient handling, kitchen cleanliness, and safe preparation methods.
Mike’s kitchen journey began with a single goal: to make everyday meals feel like something worth celebrating.
After earning his Certificate in Culinary Arts from Cascade Culinary Institute, he spent years working with local farmers and small kitchens across Oregon, learning the beauty of seasonal, small-batch cooking.
Mike’s approach is simple, cook with what’s fresh, keep it approachable, and always leave room for a little creativity. When he’s not testing yogurt marinades or designing single-serving meals, you’ll find him hiking trails or hunting down the best berries at local markets.