
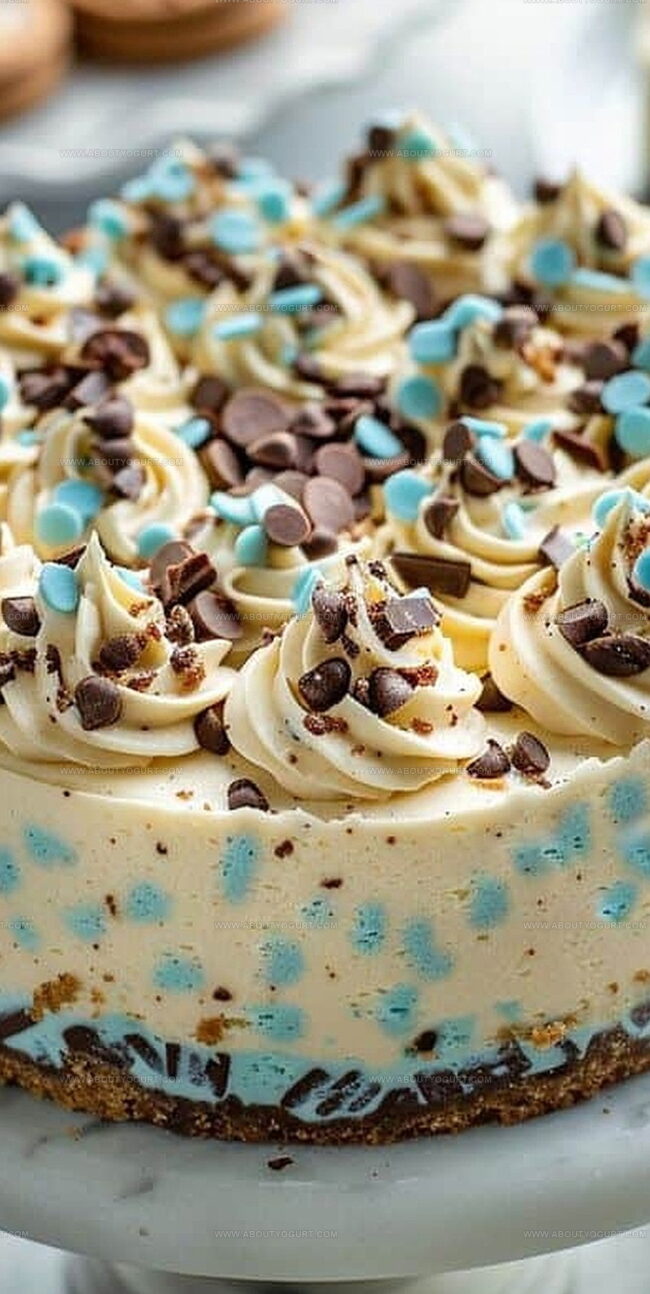
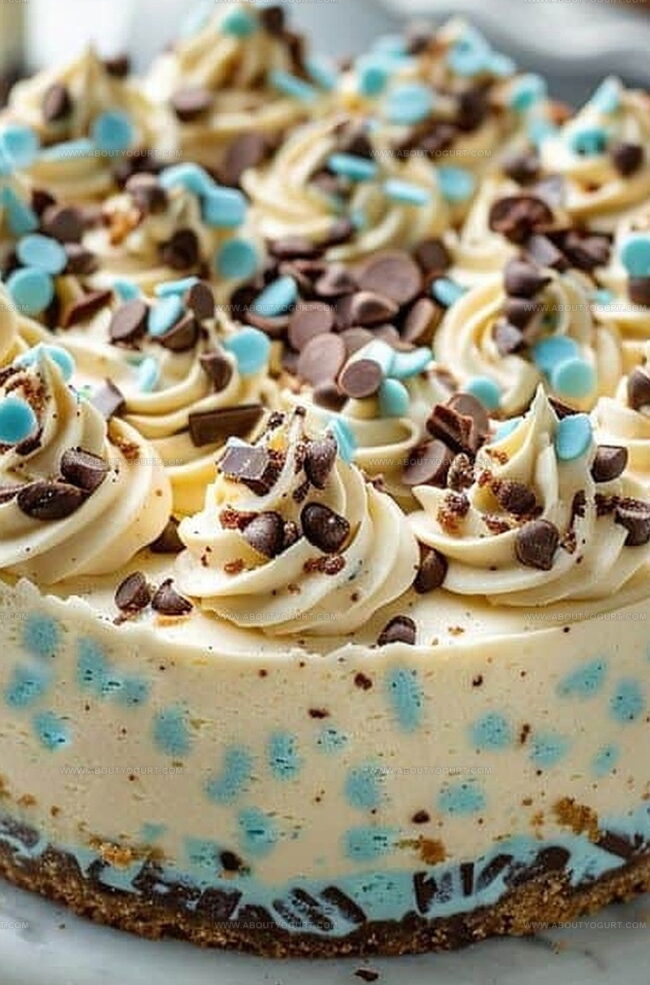
Cookie Monster Cheesecake Recipe for Fun Dessert Lovers
Whipping up a wild cookie monster cheesecake brings pure childhood nostalgia right to your dessert plate.
Vivid blue colors instantly spark joy and playful memories.
Creamy textures blend with crunchy cookie surprises in every delightful bite.
Chocolate chip cookies create unexpected moments of deliciousness throughout this magical treat.
Professional bakers and home cooks alike can master this whimsical dessert with simple ingredients.
Surprising guests becomes effortless when you present this vibrant, eye-catching masterpiece.
Go ahead and unleash your inner pastry artist with this delectable creation.
Why Cookie Monster Cheesecake Is So Popular
Ingredients Needed for Cookie Monster Cheesecake
Crust Ingredients:Filling Ingredients:Topping Ingredients:How to Make Cookie Monster Cheesecake
Step 1: Warm Up The Oven
Set your oven to a cozy 325F. Grab a 9-inch springform pan and give it a light butter massage to prevent sticking.
Step 2: Create The Crumbly Crust
Mix your crushed cookies with melted butter until they become best friends. Press this delightful mixture firmly into the bottom of your pan, creating a solid cookie foundation.
Step 3: Whip The Cream Cheese Base
In a spacious mixing bowl, beat cream cheese until it transforms into a silky smooth landscape. Gradually sprinkle in sugar, continuing to beat until the mixture becomes luxuriously creamy.
Step 4: Add Creamy Companions
Introduce sour cream and heavy cream to your mixture. Mix gently until everything blends into a dreamy, velvety texture.
Step 5: Welcome The Eggs
Crack eggs one at a time into the mixture, beating thoroughly after each addition. Drizzle in vanilla extract for an extra flavor boost.
Step 6: Sprinkle Chocolate Magic
Tenderly fold mini chocolate chips throughout the cheesecake batter, distributing them like hidden treasures.
Step 7: Pour And Spread
Carefully pour the cheesecake filling over your cookie crust, spreading it evenly with a gentle touch.
Step 8: Bake To Perfection
Slide the pan into the oven and bake for 55-65 minutes. You’ll know it’s ready when the center looks set and the edges have a slight puffy personality.
Step 9: Cool Down Slowly
Turn off the oven and crack the door open. Let your cheesecake relax inside for one hour, then transfer to the refrigerator. Chill for at least 4 hours or overnight for maximum deliciousness.
Pro Tips for Cookie Monster Cheesecake
Variation Suggestions for Cookie Monster Cheesecake
Pairing Ideas for Cookie Monster Cheesecake
Storage Instructions for Cookie Monster Cheesecake
Frequently Asked Questions About Cookie Monster Cheesecake
Yes, you can substitute graham crackers or Oreo cookies for a different flavor profile. Just make sure to crush them finely and mix with melted butter.
Avoid overmixing the batter, bake in a water bath, and let the cheesecake cool slowly in the oven with the door cracked to prevent sudden temperature changes that cause cracking.
Mini chocolate chips blend more evenly into the cheesecake batter, but you can use regular chocolate chips if that’s what you have on hand. Just chop them smaller to distribute better.
Print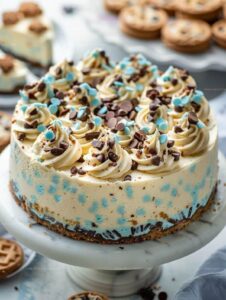
Cookie Monster Cheesecake Recipe
- Total Time: 5 hours 15 minutes to overnight
- Yield: 8 1x
Description
Indulgent Cookie Monster Cheesecake brings childhood nostalgia to dessert with creamy blue layers and chocolate chip cookie crumbles. Playful colors and rich flavors make this sweet treat an irresistible centerpiece you cannot wait to share with friends and family.
Ingredients
Cookie Base:
- 2 cups (240 grams) chocolate sandwich cookies (like Oreos), crushed
- 1/4 cup (56 grams) unsalted butter, melted
Cheesecake Filling:
- 24 ounces (680 grams) cream cheese, softened
- 1 cup (200 grams) granulated sugar
- 3 large eggs
- 1/2 cup (120 milliliters) sour cream
- 1 tablespoon vanilla extract
- 1/2 cup (80 grams) blue food coloring
Topping:
- 1 cup (240 milliliters) heavy cream
- 2 tablespoons (30 grams) powdered sugar
- 1/2 cup (80 grams) chocolate chips
- 1/2 cup (80 grams) blue sprinkles
Instructions
- Prepare the oven at 325F (165C) and coat a 9-inch springform pan with a light grease to prevent sticking.
- Crush cookies into fine crumbs and blend thoroughly with melted butter until the mixture holds together cohesively.
- Firmly press the cookie-butter mixture into the bottom of the prepared pan, creating an even, compact crust layer.
- Using an electric mixer, whip cream cheese until silky and smooth, eliminating any lumps.
- Gradually incorporate sugar into the cream cheese, mixing until the texture becomes creamy and uniform.
- Gently fold in sour cream and heavy cream, stirring until the mixture achieves a consistent, velvety consistency.
- Introduce eggs one at a time, blending completely after each addition to ensure proper integration.
- Stir in vanilla extract for enhanced flavor depth.
- Delicately fold mini chocolate chips throughout the cheesecake batter, distributing them evenly.
- Transfer the cheesecake filling into the prepared crust, smoothing the top with a spatula for an even surface.
- Bake for 55-65 minutes, watching for a set center and slightly puffed edges as indicators of doneness.
- Once baking completes, turn off the oven and leave the door slightly ajar, allowing the cheesecake to cool gradually for one hour.
- Remove from the oven and refrigerate for a minimum of 4 hours, preferably overnight, to achieve optimal texture and flavor development.
Notes
- Softening cream cheese at room temperature ensures a smoother, lump-free batter for a silky cheesecake texture.
- Crushing cookies finely creates a more compact and stable crust that holds together beautifully when sliced.
- Adding a water bath during baking prevents cracks and helps the cheesecake cook evenly with a creamy, consistent texture.
- Chilling the cheesecake overnight allows flavors to develop and helps it set perfectly, making slicing and serving much easier.
- Prep Time: 20 minutes
- Cook Time: 55-65 minutes
- Category: Desserts
- Method: Baking
- Cuisine: American
Nutrition
- Serving Size: 8
- Calories: 165
- Sugar: 10 g
- Sodium: 75 mg
- Fat: 8 g
- Saturated Fat: 5 g
- Unsaturated Fat: 3 g
- Trans Fat: 0.1 g
- Carbohydrates: 22 g
- Fiber: 1 g
- Protein: 1 g
- Cholesterol: 15 mg
Sarah Mitchell
Content Specialist & Home Cooking Enthusiast
Expertise
Education
Asheville-Buncombe Technical Community College – Asheville, NC
American Fitness Professionals & Associates – Online
Sarah’s passion for food was sparked by weekend trips to the farmers’ market and her belief that healthy meals should never feel boring.
After earning her culinary diploma and becoming a certified Nutrition and Wellness Consultant, she set out to help others fall in love with simple, wholesome cooking.
She’s all about celebrating the small wins in the kitchen: a colorful yogurt bowl, a new twist on a classic dish, or a homemade snack that feels just a little extra special.
Outside the kitchen, Sarah is a gardener at heart, a yoga enthusiast, and a believer that fresh herbs can brighten any meal, and any day.