Creamy Dream: Homemade Cream Cheese Enchiladas Recipe
Creamy cheese enchiladas bring unexpected magic to weeknight dinner adventures.
Mexican comfort food beckons with irresistible layers of flavor and warmth.
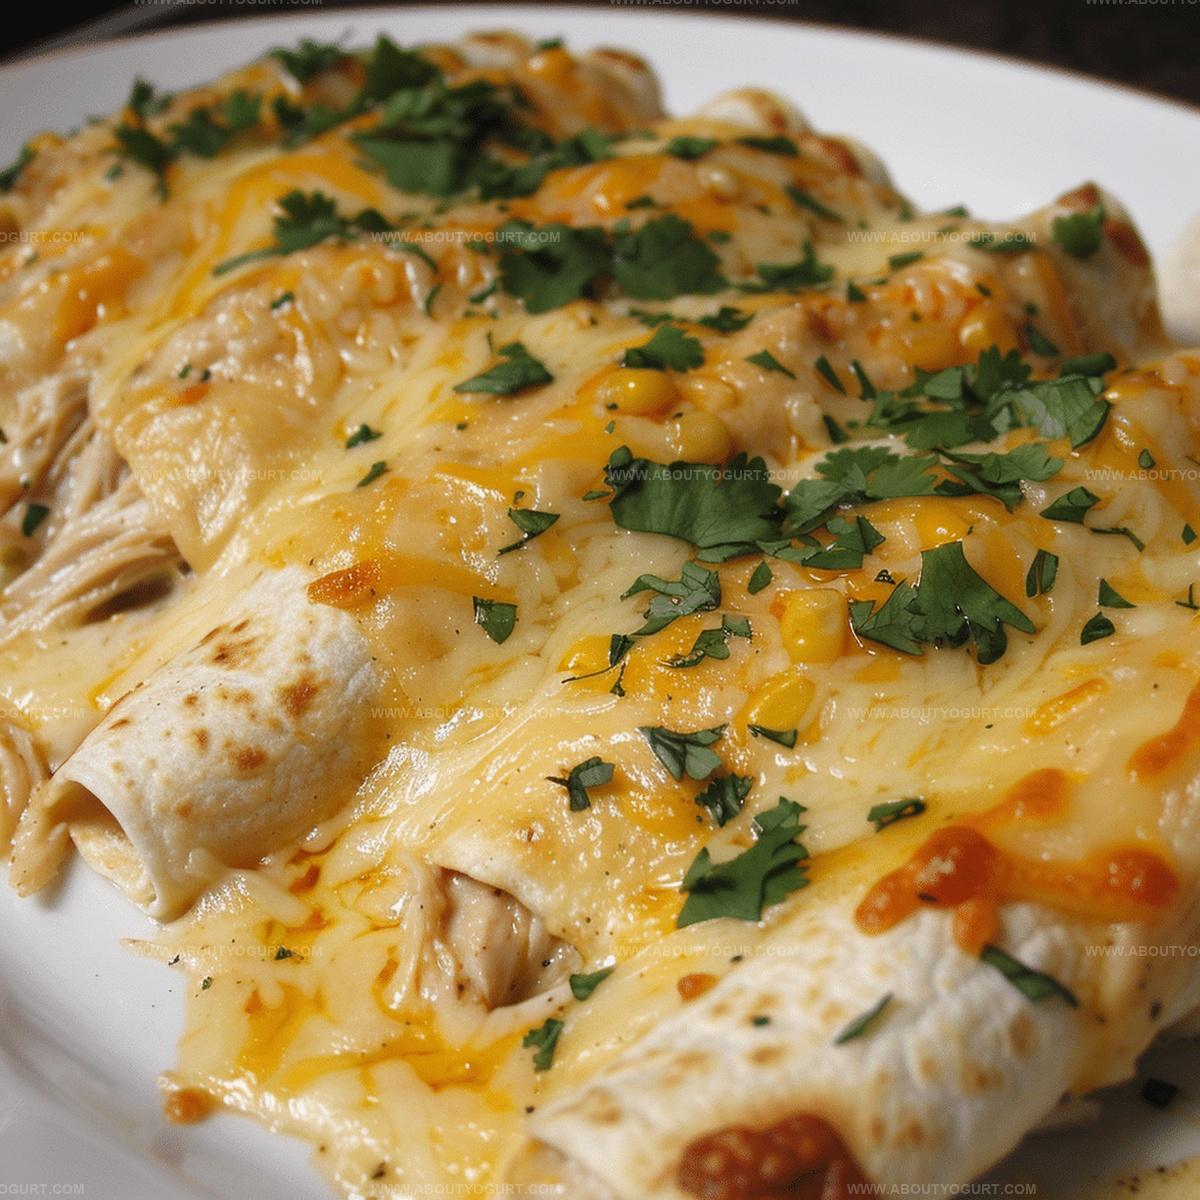
Soft tortillas wrap around rich, tangy cream cheese and tender chicken.
Spices dance through each delectable bite, promising a meal that sparks conversations.
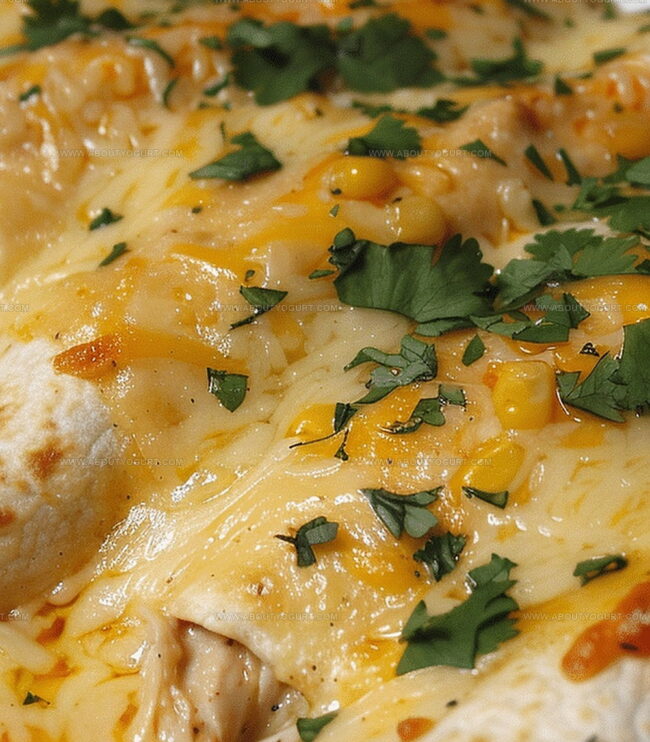
Melted cheese creates golden landscapes across perfectly rolled enchiladas.
Weekend cooking feels like a joyful celebration with this simple yet impressive dish.
Savor every moment as you create something truly delicious that connects people around the table.
Why Cream Cheese Enchiladas Are So Creamy and Flavorful

Key Ingredients in Cream Cheese Enchiladas
Main Ingredients:Sauce Ingredients:Seasoning and Garnish Ingredients:How to Make Cream Cheese Enchiladas
Step 1: Prepare the Oven and Baking Dish
Warm up your oven to 350°F (175°C) and lightly grease a 9×13-inch casserole dish with cooking spray or butter.
Step 2: Create the Enchilada Filling
In a mixing bowl, combine:Mix all ingredients thoroughly and season with salt and pepper to taste.
Step 3: Roll the Enchiladas
Spoon 2-3 tablespoons of the filling onto each tortilla. Carefully roll the tortillas and place them seam-side down in the prepared baking dish.
Step 4: Craft the Green Chile Sauce
In a saucepan, melt butter and whisk in flour. Cook for 2-3 minutes until the mixture turns slightly golden. Gradually add:Stir continuously until the sauce thickens and becomes smooth.
Step 5: Dress the Enchiladas
Pour the green chile sauce evenly over the rolled enchiladas. Sprinkle the remaining cheese on top.
Step 6: Bake to Perfection
Slide the dish into the preheated oven and bake for 20-25 minutes. For an extra golden top, switch to broil for 1-2 minutes.
Step 7: Serve and Enjoy
Allow the enchiladas to rest for a few minutes. Garnish with fresh chopped cilantro before serving. Enjoy your creamy, cheesy chicken enchiladas!
Tips for Perfect Cream Cheese Enchiladas
Flavorful Variations of Cream Cheese Enchiladas
Best Pairings to Complement Cream Cheese Enchiladas
How to Store Cream Cheese Enchiladas
FAQs on Cream Cheese Enchiladas
The recipe allows for optional chili powder, so you can control the heat level. Adding green chiles provides mild flavor without overwhelming spiciness.
Yes, shredded beef, pulled pork, or even vegetarian options like black beans work great in this enchilada recipe.
Standard corn or flour tortillas work perfectly. Ensure they’re fresh and pliable for easy rolling without cracking.
Warm tortillas slightly before filling, don’t overfill, and make sure your green chile sauce isn’t too thin to help maintain a good texture.
Print
Cream Cheese Enchiladas Recipe
- Total Time: 40 minutes
- Yield: 8 1x
Description
Zesty cream cheese enchiladas deliver a Mexican-inspired culinary adventure packed with rich, tangy flavors and creamy textures. Comfort meets sophistication in this simple yet elegant dish that promises to delight your taste buds with every savory bite.
Ingredients
Protein and Cheese:
- 3 cups shredded cooked chicken
- 1 (8 ounces / 226 grams) package cream cheese, softened
- 2 cups shredded Mexican cheese
Tortillas and Sauce Base:
- 8 (6-inch) corn tortillas
- 3 tablespoons unsalted butter
- 3 tablespoons all-purpose flour
- 2 cups chicken broth
- 1 (4 ounces / 113 grams) can diced green chiles
Seasonings and Garnish:
- 1 tablespoon lime juice
- 0.5 teaspoon chili powder (optional)
- Salt and pepper to taste
- Fresh cilantro
- Optional toppings: diced tomatoes, sliced olives, sliced jalapenos, chopped green onions
Instructions
- Prepare the oven by heating to 350°F (175°C) and lightly coat a 9×13-inch baking vessel with non-stick spray.
- Craft the filling by combining shredded chicken, softened cream cheese, half the cheese blend, tangy lime essence, and optional chili powder. Enhance with salt and pepper to taste.
- Warm tortillas slightly to increase flexibility, then generously spoon the mixture along the center of each, creating compact rolls.
- Carefully position the rolled enchiladas in the prepared dish, arranging them seam-side downward to prevent unraveling.
- Construct the velvety green chile sauce by melting butter in a saucepan, whisking in flour until golden and fragrant for approximately 2-3 minutes.
- Gradually incorporate chicken broth, diced green chiles, and remaining cream cheese into the roux, stirring continuously until the sauce thickens and becomes smooth.
- Lavishly drench the enchiladas with the verdant sauce, ensuring complete coverage.
- Sprinkle the remaining cheese across the top, creating a tempting melted layer.
- Transfer to the preheated oven and bake for 20-25 minutes until edges turn golden and cheese bubbles.
- Optional: Activate the broiler for 1-2 minutes to achieve a perfectly caramelized cheese surface.
- Allow the dish to rest for 5 minutes, enabling flavors to meld and sauce to settle.
- Garnish with fresh cilantro and serve immediately while piping hot.
Notes
- Swap chicken for black beans or tofu to create a vegetarian version that’s equally delicious and packed with protein.
- Use low-fat cream cheese and reduced-fat cheese to cut down on calories without sacrificing creamy texture and flavor.
- Prepare filling ahead of time and refrigerate for a quick weeknight meal that saves precious cooking time.
- Freeze unbaked enchiladas wrapped tightly for up to 3 months, perfect for meal prepping and enjoying later with minimal effort.
- Prep Time: 15 minutes
- Cook Time: 25 minutes
- Category: Lunch, Dinner
- Method: Baking
- Cuisine: Mexican
Nutrition
- Serving Size: 8
- Calories: 356 kcal
- Sugar: 2 g
- Sodium: 570 mg
- Fat: 25 g
- Saturated Fat: 14 g
- Unsaturated Fat: 9 g
- Trans Fat: 0.5 g
- Carbohydrates: 15 g
- Fiber: 3 g
- Protein: 23 g
- Cholesterol: 75 mg
Michael Thompson
Founder & Recipe Developer
Expertise
Education
Cascade Culinary Institute – Bend, OR
ServSafe Food Handler Certification – Portland, OR
Focus: Certified in core food safety and hygiene principles for both home and professional kitchens, with emphasis on ingredient handling, kitchen cleanliness, and safe preparation methods.
Mike’s kitchen journey began with a single goal: to make everyday meals feel like something worth celebrating.
After earning his Certificate in Culinary Arts from Cascade Culinary Institute, he spent years working with local farmers and small kitchens across Oregon, learning the beauty of seasonal, small-batch cooking.
Mike’s approach is simple, cook with what’s fresh, keep it approachable, and always leave room for a little creativity. When he’s not testing yogurt marinades or designing single-serving meals, you’ll find him hiking trails or hunting down the best berries at local markets.