
Cream Cheese Frosting Recipe with Silky Smooth Texture
Whipping up a delectable cream cheese frosting can turn any ordinary dessert into a culinary masterpiece.
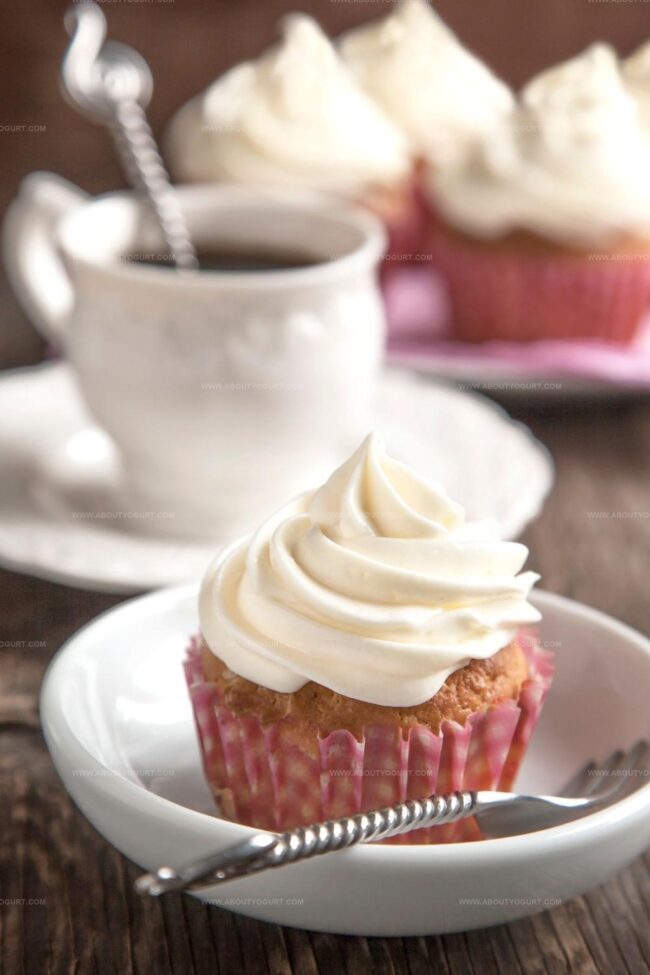
Smooth and luxurious, this classic topping brings unexpected magic to cakes and cupcakes.
Creamy textures meld with sweet undertones, creating a sensational spread that melts in your mouth.
Professional bakers and home cooks alike treasure this simple yet elegant recipe.
Every spoonful promises rich, velvety goodness that completes your favorite baked treats.
Subtle hints of vanilla and tangy cream cheese dance together, making each bite irresistible.
You’ll want to slather this frosting on everything from carrot cake to red velvet cupcakes.
Why Nigella Cream Cheese Frosting Is a Classic
What Goes Into Nigella Cream Cheese Frosting
Main Ingredients:Flavor Enhancers:Sweetening Agents:How to Whip Up Nigella Cream Cheese Frosting
Step 1: Prepare Creamy Base
Grab your trusty electric mixer and toss in softened butter and cream cheese. Whip these ingredients together until they transform into a dreamy, cloud-like mixture that’s completely smooth and irresistibly fluffy.
Step 2: Enhance Flavor Profile
Drizzle in the vanilla extract and sprinkle a tiny pinch of salt. Blend these elements thoroughly, allowing the flavors to dance and mingle harmoniously.
Step 3: Incorporate Powdered Sugar
Slowly introduce powdered sugar into the mixture, starting at a low mixer speed. This gentle approach prevents sugar from flying everywhere and ensures a perfectly integrated frosting.
Step 4: Whip to Perfection
Continue mixing and whipping the frosting until it becomes light, airy, and silky smooth. The texture should be luxurious and spreadable, with no lumps or bumps.
Step 5: Final Texture Adjustment
You have two delightful options for your frosting:Pro tip: The frosting will keep in the refrigerator for up to one week when stored in an airtight container.
Helpful Tips for Nigella Cream Cheese Frosting
Fun Flavor Options for Nigella Cream Cheese Frosting
What to Pair with Nigella Cream Cheese Frosting
Best Ways to Store Nigella Cream Cheese Frosting
Nigella Cream Cheese Frosting Q&A
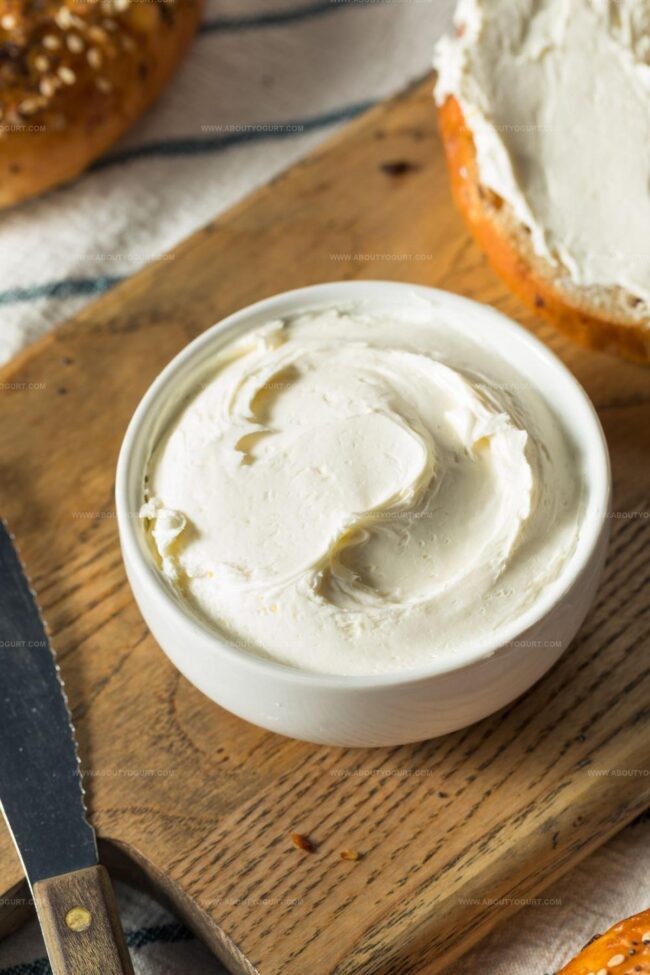
You’ll need softened cream cheese, butter, powdered sugar, vanilla extract, and a pinch of salt.
Yes, you can prepare it in advance and store it in the refrigerator for up to 5 days. Just bring it to room temperature and re-whip before using.
This usually happens if the butter and cream cheese are too soft. Make sure they’re just slightly softened, not melted, and chill the frosting if it seems too loose.
Always use room temperature cream cheese and butter, sift the powdered sugar, and mix on low speed to avoid creating air bubbles that can cause a lumpy texture.
Print
Cream Cheese Frosting Recipe
- Total Time: 57 minutes
- Yield: 12 1x
Description
Silky smooth cream cheese frosting elevates cakes and pastries with its luxurious tang. Delicate balance of cream cheese, butter, and powdered sugar creates a dreamy spread you’ll want to slather on everything sweet.
Ingredients
Main Ingredients:
- 8 ounces (226 grams) cream cheese
- 1/2 cup (1 stick or 113 grams) unsalted butter
Sweetener:
- 4 cups (500 grams) powdered sugar
Flavor Enhancers:
- 1 teaspoon vanilla extract
- 1/4 teaspoon salt
Instructions
- Ensure butter and cream cheese are at room temperature for optimal blending.
- Place softened butter and cream cheese in a stand mixer fitted with the paddle attachment.
- Blend ingredients on medium speed until completely integrated and velvety, approximately 2-3 minutes.
- Incorporate vanilla extract and salt, mixing thoroughly to distribute evenly.
- Reduce mixer speed to low and gradually introduce powdered sugar, preventing sugar clouds from forming.
- Continue mixing until the frosting achieves a silky, uniform consistency with no visible sugar granules.
- Increase mixer speed to medium-high and whip for an additional 1-2 minutes to create a light, airy texture.
- If the frosting seems too soft, refrigerate for 10-15 minutes to firm up slightly.
- For optimal spreading and piping, use immediately at room temperature or slightly chilled.
- Store unused frosting in an airtight container in the refrigerator for up to 5 days.
Notes
- Softening dairy ingredients at room temperature ensures a smooth, lump-free frosting with perfect spreadability.
- Sifting powdered sugar prevents clumps and creates an ultra-silky texture that glides effortlessly across cakes and cupcakes.
- For a lighter version, swap full-fat cream cheese with reduced-fat alternatives, though the consistency might be slightly less rich.
- Store leftovers in an airtight container in the refrigerator for up to five days, allowing the frosting to come to room temperature before re-whipping for best results.
- Prep Time: 0 minutes
- Cook Time: 57 minutes
- Category: Desserts
- Method: Blending
- Cuisine: American
Nutrition
- Serving Size: 12
- Calories: 142
- Sugar: 24 g
- Sodium: 55 mg
- Fat: 6 g
- Saturated Fat: 4 g
- Unsaturated Fat: 2 g
- Trans Fat: 0.2 g
- Carbohydrates: 25 g
- Fiber: 0 g
- Protein: 1 g
- Cholesterol: 17 mg
Michael Thompson
Founder & Recipe Developer
Expertise
Education
Cascade Culinary Institute – Bend, OR
ServSafe Food Handler Certification – Portland, OR
Focus: Certified in core food safety and hygiene principles for both home and professional kitchens, with emphasis on ingredient handling, kitchen cleanliness, and safe preparation methods.
Mike’s kitchen journey began with a single goal: to make everyday meals feel like something worth celebrating.
After earning his Certificate in Culinary Arts from Cascade Culinary Institute, he spent years working with local farmers and small kitchens across Oregon, learning the beauty of seasonal, small-batch cooking.
Mike’s approach is simple, cook with what’s fresh, keep it approachable, and always leave room for a little creativity. When he’s not testing yogurt marinades or designing single-serving meals, you’ll find him hiking trails or hunting down the best berries at local markets.