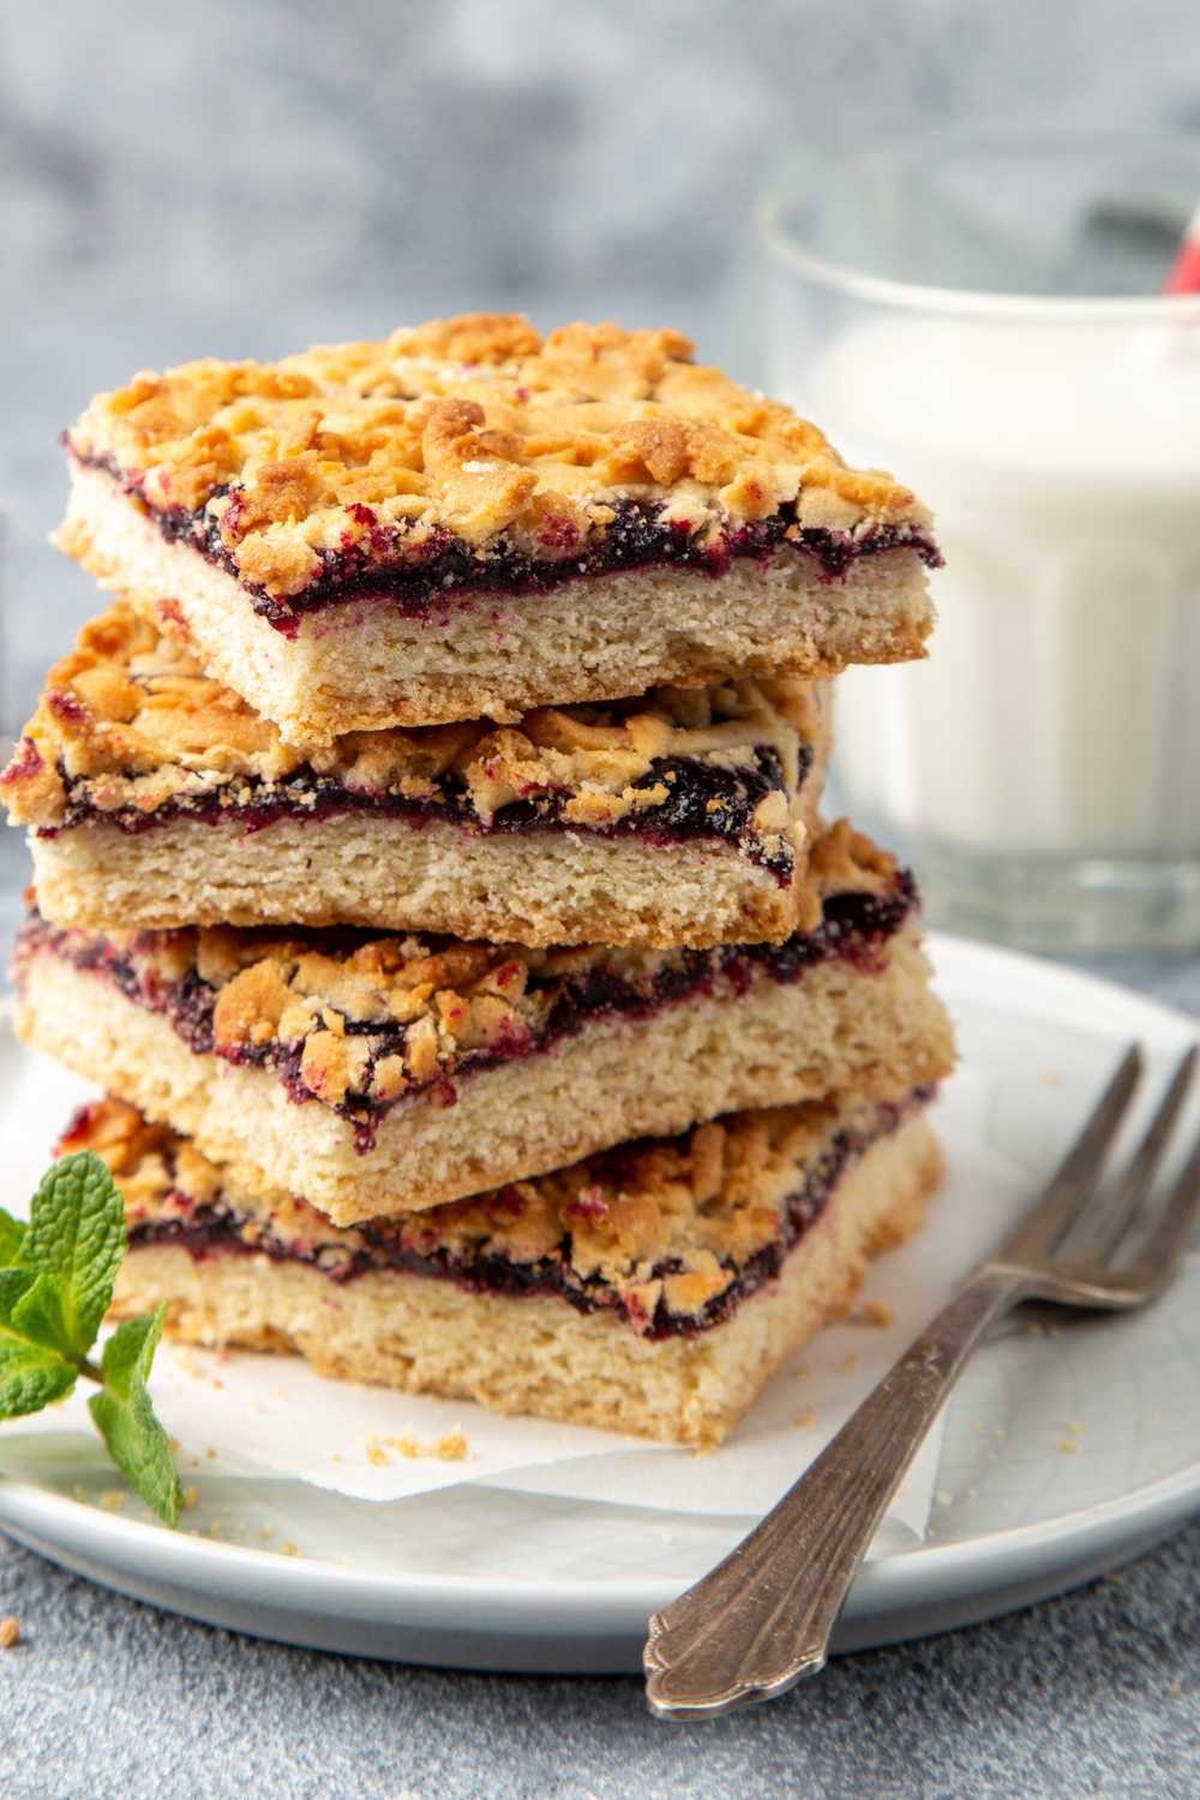
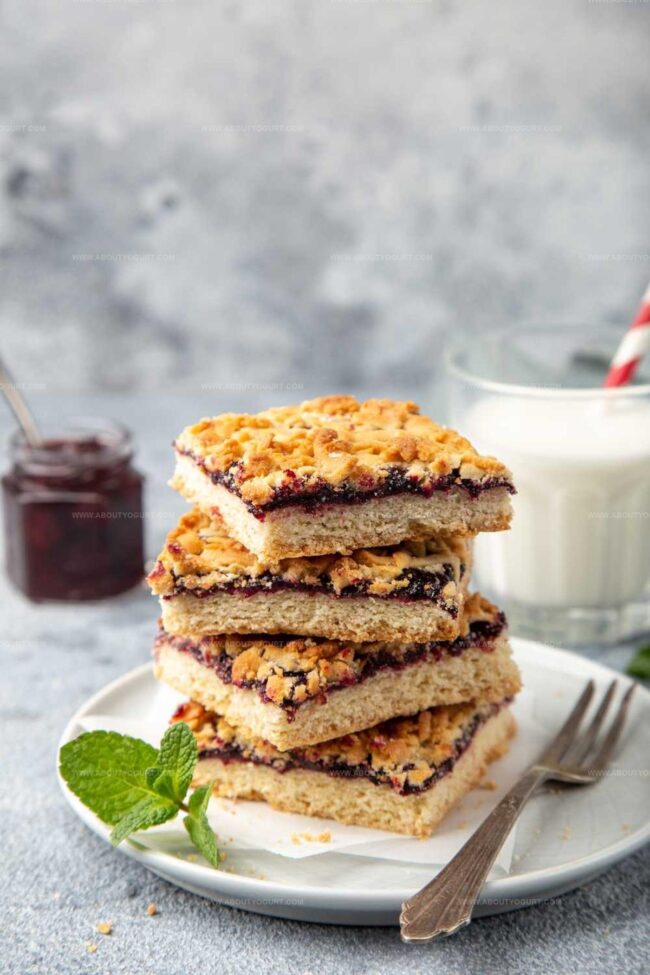
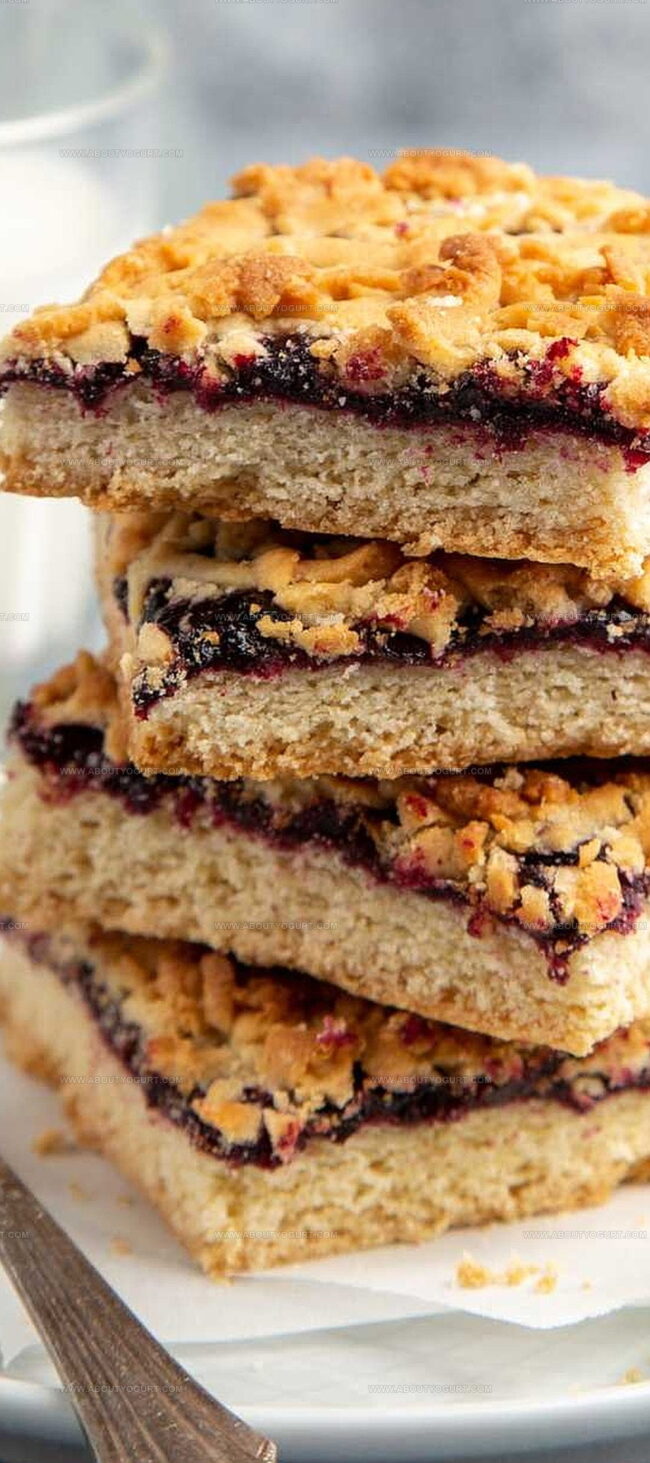
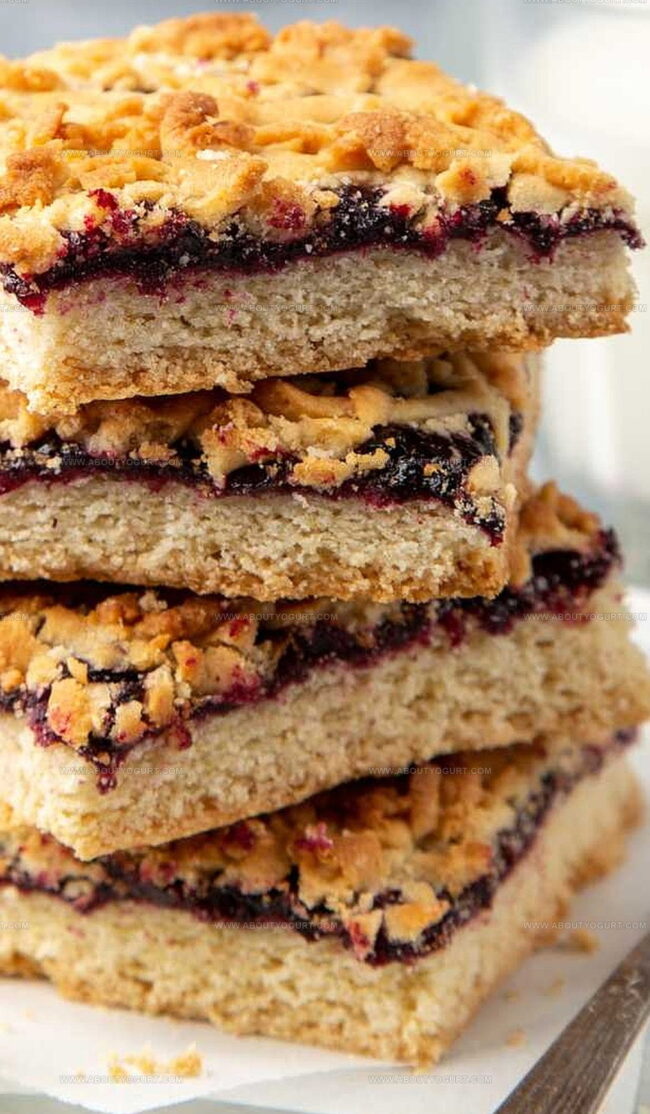
Currant Squares Recipe That’s Simple and Sweet
Sweet and tart currant squares dance with rustic charm on your dessert plate.
Memories of grandma’s kitchen whisper through each buttery bite.
Delicate pastry cradles jewel-like fruit in a delightful embrace.
Crumbly edges hint at homemade comfort waiting to be savored.
A simple recipe promises pure pleasure without complicated techniques.
Baking these treats connects you to generations of home cooks who treasured such delectable moments.
You’ll want to slice into these squares and celebrate pure, uncomplicated joy.
Why Mary Berry Currant Squares Are A Classic Snack
Mary Berry Currant Squares Ingredient Breakdown
Base Ingredients:Filling Ingredients:Finishing Ingredients:How To Make Mary Berry Currant Squares

Step 1: Prepare Buttery Pastry Dough
Blend cold butter into flour using your fingertips until the mixture looks like coarse crumbs. Work quickly to keep the butter cold and create a light, flaky texture.
Step 2: Create Pastry Base
Add cold water gradually to the flour mixture, mixing until a soft dough forms. Wrap the dough in plastic wrap and refrigerate for 15 minutes to allow the gluten to relax and butter to firm up.
Step 3: Craft Delicious Currant Filling
In a saucepan, combine:Stir the ingredients over low heat until they meld together. Fold in currants and let the mixture cool slightly.
Step 4: Shape the Pastry Base
Roll out half the chilled pastry dough and carefully line a baking tray, ensuring even coverage and pressing gently into the corners.
Step 5: Spread Currant Mixture
Evenly distribute the currant filling across the pastry base, creating a smooth, consistent layer that reaches the edges.
Step 6: Top with Remaining Pastry
Roll out the remaining dough and gently place it over the currant filling. Carefully seal the edges by pinching or crimping to prevent filling from leaking.
Step 7: Bake to Golden Perfection
Slide the tray into a preheated oven and bake until the pastry turns a beautiful golden brown, with edges becoming crisp and slightly darker.
Step 8: Add Final Sweet Touch
Immediately after removing from the oven, sprinkle a generous dusting of caster sugar over the top, allowing it to melt slightly and create a sparkling finish.
Step 9: Slice and Serve
Allow the pastry to cool completely, then cut into neat, inviting squares using a sharp knife. Serve and enjoy the rich, buttery treat.
Top Tips For Mary Berry Currant Squares
Fun Twists On Mary Berry Currant Squares
Great Pairings For Mary Berry Currant Squares
How To Store Mary Berry Currant Squares Properly
Mary Berry Currant Squares FAQ Guide
Currants are small, tart dried fruits that give these squares a rich, sweet-tangy flavor and dense texture, typically darker and smaller than raisins.
Fresh currants work differently and might make the filling too watery. Dried currants are recommended for maintaining the right consistency and traditional taste of the recipe.
Chilling helps the butter solidify, which creates flakier, more tender pastry layers and prevents the dough from shrinking during baking.
Look for a golden-brown color across the top pastry layer and slightly firm edges. The pastry should appear crisp and set, not pale or soggy.
Print
Currant Squares Recipe
- Total Time: 50-60 minutes
- Yield: 8 1x
Description
Homemade currant squares bring nostalgic family bakery charm straight to your kitchen, blending sweet-tart berries with buttery pastry. Delicate crumble topping and rich currant filling promise a delightful slice of comfort you’ll savor with every bite.
Ingredients
Main Ingredients:
- 500 grams (17.6 ounces) Currants
- 120 grams (4.2 ounces) Salted Butter
- 240 grams (8.5 ounces) Brown Sugar
Pastry Ingredients:
- 300 grams (10.6 ounces) Plain Flour
- 150 grams (5.3 ounces) Salted Butter, cold
- 75 milliliters (2.5 fluid ounces) Ice Cold Water
Finishing Ingredients:
- 2 teaspoons Mixed Spice
- Caster Sugar for topping
Instructions
- Blend chilled butter into flour using fingertips until mixture resembles coarse sand-like texture.
- Introduce cold water gradually, kneading until cohesive pastry forms. Refrigerate dough for 15 minutes to stabilize.
- In a saucepan, gently melt butter with brown sugar and warming spice, creating a rich caramel-like base. Fold currants into the warm mixture.
- Carefully roll out half the pastry and press into baking tray, ensuring even coverage across bottom and edges.
- Distribute currant filling uniformly across pastry base, creating a consistent layer.
- Roll remaining pastry and delicately drape over filling. Crimp and seal edges thoroughly to prevent leakage.
- Bake at 375°F for 35-40 minutes until pastry turns golden brown and filling bubbles slightly.
- Immediately dust surface with fine caster sugar while still warm, allowing sugar to slightly melt and create delicate glaze.
- Allow pastry to cool completely at room temperature before slicing into precise square portions.
Notes
- Butter Temperature Matters: Use chilled butter and work quickly to create a crumbly, flaky pastry texture that melts in your mouth.
- Currant Flexibility: Swap currants with raisins, sultanas, or mixed dried fruit for a personalized twist that suits your taste preferences.
- Prevent Soggy Bottom: Lightly dust the base pastry with ground almonds or breadcrumbs to absorb excess moisture and ensure a crisp crust.
- Gluten-Free Adaptation: Replace wheat flour with a gluten-free blend to make this recipe suitable for those with dietary restrictions, maintaining the same delicious flavor profile.
- Prep Time: 20 minutes
- Cook Time: 30-40 minutes
- Category: Desserts, Snacks
- Method: Baking
- Cuisine: American
Nutrition
- Serving Size: 8
- Calories: 320
- Sugar: 22g
- Sodium: 120mg
- Fat: 18g
- Saturated Fat: 11g
- Unsaturated Fat: 5g
- Trans Fat: 0.3g
- Carbohydrates: 38g
- Fiber: 2g
- Protein: 3g
- Cholesterol: 45mg
Michael Thompson
Founder & Recipe Developer
Expertise
Education
Cascade Culinary Institute – Bend, OR
ServSafe Food Handler Certification – Portland, OR
Focus: Certified in core food safety and hygiene principles for both home and professional kitchens, with emphasis on ingredient handling, kitchen cleanliness, and safe preparation methods.
Mike’s kitchen journey began with a single goal: to make everyday meals feel like something worth celebrating.
After earning his Certificate in Culinary Arts from Cascade Culinary Institute, he spent years working with local farmers and small kitchens across Oregon, learning the beauty of seasonal, small-batch cooking.
Mike’s approach is simple, cook with what’s fresh, keep it approachable, and always leave room for a little creativity. When he’s not testing yogurt marinades or designing single-serving meals, you’ll find him hiking trails or hunting down the best berries at local markets.