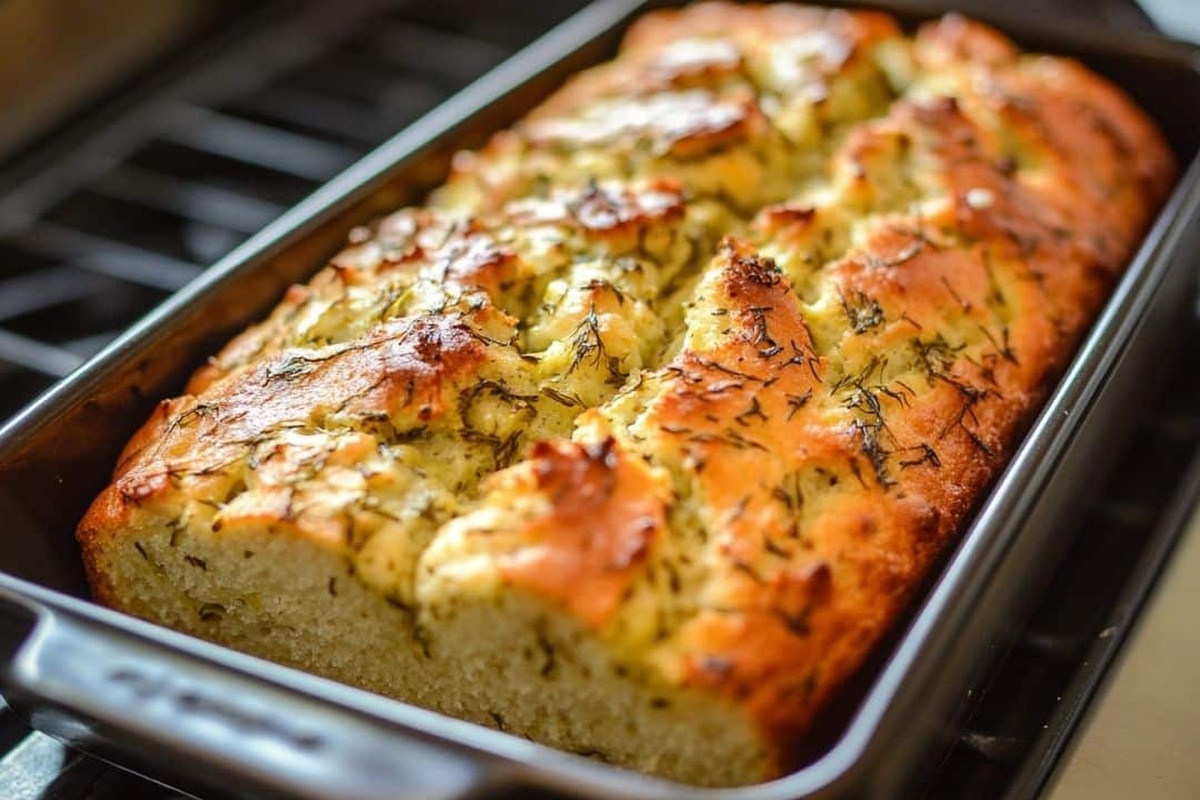
Easy Tangy Dill Pickle Bread Recipe Everyone Will Love
Crafting a delightful dill pickle bread can turn an ordinary baking afternoon into a memorable culinary adventure.
Briny pickles add unexpected zest to classic bread recipes.
Salt and tang mingle beautifully within each soft slice.
Crisp pickle bits create surprising texture throughout the loaf.
Bakers looking for something different will adore this unique creation.
Home kitchens buzz with excitement when this unconventional bread emerges from the oven.
Why Dill Pickle Bread Is a Must-Try
Essential Ingredients for Dill Pickle Bread
Main Ingredients:Wet Ingredients:Leavening and Seasoning:How to Bake Dill Pickle Bread
Step 1: Warm Up the Oven
Crank your oven to 350F (175C). Grab a 9×5-inch loaf pan and give it a quick spray or butter coating to prevent sticking.
Step 2: Blend Dry Ingredients
In a spacious mixing bowl, grab your whisk and combine:Whisk everything together until the dry ingredients are perfectly blended.
Step 3: Combine Wet Components
In a separate bowl, mix these goodies:Stir until all ingredients are thoroughly incorporated.
Step 4: Marry Wet and Dry Mixtures
Pour the wet mixture into the dry ingredients. Gently fold everything together using a spatula. Stop mixing the moment ingredients are just combined – lumps are totally okay!
Step 5: Ready for Baking
Transfer the batter into your prepared loaf pan. Spread it evenly with a spatula, ensuring a smooth top.
Step 6: Bake to Perfection
Slide the pan into the preheated oven. Bake for 50-60 minutes. Check doneness by inserting a toothpick into the center – it should come out clean.
Step 7: Initial Cooling
Pull the bread from the oven. Let it rest in the pan for 10 minutes to settle and make removal easier.
Step 8: Final Cooling
Carefully lift the bread from the pan and place it on a wire rack. Allow it to cool completely before slicing.
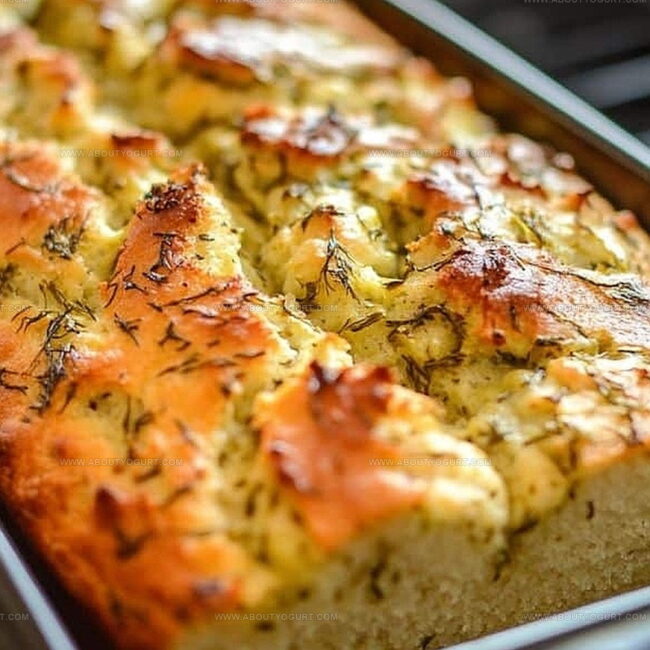
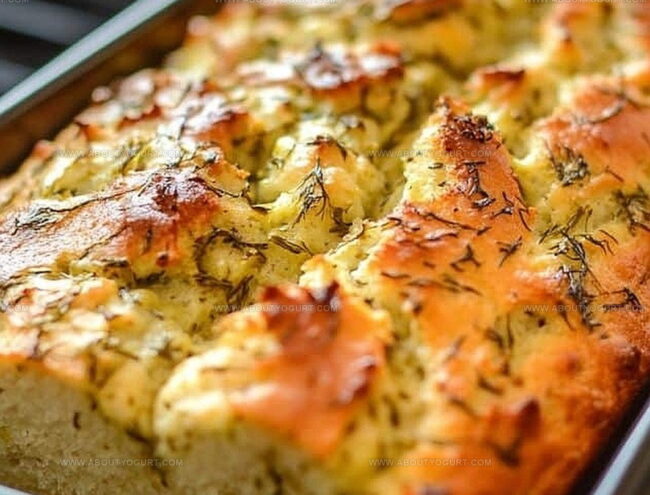
Step 9: Serve and Savor
Slice the bread and serve. Enjoy it plain or topped with cream cheese, butter, or your favorite spread. This tangy bread pairs wonderfully with soups or as a unique sandwich base!
Expert Advice for Dill Pickle Bread Success
Fun Variations for Dill Pickle Bread
Perfect Pairings with Dill Pickle Bread
Tips for Keeping Dill Pickle Bread Fresh
FAQs on Dill Pickle Bread
Pickle juice adds a tangy, zesty flavor and helps keep the bread moist. It also provides a unique twist to traditional bread recipes.
Yes, you can use different pickle varieties like kosher dill, garlic dill, or bread and butter pickles. Just ensure they’re chopped finely for even distribution.
This bread is more on the savory side with a tangy pickle flavor. It’s not a sweet bread but has a unique and interesting taste profile.
If the batter looks too wet, add a bit more flour. If the bread is dense, make sure not to overmix and check that your baking powder is fresh.
Print
Dill Pickle Bread Recipe
- Total Time: 65-75 minutes
- Yield: 8 1x
Description
Savory dill pickle bread brings zesty tang to your table, combining tangy pickles with comforting homemade goodness. Crusty exterior and moist crumb invite bread enthusiasts to savor each flavorful slice, making you crave another bite.
Ingredients
Dry Ingredients:
- 3 cups (360 grams) all-purpose flour
- 1 tablespoon (15 grams) baking powder
- 1 teaspoon (6 grams) salt
- 1/4 cup (50 grams) granulated sugar
Wet Ingredients:
- 3 large eggs
- 1 cup (240 milliliters) milk
- 1/4 cup (60 milliliters) pickle juice
- 1/4 cup (60 milliliters) unsalted butter, melted
Pickle Components:
- 1 cup (160 grams) chopped dill pickles
Instructions
- Prepare the oven by heating to 350F (175C) and coating a 9×5-inch loaf pan with grease.
- Sift flour, baking powder, salt, and sugar together in a large mixing bowl, ensuring even distribution of dry ingredients.
- Whisk melted butter, chopped dill pickles, pickle juice, eggs, and milk in a separate container until thoroughly blended.
- Gently fold wet ingredients into dry mixture, stirring until ingredients are just incorporated without overmixing the batter.
- Transfer batter to greased loaf pan, smoothing the surface to create an even layer.
- Bake in preheated oven for 50-60 minutes, checking doneness by inserting a toothpick into the center – it should emerge clean and dry.
- Remove bread from oven and let rest in the pan for 10 minutes to allow initial settling and prevent crumbling.
- Carefully extract bread from pan and place on a wire cooling rack, allowing it to reach room temperature completely.
- Slice the bread and serve, optionally accompanied by butter, cream cheese, or your preferred spread for enhanced flavor.
Notes
- Pickle precision matters, so drain chopped pickles thoroughly to prevent excess moisture that could make bread soggy.
- Customize bread’s tanginess by adjusting pickle juice quantity, allowing personal flavor preference.
- Consider adding shredded cheese or chopped herbs like chives for extra depth and complexity to the bread’s profile.
- Gluten-free bakers can substitute all-purpose flour with a 1:1 gluten-free blend to make this recipe accessible.
- Prep Time: 15 minutes
- Cook Time: 50-60 minutes
- Category: Snacks, Appetizer
- Method: Baking
- Cuisine: American
Nutrition
- Serving Size: 8
- Calories: 224 kcal
- Sugar: 5 g
- Sodium: 422 mg
- Fat: 8 g
- Saturated Fat: 3 g
- Unsaturated Fat: 4 g
- Trans Fat: 0 g
- Carbohydrates: 33 g
- Fiber: 1 g
- Protein: 6 g
- Cholesterol: 55 mg
Sarah Mitchell
Content Specialist & Home Cooking Enthusiast
Expertise
Education
Asheville-Buncombe Technical Community College – Asheville, NC
American Fitness Professionals & Associates – Online
Sarah’s passion for food was sparked by weekend trips to the farmers’ market and her belief that healthy meals should never feel boring.
After earning her culinary diploma and becoming a certified Nutrition and Wellness Consultant, she set out to help others fall in love with simple, wholesome cooking.
She’s all about celebrating the small wins in the kitchen: a colorful yogurt bowl, a new twist on a classic dish, or a homemade snack that feels just a little extra special.
Outside the kitchen, Sarah is a gardener at heart, a yoga enthusiast, and a believer that fresh herbs can brighten any meal, and any day.