Dill Pickle Cheese Ball Recipe for Flavor-Packed Snacking
Crafting a mouthwatering dill pickle cheese ball brings unexpected excitement to your appetizer game.
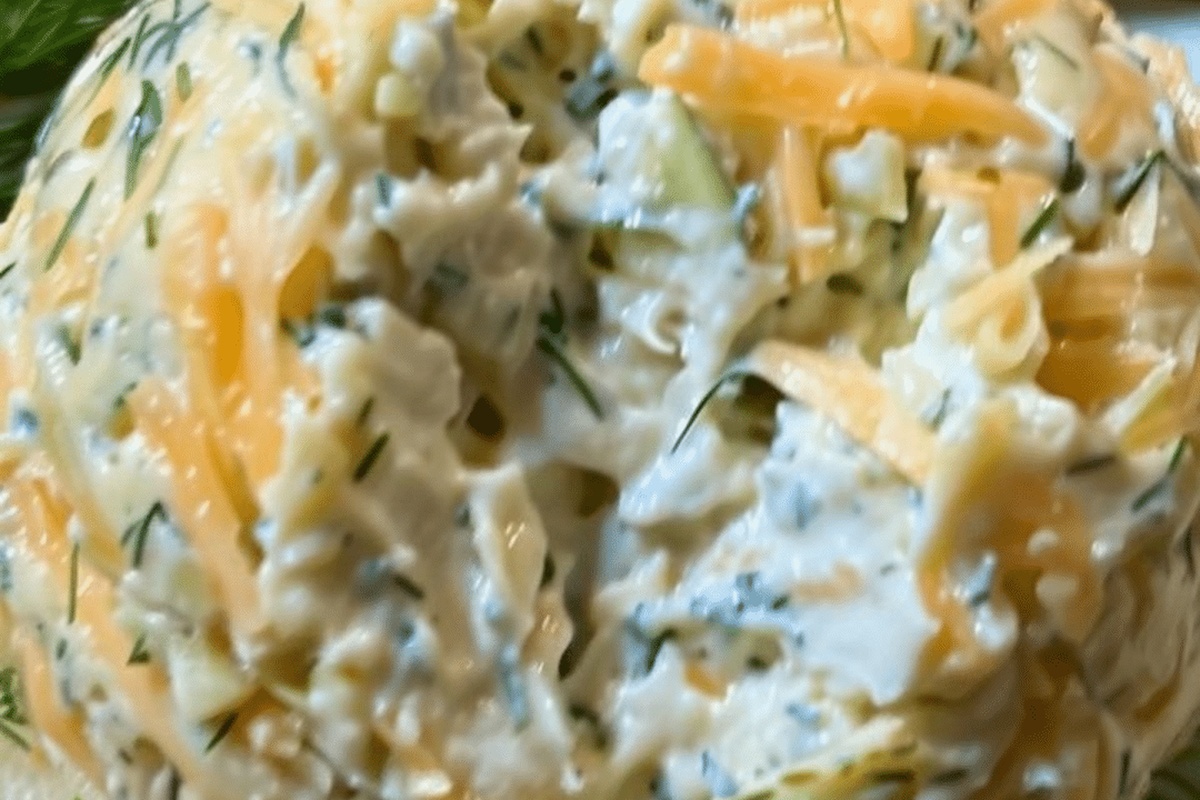
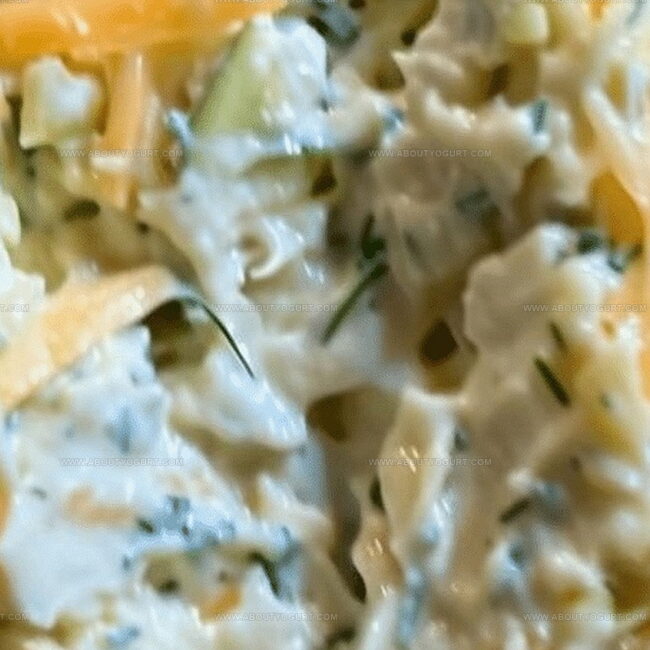
Creamy textures blend with tangy pickle notes for an irresistible snack.
Cheese enthusiasts will adore this zesty twist on classic party fare.
Crisp green herbs and sharp cheddar create a perfect flavor harmony.
Crunchy crackers provide the ideal companion for this crowd-pleasing starter.
Simple ingredients come together in minutes, making party prep a breeze.
What Makes Dill Pickle Cheese Ball So Irresistible
Key Ingredients for a Dill Pickle Cheese Ball
Main Ingredients:Seasoning Blend:Coating:How to Craft a Delicious Dill Pickle Cheese Ball
Step 1: Blend Creamy Ingredients
In a spacious mixing bowl, combine softened cream cheese, shredded cheddar cheese, finely chopped dill pickles, garlic powder, onion powder, fresh dill, and chopped parsley. Use a hand mixer or sturdy wooden spoon to blend all ingredients until they form a smooth, well-incorporated mixture.
Step 2: Shape Delightful Cheese Ball
Scoop the cheese mixture onto a clean surface and gently roll it into a round ball shape using your hands. Be careful not to handle the mixture too much to keep it soft and creamy.
Step 3: Coat with Nutty Crunch
Place chopped pecans on a plate or shallow dish. Carefully roll the cheese ball in the pecans, pressing gently to ensure the nuts adhere completely and cover the entire surface.
Step 4: Chill and Develop Flavors
Transfer the pecan-coated cheese ball to a serving plate or storage container. Place in the refrigerator and let it rest for at least one hour. This chilling time allows the flavors to meld and the cheese ball to firm up.
Step 5: Serve and Enjoy
Remove the cheese ball from the refrigerator just before serving. Arrange an assortment of crisp crackers, sliced vegetables, or crunchy bread around the cheese ball. Provide a cheese knife or spreader for guests to scoop and enjoy this delectable appetizer.
Tips for Mastering Your Dill Pickle Cheese Ball
Creative Variations for Dill Pickle Cheese Ball
Pairing Suggestions to Complement Dill Pickle Cheese Ball
How to Store Dill Pickle Cheese Ball for Freshness
FAQs About Dill Pickle Cheese Ball You Should Know
The main ingredients are cream cheese, cheddar cheese, chopped pickles, garlic powder, onion powder, dill, parsley, and pecans for coating.
Yes, you can substitute cheddar with other hard cheeses like monterey jack or gouda for a slightly different flavor profile.
The cheese ball can be stored in the refrigerator for up to 5 days when wrapped tightly in plastic wrap.
Absolutely! The combination of dill pickles and cheese creates a tangy and savory appetizer that pickle lovers will enjoy.
Print
Dill Pickle Cheese Ball Recipe
- Total Time: 1 hour 10 minutes
- Yield: 8 1x
Description
Creamy dill pickle cheese ball brings zesty Polish-inspired flavors to party appetizers. Guests will devour this simple, crowd-pleasing snack that combines tangy pickles, smooth cream cheese, and crunchy exterior you can’t resist.
Ingredients
Cheese:
- 8 ounces (226 grams) cream cheese, softened
- 1 cup (113 grams) shredded cheddar cheese
Seasonings and Herbs:
- 1/4 teaspoon garlic powder
- 1/4 teaspoon onion powder
- 1/4 teaspoon dried dill
- 1/4 cup (15 grams) chopped fresh parsley
Add-ins:
- 1/4 cup (40 grams) chopped dill pickles
- 1 cup (100 grams) chopped pecans
Instructions
- Blend softened cream cheese with sharp cheddar, finely chopped dill pickles, garlic powder, onion powder, fresh dill, and chopped parsley in a mixing bowl until ingredients are thoroughly incorporated and create a smooth, tangy mixture.
- Using clean hands, gently form the cheese blend into a compact, round sphere ensuring uniform shape and consistent density.
- Carefully roll the cheese ball across a plate of finely chopped pecans, rotating and pressing gently to create an even, crunchy exterior coating that adheres completely to the surface.
- Transfer the pecan-crusted cheese ball to a covered container and refrigerate for minimum 60 minutes, allowing flavors to meld and texture to firm up.
- When ready to serve, remove from refrigerator and place on a decorative platter alongside an assortment of crisp crackers, sliced fresh vegetables, or rustic bread for dipping and spreading.
Notes
- Drain pickles thoroughly to prevent excess moisture that could make the cheese ball soggy and lose its perfect shape.
- Toast pecans lightly before coating for an enhanced nutty flavor and extra crunch that elevates the overall texture.
- For a lighter version, swap full-fat cream cheese with reduced-fat or Greek yogurt cream cheese to cut down on calories without sacrificing taste.
- Prepare the cheese ball a day ahead to allow flavors to meld together, creating a more complex and delicious appetizer that will impress guests.
- Prep Time: 10 minutes
- Cook Time: 0 minutes
- Category: Appetizer, Snacks
- Method: Rolling
- Cuisine: American
Nutrition
- Serving Size: 8
- Calories: 278
- Sugar: 1 g
- Sodium: 204 mg
- Fat: 25 g
- Saturated Fat: 6 g
- Unsaturated Fat: 16 g
- Trans Fat: 0.3 g
- Carbohydrates: 5 g
- Fiber: 2 g
- Protein: 7 g
- Cholesterol: 24 mg
Michael Thompson
Founder & Recipe Developer
Expertise
Education
Cascade Culinary Institute – Bend, OR
ServSafe Food Handler Certification – Portland, OR
Focus: Certified in core food safety and hygiene principles for both home and professional kitchens, with emphasis on ingredient handling, kitchen cleanliness, and safe preparation methods.
Mike’s kitchen journey began with a single goal: to make everyday meals feel like something worth celebrating.
After earning his Certificate in Culinary Arts from Cascade Culinary Institute, he spent years working with local farmers and small kitchens across Oregon, learning the beauty of seasonal, small-batch cooking.
Mike’s approach is simple, cook with what’s fresh, keep it approachable, and always leave room for a little creativity. When he’s not testing yogurt marinades or designing single-serving meals, you’ll find him hiking trails or hunting down the best berries at local markets.