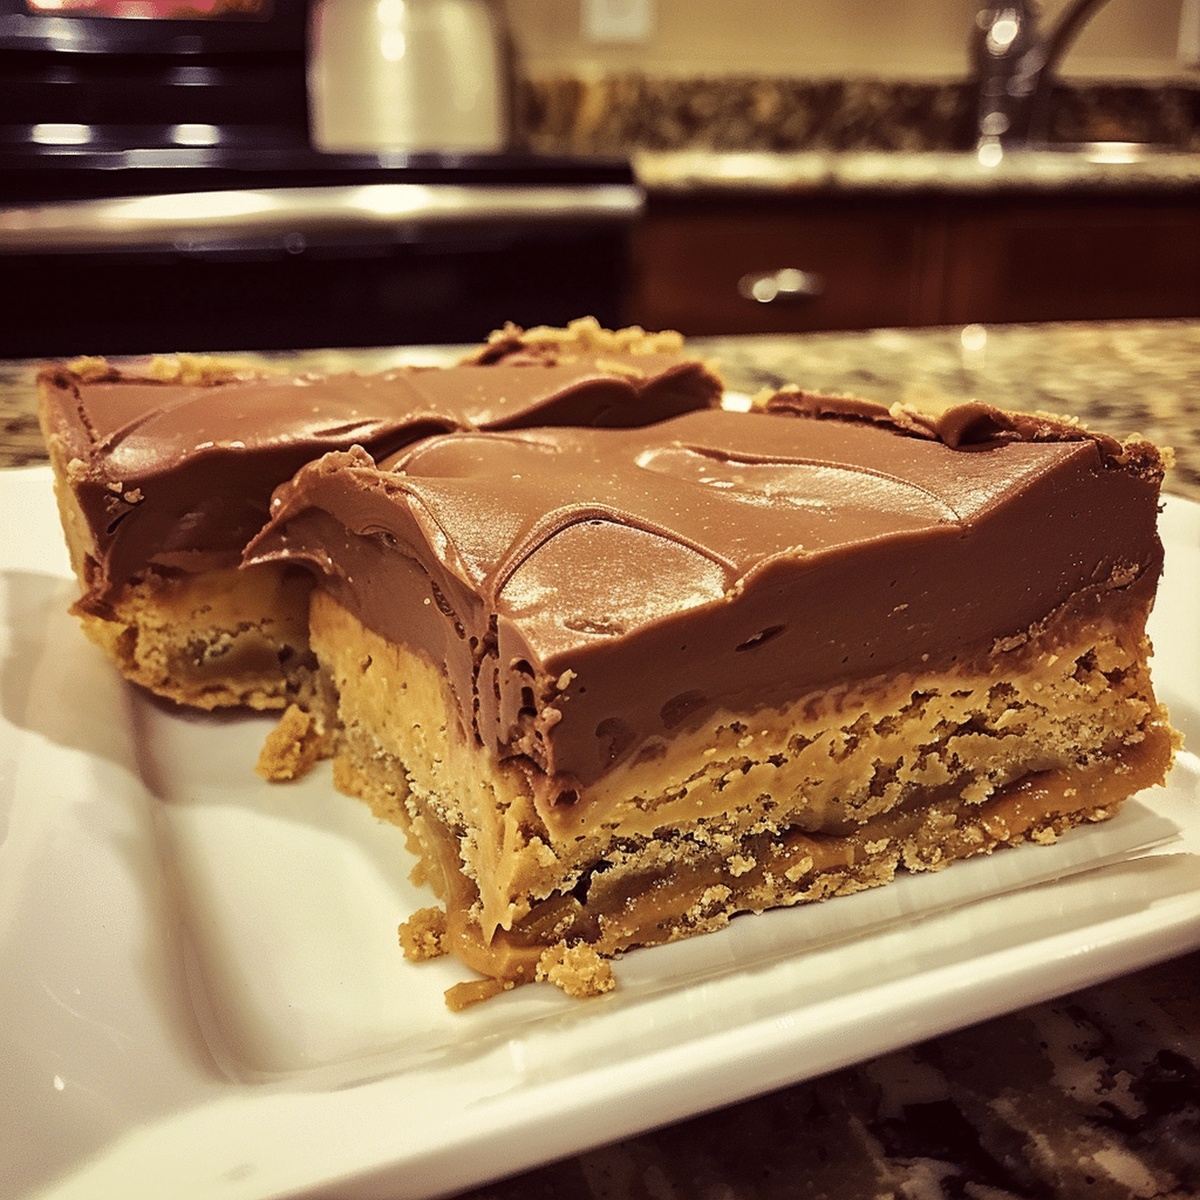
Fudge Filled Peanut Butter Cake Bars Recipe for Chocolate Fans
Decadent peanut butter cake bars promise a delightful twist on classic dessert indulgences.
Sweet layers of creamy richness await your taste buds.
Chocolate fudge weaves through soft, tender cake with luxurious charm.
Nutty undertones complement the rich, velvety filling perfectly.
Each bite delivers a symphony of textures that dance across your palate.
Baking enthusiasts and chocolate lovers will adore this simple yet spectacular treat.
Come explore a recipe that transforms ordinary ingredients into an extraordinary dessert experience.
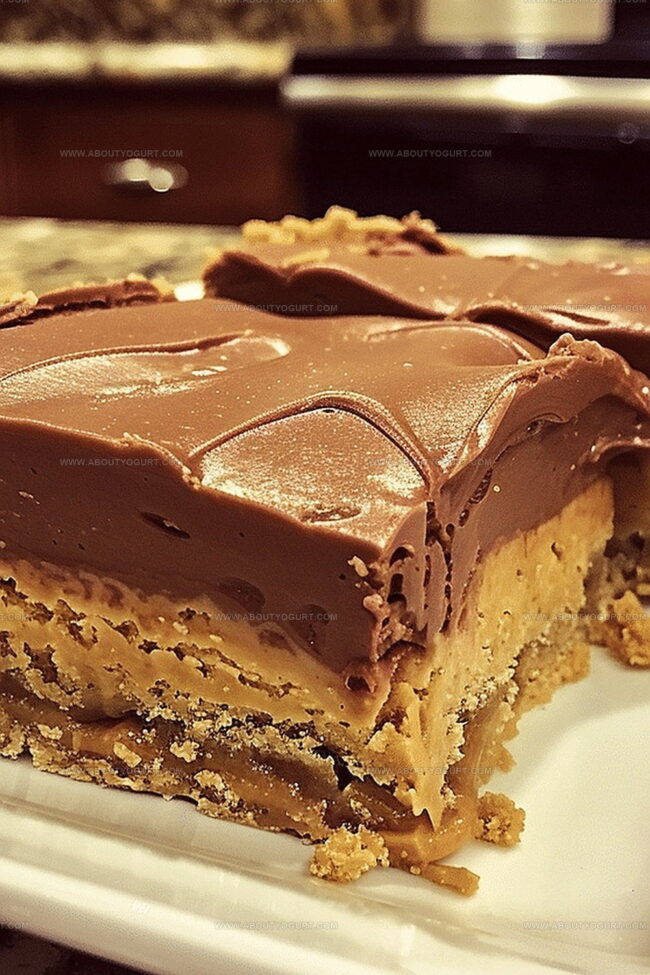
Fudge-Filled Peanut Butter Cake Bars You’ll Crave
Ingredients You Need For Fudge-Filled Peanut Butter Cake Bars
Cake Layer Ingredients:Fudge Layer Ingredients:Topping Ingredient:How To Create Fudge-Filled Peanut Butter Cake Bars
Step 1: Prepare Baking Setup
Grab your 9×13 inch baking pan and line it completely with nonstick foil. Preheat the oven to a cozy 350°F (175°C) so it’s ready for baking.
Step 2: Create First Cake Layer
In a spacious mixing bowl, gather these ingredients:Whisk everything together until the batter looks smooth and creamy. Pour exactly half of this delightful mixture into the prepared pan, spreading it evenly with a spatula.
Step 3: Craft Decadent Fudge Layer
Use a microwave-safe bowl and combine:Zap in the microwave, stirring occasionally, until the chocolate transforms into a silky, glossy mixture. Gently pour this luscious fudge over the first cake layer.
Step 4: Add Final Cake Topping
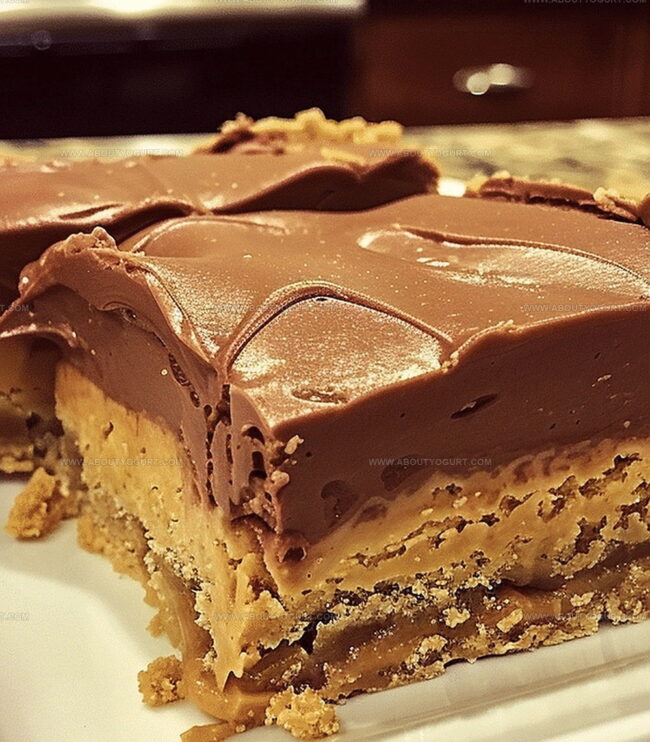
Dollop the remaining cake batter across the fudge layer. Use a spatula to spread it as evenly as possible, creating a beautiful marbled effect.
Step 5: Bake to Perfection
Slide the pan into the preheated oven. Bake for 20-25 minutes until the edges start pulling away from the pan’s sides. This signals your bars are ready to come out.
Step 6: Cool and Finish
Allow the bars to cool completely in the pan. For an extra touch of indulgence, drizzle some melted peanut butter on top before serving.
Step 7: Serve and Enjoy
Cut into generous squares and watch everyone’s eyes light up with excitement. These bars are perfect for sharing or keeping all to yourself!
Pro Tips For Fudge-Filled Peanut Butter Cake Bars
Tasty Variations For Fudge-Filled Peanut Butter Cake Bars
Pairings That Match Fudge-Filled Peanut Butter Cake Bars
Storage Hacks For Fudge-Filled Peanut Butter Cake Bars
Fudge-Filled Peanut Butter Cake Bars FAQs
Most ingredients like cake mix, chocolate chips, and peanut butter are common pantry staples available in regular grocery stores.
Yes, yellow or white cake mix works great as an alternative to vanilla cake mix for this recipe.
Absolutely! Kids will love the combination of chocolate and peanut butter, and the recipe is simple enough for older children to help prepare.
Just a 9×13 inch baking pan, microwave-safe bowl, mixing bowl, and standard measuring tools are required.
Print
Fudge Filled Peanut Butter Cake Bars Recipe
- Total Time: 35 minutes
- Yield: 12 1x
Description
Sinful “fudge filled peanut butter cake bars” deliver pure indulgence with rich chocolate and creamy peanut butter layers. Sweet comfort meets decadent dessert magic, promising delightful moments of pure bliss for chocolate and peanut butter enthusiasts.
Ingredients
Main Ingredients:
- 1 yellow cake mix box
- 1/2 cup (120 ml) peanut butter
- 2 eggs
Cake Base Ingredients:
- 1/2 cup (120 ml) melted butter
- 1 teaspoon vanilla extract
Fudge Filling Ingredients:
- 2 cups (340 grams) chocolate chips
- 1 can sweetened condensed milk
- 2 tablespoons (30 ml) butter
Instructions
- Preheat the oven to 350°F (175°C) and prepare a 9×13 inch baking pan by lining it with nonstick foil, ensuring complete coverage.
- Create the initial cake foundation by blending cake mix, eggs, melted butter, vanilla extract, and peanut butter in a large mixing bowl until the mixture achieves a uniform, silky consistency.
- Carefully distribute half of the cake batter across the prepared pan, using a spatula to establish an even, smooth layer that reaches all corners.
- Construct the decadent fudge layer by combining chocolate chips, sweetened condensed milk, and butter in a microwave-safe bowl, heating until completely melted and perfectly smooth, stirring intermittently.
- Gently cascade the molten fudge mixture over the initial cake layer, ensuring an uniform coverage that creates a rich, chocolate blanket.
- Delicately spoon the remaining cake batter across the fudge layer, using gentle spreading techniques to create a marbled, textured surface.
- Position the pan in the preheated oven and bake for 22-27 minutes, watching for edges that begin to pull away from the pan’s sides and indicate optimal doneness.
- Remove from the oven and allow the bars to cool completely at room temperature, which helps set the layers and intensify flavors.
- Optional: Enhance the dessert by drizzling additional melted peanut butter across the top before serving, creating an extra layer of indulgence.
Notes
- Replace cake mix with gluten-free alternative for celiac or gluten-sensitive individuals to make the recipe more inclusive.
- Use dark chocolate chips instead of milk chocolate for lower sugar content and richer flavor profile.
- Allow fudge layer to cool slightly before pouring to prevent potential separation or uneven distribution in the cake bars.
- Ensure even spreading of cake batter layers to create consistent texture and prevent dry or undercooked sections.
- Prep Time: 10 minutes
- Cook Time: 25 minutes
- Category: Desserts, Snacks
- Method: Baking
- Cuisine: American
Nutrition
- Serving Size: 12
- Calories: 460 kcal
- Sugar: 32 g
- Sodium: 210 mg
- Fat: 30 g
- Saturated Fat: 12 g
- Unsaturated Fat: 15 g
- Trans Fat: 0.5 g
- Carbohydrates: 45 g
- Fiber: 2 g
- Protein: 7 g
- Cholesterol: 55 mg
Sarah Mitchell
Content Specialist & Home Cooking Enthusiast
Expertise
Education
Asheville-Buncombe Technical Community College – Asheville, NC
American Fitness Professionals & Associates – Online
Sarah’s passion for food was sparked by weekend trips to the farmers’ market and her belief that healthy meals should never feel boring.
After earning her culinary diploma and becoming a certified Nutrition and Wellness Consultant, she set out to help others fall in love with simple, wholesome cooking.
She’s all about celebrating the small wins in the kitchen: a colorful yogurt bowl, a new twist on a classic dish, or a homemade snack that feels just a little extra special.
Outside the kitchen, Sarah is a gardener at heart, a yoga enthusiast, and a believer that fresh herbs can brighten any meal, and any day.