Garlic Butter Cheese Bombs Recipe Everyone Craves
Quick kitchen magic happens with these garlic butter cheese bombs that promise to turn any ordinary meal into a delightful experience.
My friends can’t resist these crispy, gooey parcels of pure comfort.
Crisp edges and molten centers create an irresistible contrast that makes everyone swoon.
Soft dough embraces melted cheese and rich garlic butter in a seriously addictive combination.
Simple ingredients come together faster than you can imagine, making these bombs perfect for spontaneous snacking.
Minimal effort delivers maximum flavor, guaranteeing impressed guests and happy taste buds.
Why Garlic Butter Cheese Bombs Are So Irresistible
Ingredients for Garlic Butter Cheese Bombs
Main Ingredients:Cheese Mixture:Garlic Butter Sauce:How to Prepare Garlic Butter Cheese Bombs
Step 1: Warm Up the Oven
Fire up your oven to 375 degrees Fahrenheit. Grab a baking dish and give it a quick spray of cooking spray or line it with parchment paper to prevent any sticky situations.
Step 2: Create Cheese Magic
Grab a mixing bowl and blend together the mozzarella and Parmesan cheeses. This combo will create a melty, dreamy filling that’ll make taste buds dance.
Step 3: Transform Biscuit Dough
Crack open the biscuit can and gently separate each round. Use your fingers to press and flatten each biscuit into a soft disc. Drop a generous spoonful of the cheese mixture right in the center of each one.
Step 4: Wrap and Seal the Treasure
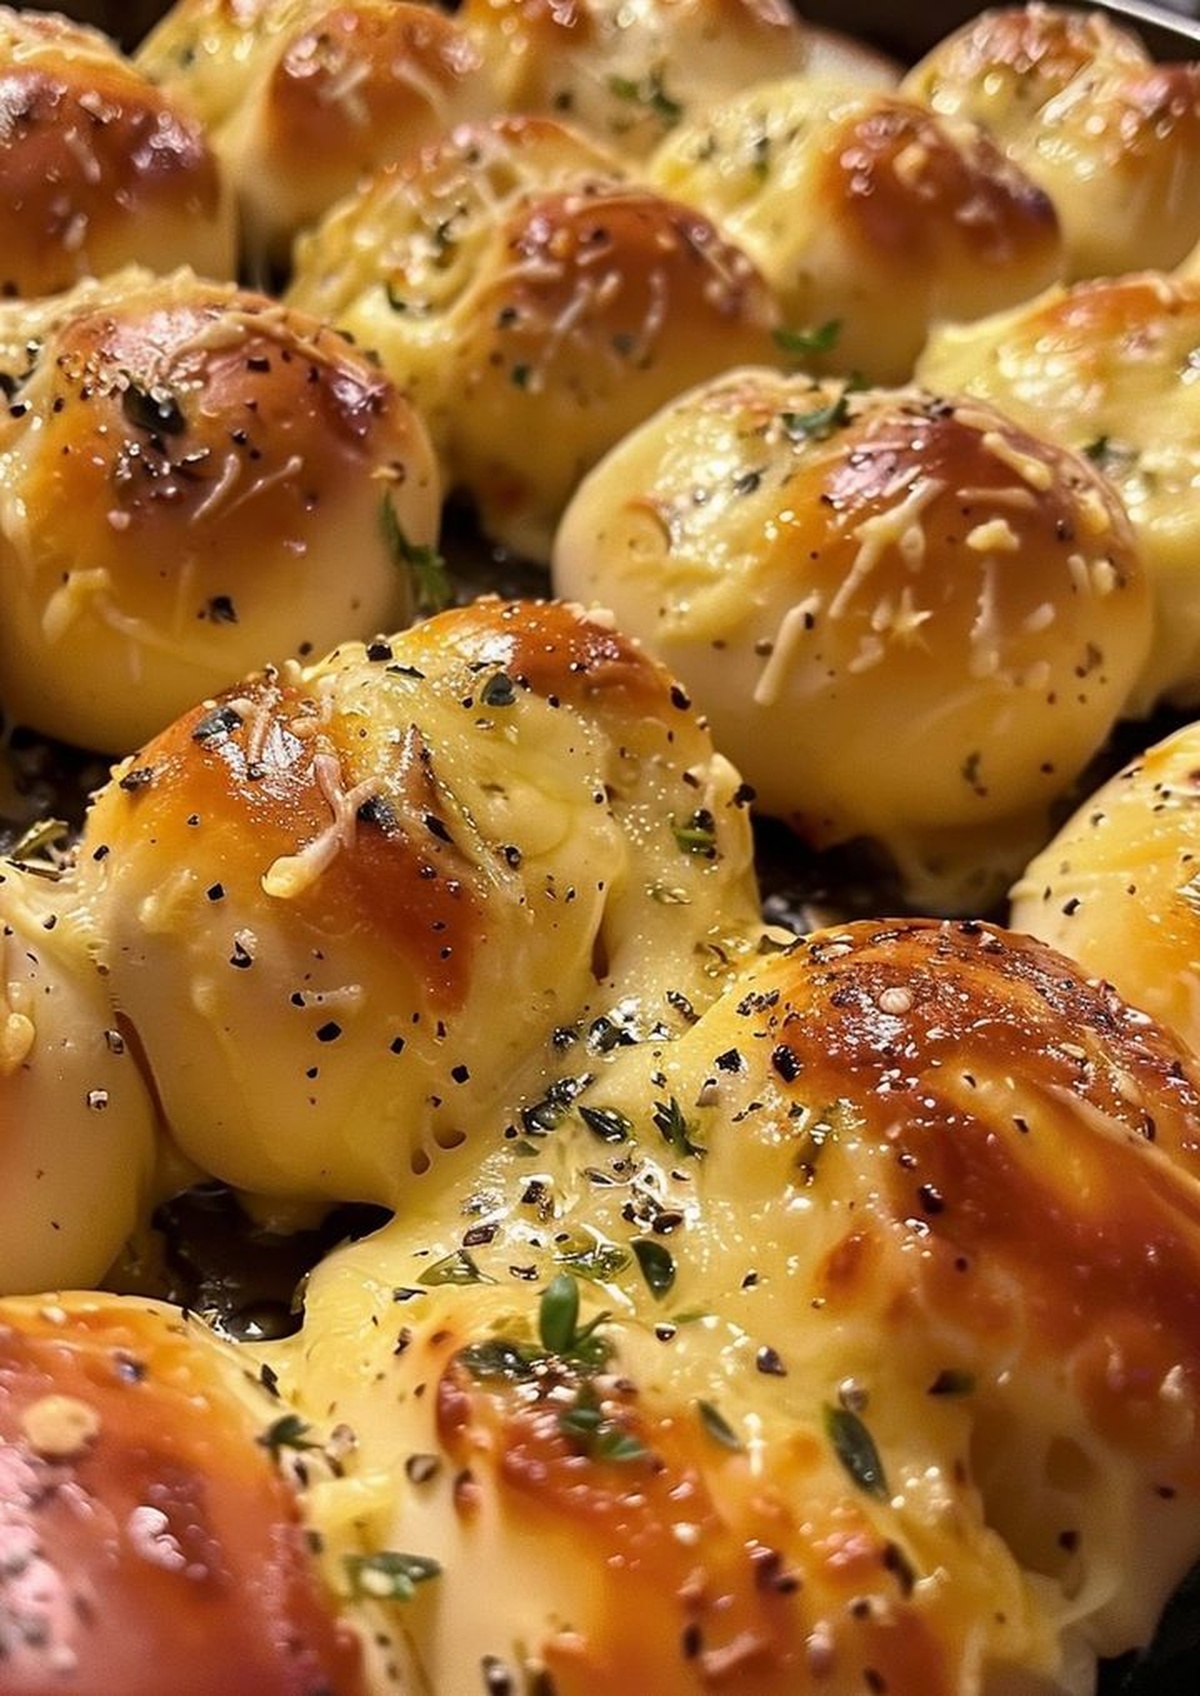
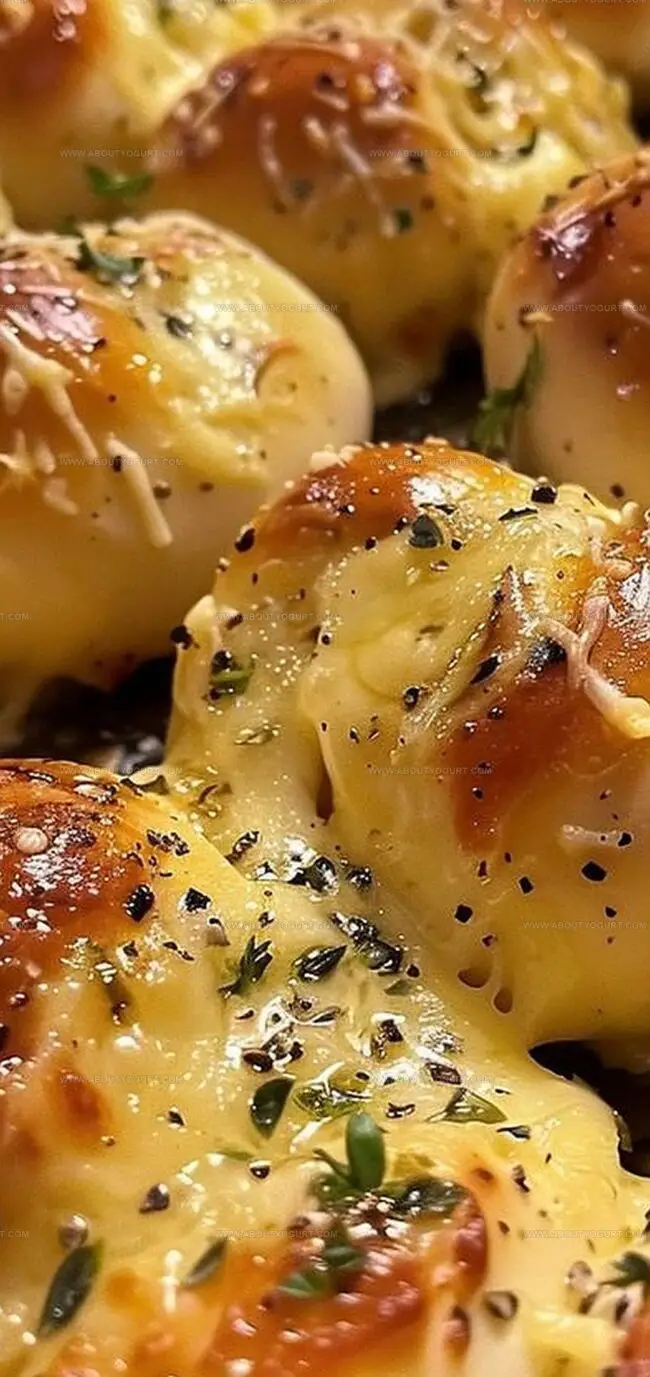
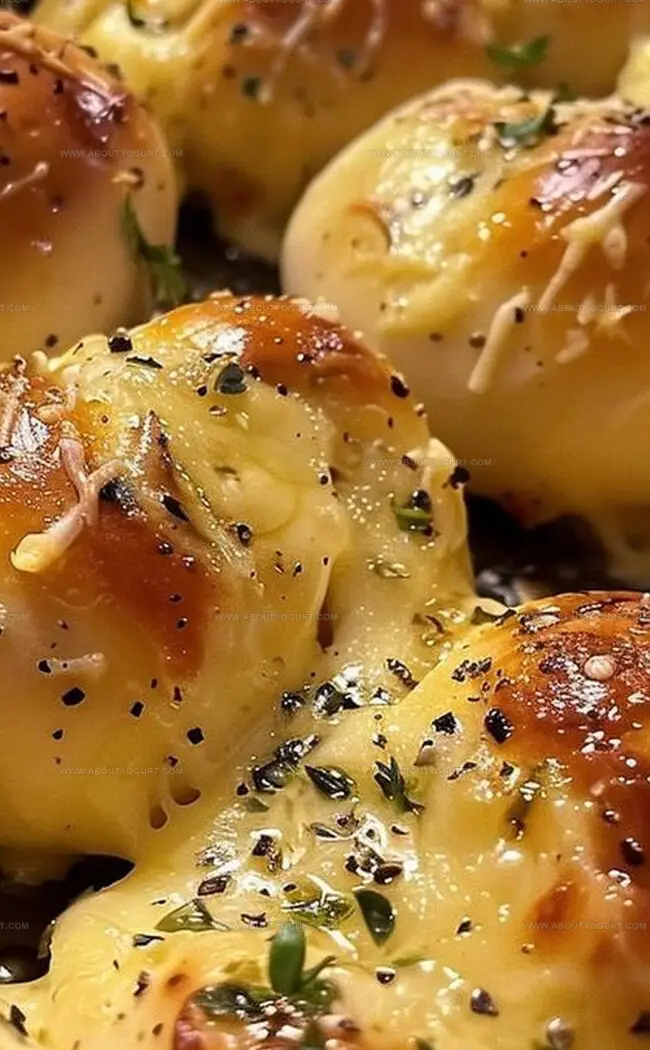
Carefully fold the biscuit edges over the cheese, creating a cozy pocket. Pinch the edges to seal completely, then roll each one into a perfect little ball. Place these golden nuggets seam-side down in your prepared baking dish.
Step 5: Whip Up Flavor-Packed Butter Sauce
In a small bowl, combine:Stir these ingredients until they become best friends.
Step 6: Drench in Buttery Goodness
Use a pastry brush to lavishly coat each cheese bomb with the garlic butter sauce. Don’t be shy – more is definitely more!
Step 7: Bake to Golden Perfection
Slide the baking dish into the hot oven. Let these beauties bake for 15-20 minutes until they turn a gorgeous golden brown and the cheese inside becomes molten and irresistible.
Step 8: Dive Into Deliciousness
Pull these cheesy treasures straight from the oven and serve immediately. Watch as everyone reaches for seconds before the first batch is even finished!
Expert Advice for Garlic Butter Cheese Bombs
Variations to Customize Garlic Butter Cheese Bombs
Pairings That Work Well with Garlic Butter Cheese Bombs
Best Ways to Store Garlic Butter Cheese Bombs
FAQs on Garlic Butter Cheese Bombs
Seal the biscuit edges tightly by pinching and rolling them completely closed. Make sure there are no gaps or openings when forming the cheese bombs.
Yes, you can experiment with cheddar, Swiss, or pepper jack cheese. Just ensure the cheese melts well and complements the garlic butter flavor.
You can substitute dried parsley or skip it entirely. The garlic and cheese flavors will still be delicious without the herbs.
Absolutely! Cheese bombs are kid-friendly and make a great snack or appetizer that children typically love due to their cheesy, buttery goodness.
Print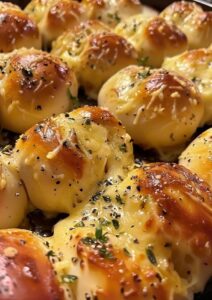
Garlic Butter Cheese Bombs Recipe
- Total Time: 25-30 minutes
- Yield: 8 1x
Description
Cheesy garlic butter bombs deliver explosive flavor that melts perfectly in your mouth. Quick and simple ingredients combine for an irresistible appetizer you’ll crave at every gathering.
Ingredients
Main Ingredients:
- 1 can (16.3 ounces / 462 grams) refrigerated biscuit dough
- 1 cup shredded mozzarella cheese
- 1/4 cup grated Parmesan cheese
Butter and Seasonings:
- 1/4 cup (4 tablespoons) unsalted butter, melted
- 3 cloves garlic, minced
- 1 tablespoon fresh parsley, chopped
Spices:
- 1/2 teaspoon garlic powder
- 1/4 teaspoon salt
Instructions
- Prepare the oven by heating to 375F (190C) and ready a baking dish with cooking spray or parchment paper.
- Create a cheese blend by mixing mozzarella and Parmesan in a small mixing bowl until evenly combined.
- Carefully separate each biscuit from the package and gently flatten into a circular shape.
- Place a generous spoonful of cheese mixture directly into the center of each biscuit round.
- Expertly fold the biscuit edges inward, completely encasing the cheese and pinching to seal tightly.
- Shape each filled dough into a smooth, compact ball, ensuring no cheese can escape during baking.
- Arrange the cheese-filled balls seam-side down in the prepared baking dish, leaving slight space between each.
- Craft a rich garlic butter sauce by whisking together melted butter, freshly minced garlic, chopped parsley, garlic powder, and a pinch of salt.
- Generously brush each dough ball with the aromatic garlic butter mixture, coating thoroughly.
- Transfer the baking dish to the preheated oven and bake for 15-20 minutes until the exterior turns a deep golden brown.
- Remove from oven and let rest for 2-3 minutes to allow cheese to set slightly.
- Serve immediately while warm, revealing the molten cheese center when pulled apart.
Notes
- Swap biscuit dough with gluten-free versions for celiac or gluten-sensitive diets, ensuring everyone can enjoy these cheesy delights.
- Experiment with different cheese combinations like sharp cheddar, gouda, or blue cheese to create unique flavor profiles that surprise taste buds.
- Prep cheese bombs ahead of time and refrigerate before baking, making them perfect for meal prep or last-minute entertaining without sacrificing freshness.
- Reduce butter quantity by half and use olive oil spray for a lighter version that still delivers incredible flavor and crispy texture.
- Prep Time: 10 minutes
- Cook Time: 15-20 minutes
- Category: Appetizer, Snacks
- Method: Baking
- Cuisine: American
Nutrition
- Serving Size: 8
- Calories: 258 kcal
- Sugar: 1 g
- Sodium: 375 mg
- Fat: 18 g
- Saturated Fat: 10 g
- Unsaturated Fat: 7 g
- Trans Fat: 0.5 g
- Carbohydrates: 15 g
- Fiber: 0.5 g
- Protein: 9 g
- Cholesterol: 45 mg
Michael Thompson
Founder & Recipe Developer
Expertise
Education
Cascade Culinary Institute – Bend, OR
ServSafe Food Handler Certification – Portland, OR
Focus: Certified in core food safety and hygiene principles for both home and professional kitchens, with emphasis on ingredient handling, kitchen cleanliness, and safe preparation methods.
Mike’s kitchen journey began with a single goal: to make everyday meals feel like something worth celebrating.
After earning his Certificate in Culinary Arts from Cascade Culinary Institute, he spent years working with local farmers and small kitchens across Oregon, learning the beauty of seasonal, small-batch cooking.
Mike’s approach is simple, cook with what’s fresh, keep it approachable, and always leave room for a little creativity. When he’s not testing yogurt marinades or designing single-serving meals, you’ll find him hiking trails or hunting down the best berries at local markets.