Giant Reese’s Peanut Butter Cup Tart Recipe
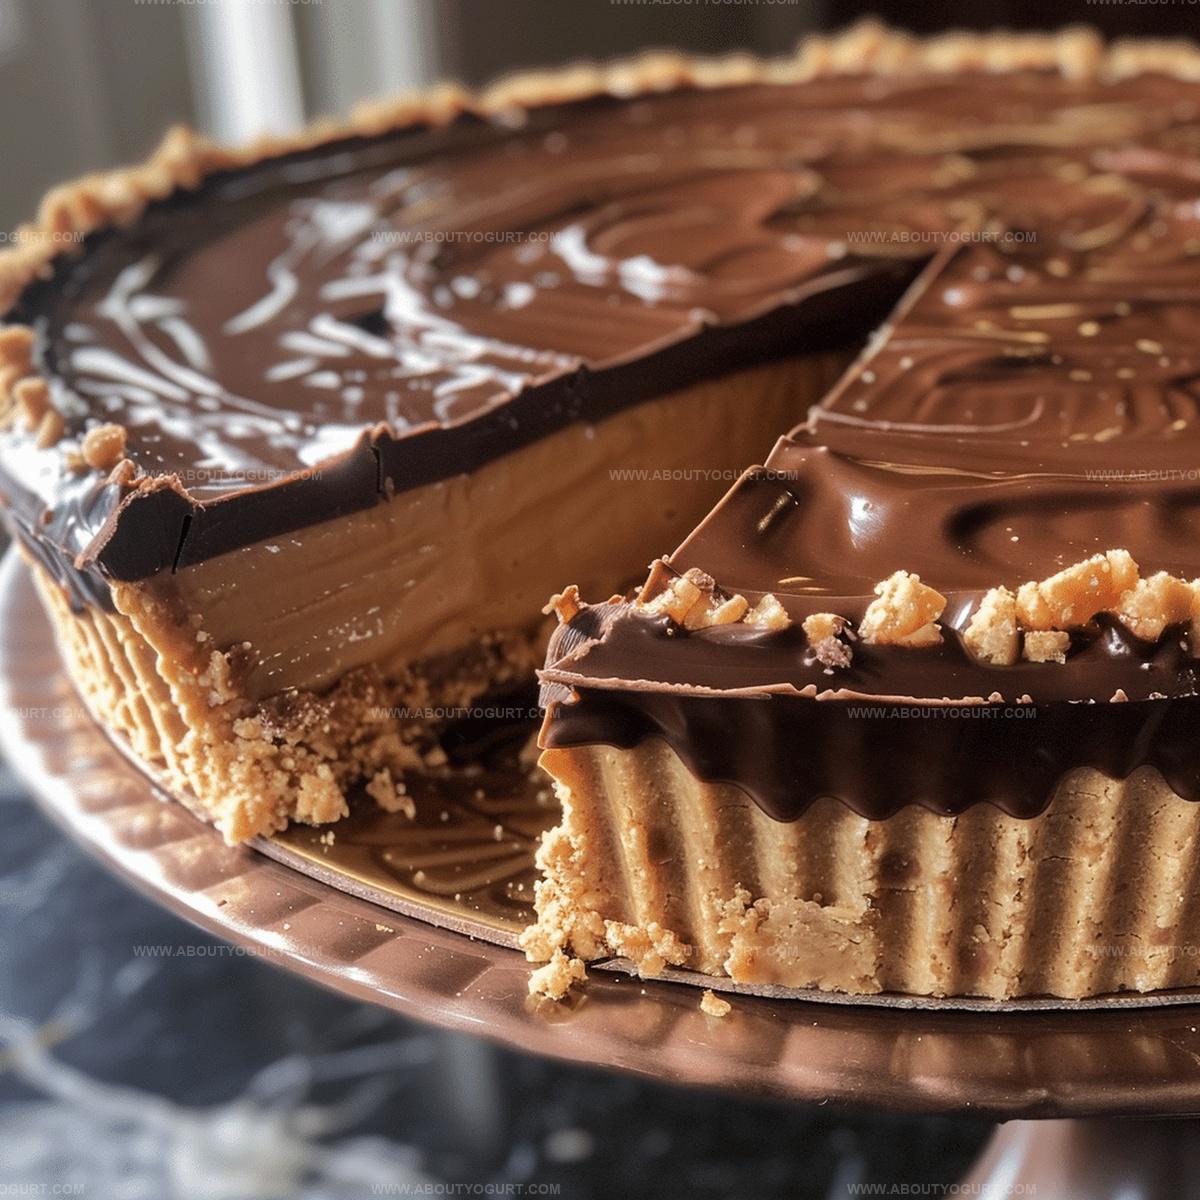
A giant reeses peanut butter cup tart might sound like pure indulgence, but wait until you experience this decadent dessert.
Sweet dreams become reality with layers of rich chocolate and creamy peanut butter.
Chocolate lovers and dessert enthusiasts will adore every single bite of this incredible treat.
Imagine creating a massive, irresistible dessert that looks complicated but comes together surprisingly easily.
Chocolate and peanut butter create a classic combination that never disappoints serious snack enthusiasts.
Minimal ingredients and straightforward preparation mean you can whip up this showstopping dessert in no time.
Prepare to wow everyone at your next gathering with this absolutely mouthwatering creation.
Why Giant Reeses Peanut Butter Cup Tart Is a Decadent Treat

Ingredients to Make Giant Reeses Peanut Butter Cup Tart
Chocolate Base:Peanut Butter Filling:Preparation Essentials:Step-By-Step Instructions for Giant Reeses Peanut Butter Cup Tart
Step 1: Create Chocolate Base
Pour melted milk chocolate chips mixed with vegetable oil into the tart pan. Gently spread the chocolate evenly across the bottom, creating a smooth foundation for the dessert. Allow the chocolate layer to slightly firm up in the refrigerator for a few minutes.
Step 2: Mix Peanut Butter Filling
Combine ingredients for the creamy filling:Whisk all components together until the mixture becomes smooth and well-integrated. The texture should be thick and spreadable.
Step 3: Layer Peanut Butter Mixture
Carefully spread the prepared peanut butter filling over the partially set chocolate base. Use a spatula to ensure an even distribution, creating a uniform layer that covers the entire surface.
Step 4: Finish With Chocolate Topping
Pour the remaining melted chocolate over the peanut butter layer. Tilt the pan gently to help the chocolate spread evenly and create a glossy, seamless top.
Step 5: Chill and Set
Place the tart in the refrigerator for at least 4 hours. This allows the layers to solidify and develop a rich, decadent texture. The cooling process helps the dessert maintain its structured shape.
Step 6: Serve and Enjoy
Remove the tart from the refrigerator. Carefully release from the pan and transfer to a serving plate. Slice into wedges and serve chilled for the ultimate indulgent experience.
Pro Tips for Baking the Perfect Giant Reeses Peanut Butter Cup Tart

Delicious Variations on Giant Reeses Peanut Butter Cup Tart
Best Sides to Serve with Giant Reeses Peanut Butter Cup Tart
Storage Suggestions for Giant Reeses Peanut Butter Cup Tart
Common Questions About Giant Reeses Peanut Butter Cup Tart
No, it’s surprisingly simple! The recipe requires basic mixing and layering skills with minimal cooking. Anyone with basic kitchen experience can successfully create this dessert.
Milk chocolate chips work best for authentic flavor, but you can substitute dark or semi-sweet chocolate if preferred. Just maintain the same chocolate-to-oil ratio.
You’ll need a 9-inch tart pan, microwave-safe bowl, mixing bowls, whisk, and refrigerator space. No special baking tools are required.
When stored in the refrigerator, the tart remains delicious for 3-4 days. Cover it with plastic wrap to prevent drying out and preserve its creamy texture.
Print
Giant Reeses Peanut Butter Cup Tart Recipe
- Total Time: 21 minutes
- Yield: 4 1x
Description
Massive peanut butter paradise meets chocolate bliss in this giant Reeses tart, delivering rich, indulgent layers of creamy filling and silky ganache. Sweet craving adventurers will devour this showstopping dessert that promises pure decadent pleasure with each luxurious slice.
Ingredients
Main Ingredients:
- 1.25 cups crunchy peanut butter
- 2.5 cups milk chocolate chips
- 1 cup graham cracker crumbs
Binding and Sweetening Ingredients:
- 0.5 cup salted sweet cream butter
- 0.5 cup powdered sugar
Preparation Ingredients:
- 1.5 tablespoons vegetable oil
Instructions
- Prepare the tart pan by lining a 9-inch fluted pan with parchment paper and lightly spraying with nonstick cooking spray to ensure easy removal.
- Create the chocolate ganache by combining milk chocolate chips and vegetable oil in a microwave-safe bowl, heating for 45-55 seconds while stirring occasionally until the mixture becomes completely smooth and glossy.
- In a separate mixing bowl, combine powdered sugar and graham cracker crumbs to create a dry ingredient base for the filling.
- Melt peanut butter and butter together in the microwave for approximately 45 seconds, stirring until the mixture is uniform and creamy.
- Fold the dry ingredients into the melted peanut butter mixture, mixing thoroughly until a consistent filling texture is achieved.
- Pour half of the prepared chocolate ganache into the bottom of the prepared tart pan, creating an even base layer.
- Refrigerate the initial ganache layer for 3-4 minutes to allow it to slightly set and become firm.
- Spread the peanut butter filling evenly over the chilled ganache layer, ensuring a smooth and uniform surface.
- Gently pour the remaining chocolate ganache over the peanut butter filling, using a spatula to create an even, glossy top.
- Refrigerate the entire tart for 4 hours to allow complete setting and optimal flavor development.
- Carefully remove the tart from the pan and transfer to a serving plate, slicing into clean, precise portions before serving.
Notes
- Use high-quality chocolate chips for a richer, smoother ganache that melts more evenly and creates a luxurious texture.
- Ensure peanut butter and butter are at room temperature to blend seamlessly and prevent lumpy filling.
- For a gluten-free version, swap graham cracker crumbs with almond flour or gluten-free cookie crumbs to maintain the tart’s signature crumbly base.
- Chill the tart thoroughly to achieve clean, precise slices and allow flavors to meld together perfectly.
- Prep Time: 20 minutes
- Cook Time: 1 minute
- Category: Desserts
- Method: Microwaving
- Cuisine: American
Nutrition
- Serving Size: 4
- Calories: 608
- Sugar: 46 g
- Sodium: 165 mg
- Fat: 44 g
- Saturated Fat: 15 g
- Unsaturated Fat: 26 g
- Trans Fat: 0.5 g
- Carbohydrates: 45 g
- Fiber: 3 g
- Protein: 12 g
- Cholesterol: 20 mg
Michael Thompson
Founder & Recipe Developer
Expertise
Education
Cascade Culinary Institute – Bend, OR
ServSafe Food Handler Certification – Portland, OR
Focus: Certified in core food safety and hygiene principles for both home and professional kitchens, with emphasis on ingredient handling, kitchen cleanliness, and safe preparation methods.
Mike’s kitchen journey began with a single goal: to make everyday meals feel like something worth celebrating.
After earning his Certificate in Culinary Arts from Cascade Culinary Institute, he spent years working with local farmers and small kitchens across Oregon, learning the beauty of seasonal, small-batch cooking.
Mike’s approach is simple, cook with what’s fresh, keep it approachable, and always leave room for a little creativity. When he’s not testing yogurt marinades or designing single-serving meals, you’ll find him hiking trails or hunting down the best berries at local markets.