
Grinch Green Holiday Cookies Recipe for Fun Bakes
Green-tinted grinch cookies bring whimsy and playful charm to holiday baking adventures.
Sweet memories dance through kitchen spaces when these festive treats emerge from warm ovens.
Crisp edges and soft centers promise delightful moments of seasonal joy.
Bright green hues remind you of classic christmas movie magic.
Unexpected ingredients create surprising flavor combinations that spark conversation.
Simple steps make this recipe accessible for bakers of all skill levels.
Each cookie whispers stories of childhood wonder and festive cheer.
Follow along and craft these delightful treats that will make everyone smile.
Reasons to Love Grinch Cookies

Ingredients to Make Grinch Cookies
Base Ingredients:Flavor Enhancers:Coating and Finishing Ingredients:How to Bake Grinch Cookies
Step 1: Warm Up the Oven
Get your oven ready by cranking it to 375°F. Grab a baking sheet and line it with parchment paper to prevent any sticky situations.
Step 2: Create Magical Cookie Dough
Grab your mixer and blend:Whip these ingredients until they become a smooth, dreamy mixture that looks like pure happiness.
Step 3: Add Festive Flavor and Color
Time to make these cookies truly Grinch-worthy!
Stir in:Mix everything until the batter looks like a vibrant green masterpiece.
Step 4: Prepare Powdery Coating
In a separate bowl, mix together powdered sugar and cornstarch.
This will give your cookies that magical snow-like finish.
Step 5: Shape Tiny Green Treasures
Use a cookie scoop to create perfect dough balls.
Roll each ball in the powdery mixture, making sure they’re completely covered. Place them on the baking sheet with some breathing room between each cookie.
Step 6: Bake to Perfection
Slide the baking sheet into the oven. Bake for 10-12 minutes until the edges look set and the tops appear dry.
Your kitchen will smell like a winter wonderland!
Step 7: Add the Grinchy Heart
Right after pulling the cookies from the oven, gently press a heart-shaped sprinkle onto each cookie.
This is the cutest little touch that makes them extra special.
Step 8: Cool and Enjoy
Let the cookies rest on the baking sheet for 5 minutes.
Then transfer them to a wire rack to cool completely. Now you’ve got Grinch Cookies ready to steal everyone’s heart!
Tips to Perfect Grinch Cookies

Flavor Twists on Grinch Cookies
Pairings That Complement Grinch Cookies
Storing Grinch Cookies Properly
FAQs
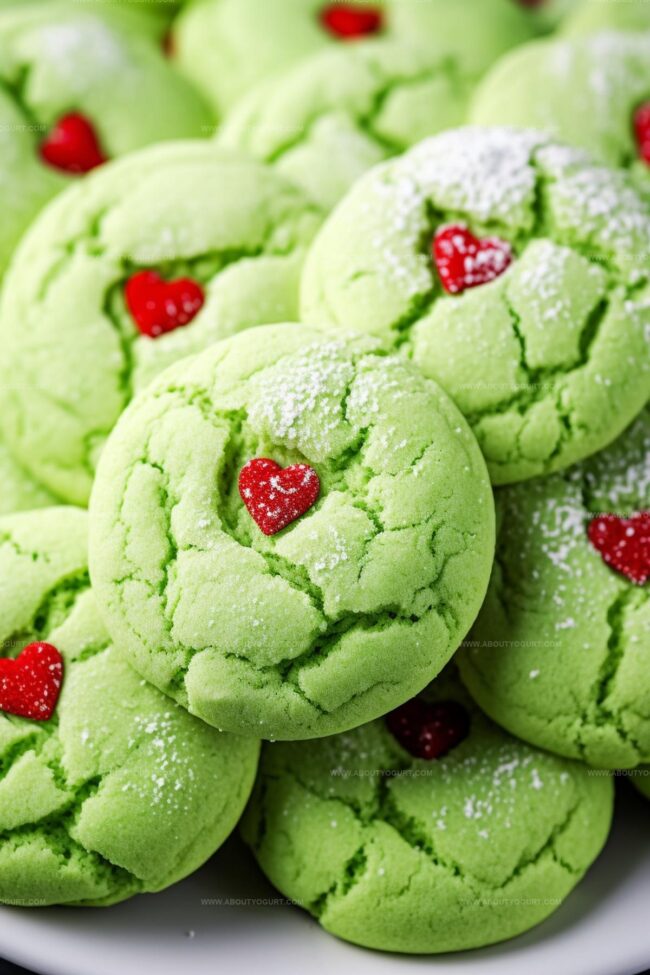
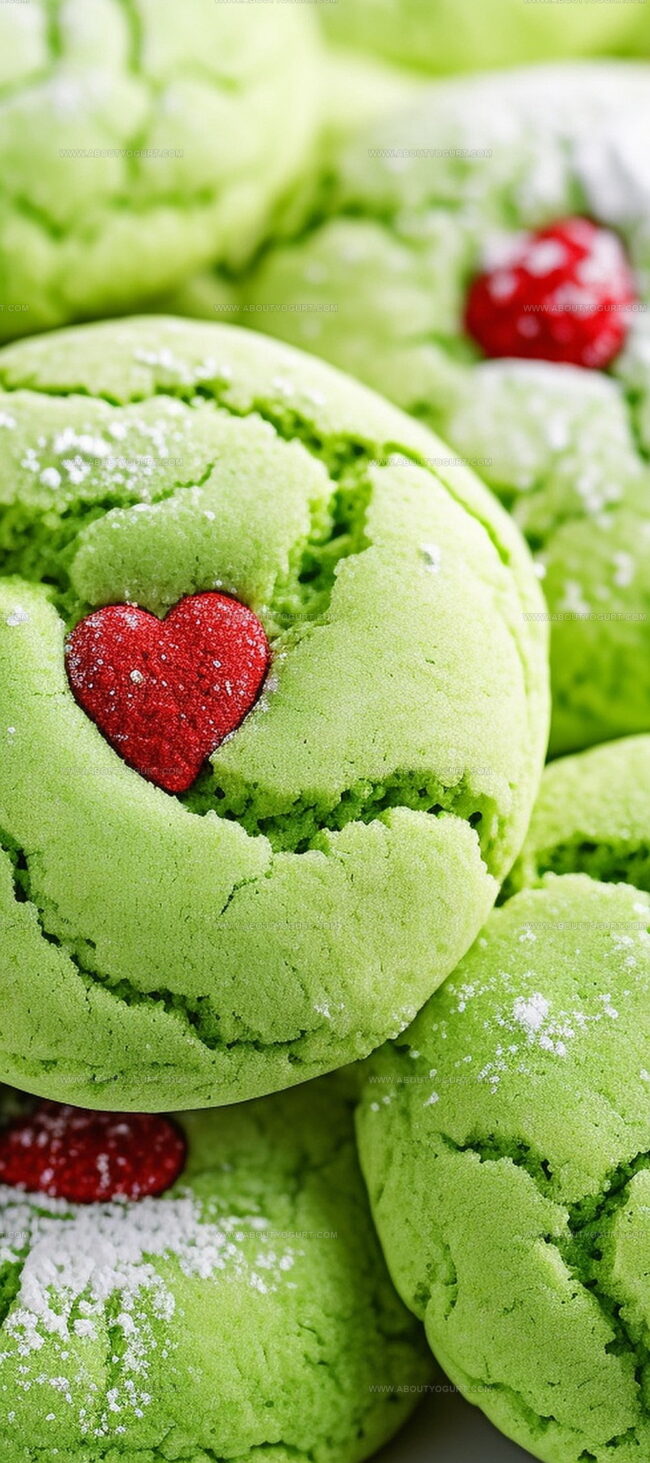
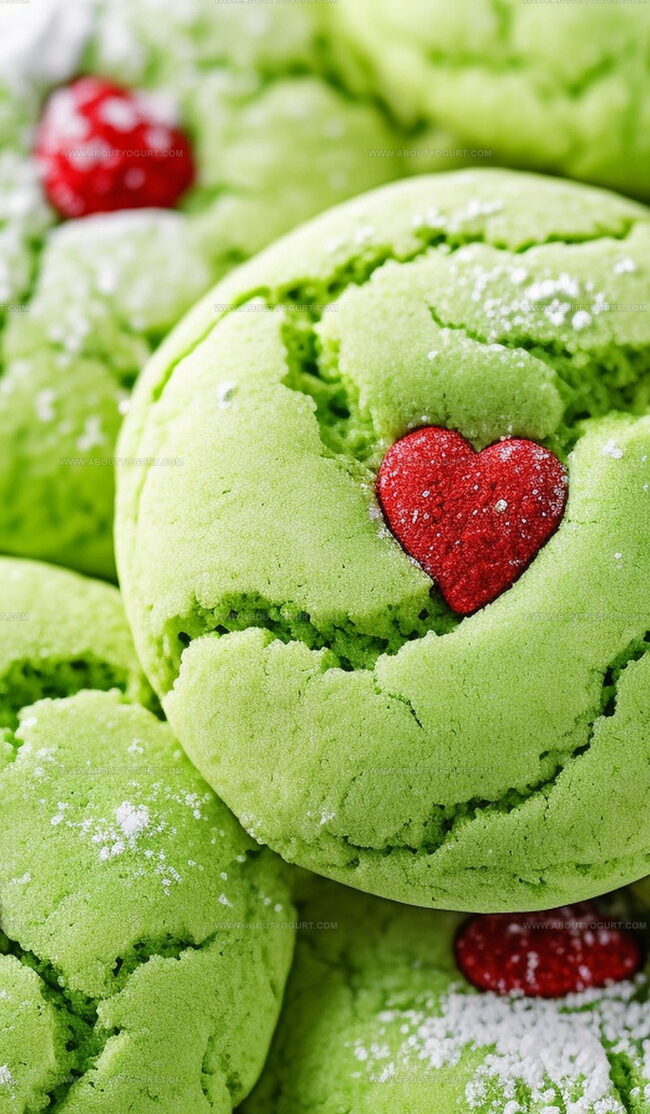
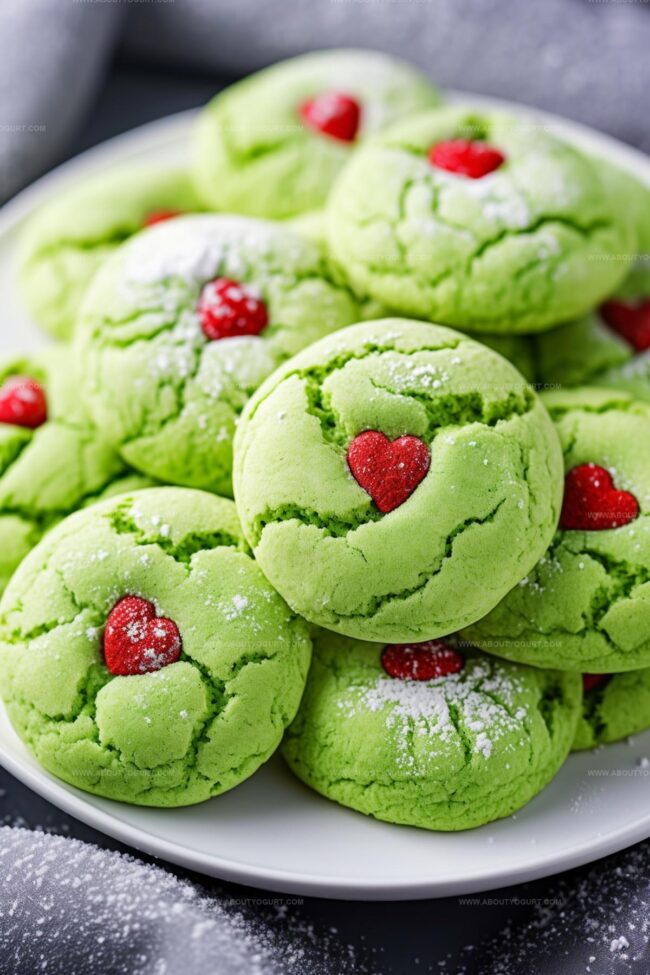
These cookies are inspired by the Grinch character from Dr. Seuss’s “How the Grinch Stole Christmas”, featuring a vibrant green color and a heart-shaped sprinkle representing the Grinch’s growing heart.
While yellow or white cake mix works best, you can experiment with vanilla cake mix as an alternative. Avoid chocolate or darker cake mixes as they will impact the green color.
Chill the dough for 30 minutes before baking and ensure your butter is not overly soft. This helps maintain the cookie’s shape during baking.
Print
Grinch Cookies Recipe
- Total Time: 27 minutes
- Yield: 24 1x
Description
Green grinch cookies spotlight Christmas cheer with festive sugar-coated delights. Peppermint and white chocolate create a whimsical treat you’ll adore during holiday celebrations.
Ingredients
- 1 box (432 g / 15.25 oz) white cake mix
- 8 tbsps unsalted butter (softened)
- 2 large eggs (room temperature)
- 2 tsp peppermint extract (or mint extract)
- 1/2 tsp vanilla extract
- Green gel food coloring (as needed)
- 1/4 cup (32 g) powdered sugar
- 3 tbsps cornstarch
- Red heart-shaped sprinkles or cinnamon (for garnish)
Instructions
- Preheat oven to 375°F and line a baking sheet with parchment paper, creating a perfect staging area for the festive treats.
- In a mixer, blend cake mix, butter, and eggs until a smooth, uniform dough forms, ensuring no lumps remain.
- Infuse the mixture with peppermint and vanilla extracts, then introduce green food coloring to achieve the iconic Grinch-like hue. Mix gently until the batter reaches a thick, sticky consistency.
- Create a coating mixture by whisking powdered sugar and cornstarch in a separate bowl, preparing for the cookie transformation.
- Scoop dough using a cookie scoop, forming balls that will become the base of these whimsical treats. Carefully roll each ball in the powdered sugar mixture, embracing the sticky nature of the dough.
- Arrange coated dough balls on the prepared baking sheet, spacing them about an inch apart to allow for slight spreading during baking.
- Bake for 10-12 minutes, watching for set edges and dry tops that signal the cookies are perfectly done.
- Immediately after removing from the oven, embellish each cookie with a heart-shaped sprinkle, gently pressing to secure the festive touch.
- Let cookies rest on the baking sheet for 5 minutes, then transfer to a wire rack to cool completely, preserving their delicate texture and shape.
Notes
- Customize food coloring intensity by gradually adding drops to achieve the iconic Grinch green shade, ensuring a vibrant yet natural-looking result.
- Prevent sticky dough by chilling it for 30 minutes before shaping, which helps maintain cookie structure and makes rolling easier.
- Swap traditional extracts with alternative flavor profiles like almond or orange to create unique seasonal variations that still capture the festive spirit.
- Use gluten-free cake mix and alternative flour options to make these cookies accessible for those with dietary restrictions without compromising taste or texture.
- Prep Time: 15 minutes
- Cook Time: 12 minutes
- Category: Desserts, Snacks
- Method: Baking
- Cuisine: American
Nutrition
- Serving Size: 24
- Calories: 124 kcal
- Sugar: 7 g
- Sodium: 110 mg
- Fat: 6 g
- Saturated Fat: 3.5 g
- Unsaturated Fat: 2.5 g
- Trans Fat: 0 g
- Carbohydrates: 17 g
- Fiber: 0.2 g
- Protein: 1.4 g
- Cholesterol: 30 mg
Michael Thompson
Founder & Recipe Developer
Expertise
Education
Cascade Culinary Institute – Bend, OR
ServSafe Food Handler Certification – Portland, OR
Focus: Certified in core food safety and hygiene principles for both home and professional kitchens, with emphasis on ingredient handling, kitchen cleanliness, and safe preparation methods.
Mike’s kitchen journey began with a single goal: to make everyday meals feel like something worth celebrating.
After earning his Certificate in Culinary Arts from Cascade Culinary Institute, he spent years working with local farmers and small kitchens across Oregon, learning the beauty of seasonal, small-batch cooking.
Mike’s approach is simple, cook with what’s fresh, keep it approachable, and always leave room for a little creativity. When he’s not testing yogurt marinades or designing single-serving meals, you’ll find him hiking trails or hunting down the best berries at local markets.