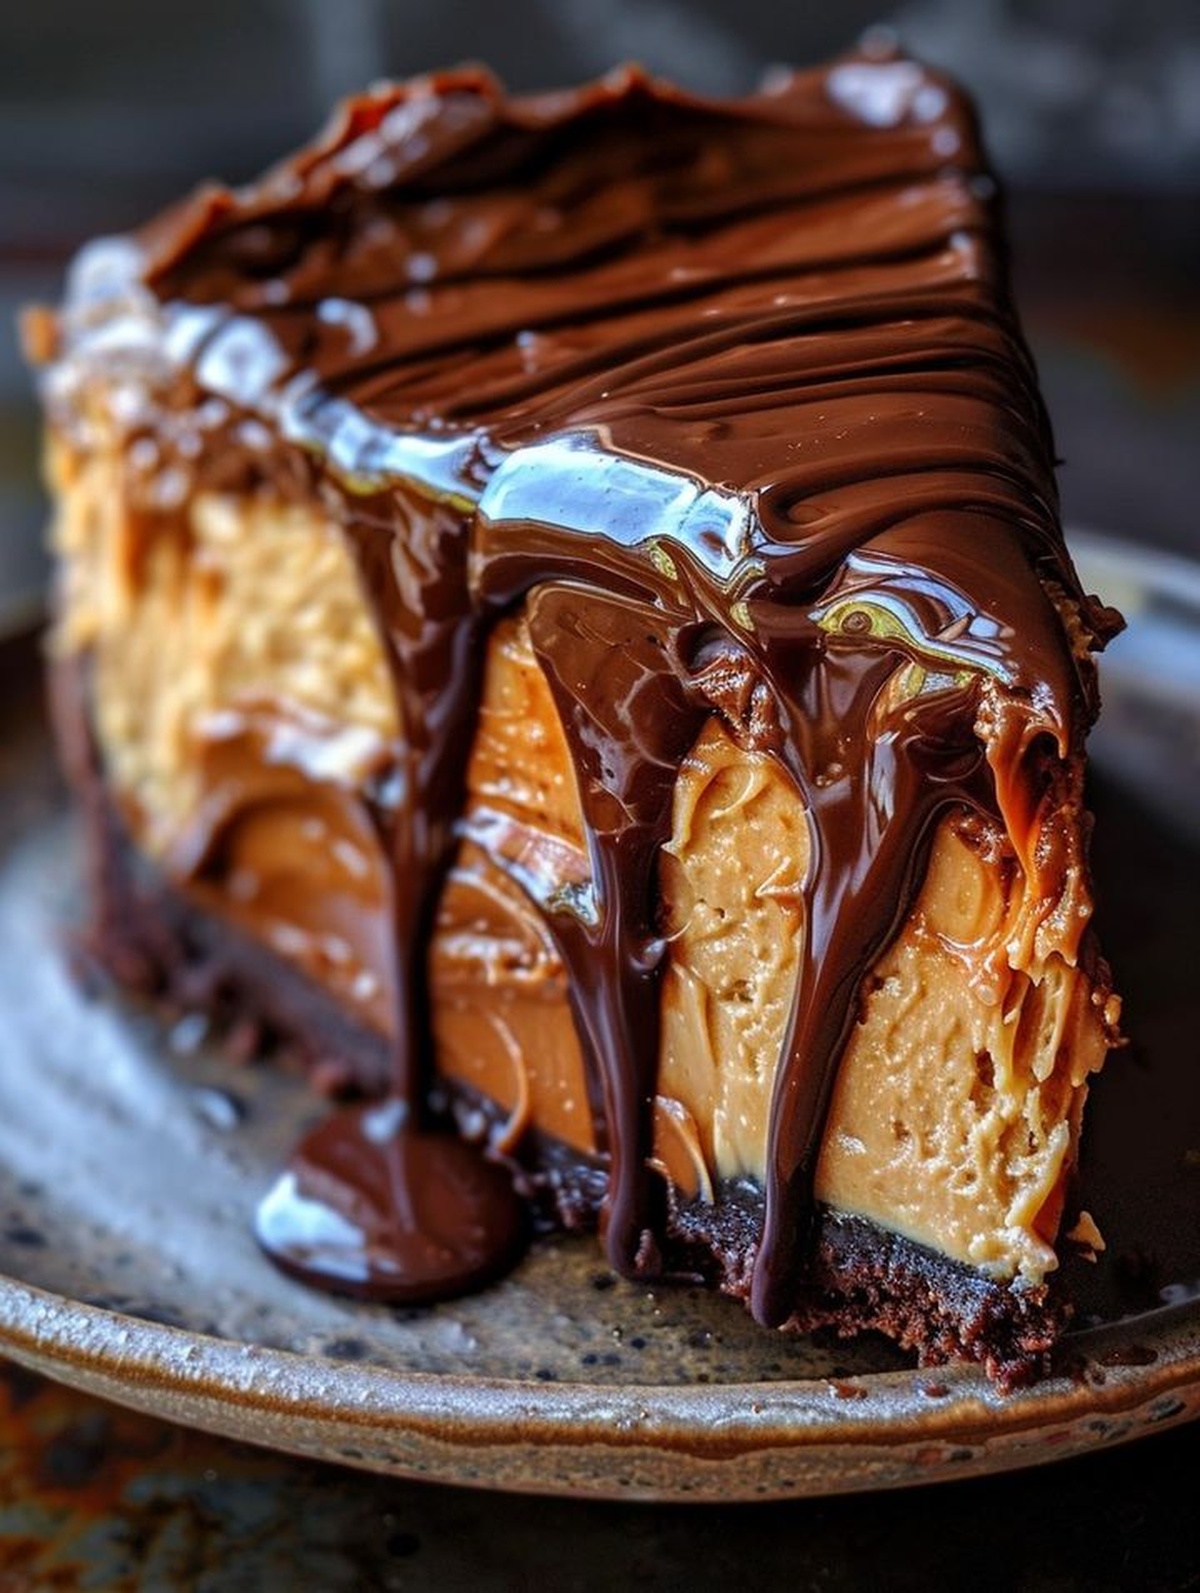
Chocolate Peanut Butter Ooey Gooey Cake Recipe That Melts
Chocolate peanut butter cake delivers pure indulgence in every decadent slice.
Sweet meets salty with remarkable intensity and depth.
Dessert enthusiasts will adore this classic combination of rich flavors.
My kitchen adventure reveals a recipe that melts hearts instantly.
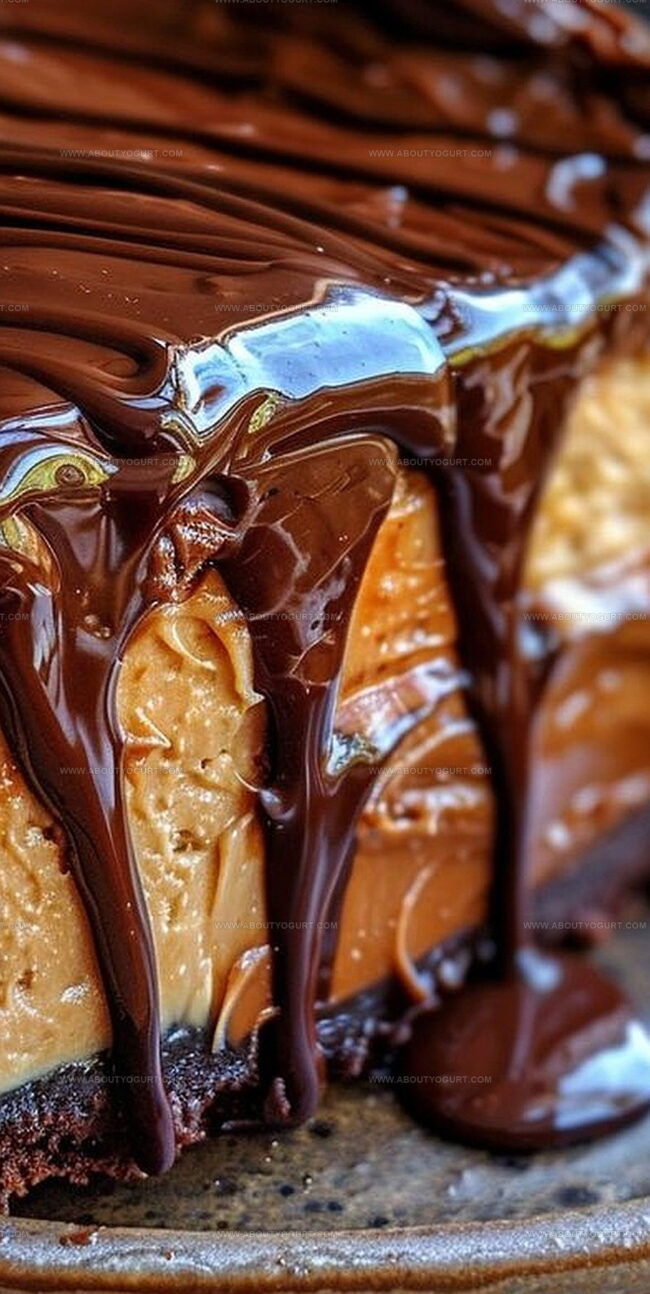
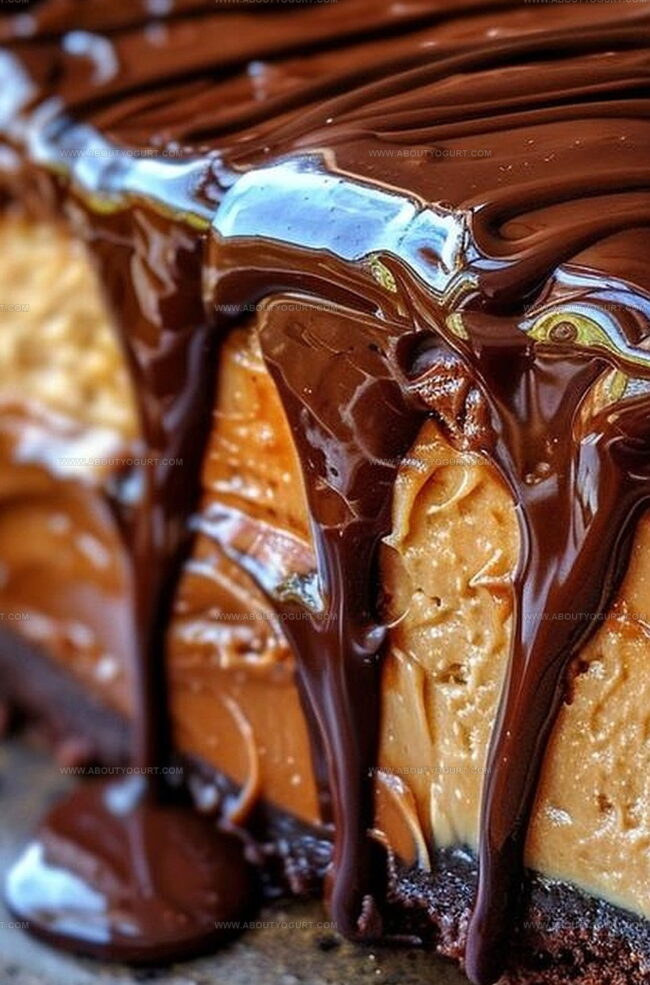
Creamy peanut butter layers intertwine with smooth chocolate notes.
Unexpected textures create a sublime experience for passionate bakers.
Prepare to discover a dessert that sparks joy and delights the senses.
Heavenly Chocolate Peanut Butter Ooey Gooey Cake
Ingredients for Heavenly Chocolate Peanut Butter Ooey Gooey Cake
Cake Base:Liquid Ingredients:Peanut Butter Filling:How to Make Heavenly Chocolate Peanut Butter Ooey Gooey Cake
Step 1: Prepare Baking Setup
Warm up the oven to 350°F. Generously coat a 9×13-inch baking dish with cooking spray or butter to prevent sticking.
Step 2: Create Chocolate Cake Base
In a spacious mixing bowl, combine:Whisk all ingredients until the mixture becomes smooth and fully blended with no lumps.
Step 3: Spread Cake Batter
Pour the chocolate cake batter into the prepared baking dish. Use a spatula to spread the mixture evenly across the entire surface, ensuring a consistent layer.
Step 4: Craft Peanut Butter Filling
In a separate bowl, blend together:Mix these ingredients until the filling becomes silky and uniform in texture.
Step 5: Create Marbled Effect
Dollop spoonfuls of the peanut butter filling randomly across the chocolate cake batter. Take a knife or toothpick and gently swirl the fillings together, creating a beautiful marbled pattern.
Step 6: Bake to Perfection
Slide the baking dish into the preheated oven. Bake for 30-35 minutes until the edges look set and a toothpick inserted in the center reveals moist crumbs.
Step 7: Cool and Serve
Remove the cake from the oven and let it rest on a wire rack for 15-20 minutes. This allows the cake to settle and makes cutting easier.
Step 8: Indulge
Slice the cake into generous squares and serve either warm or at room temperature. Enjoy the rich, gooey goodness of chocolate and peanut butter in every bite!
Pro Tips for Heavenly Chocolate Peanut Butter Ooey Gooey Cake
Variations of Heavenly Chocolate Peanut Butter Ooey Gooey Cake
Perfect Pairings for Heavenly Chocolate Peanut Butter Ooey Gooey Cake
Storage Tips for Heavenly Chocolate Peanut Butter Ooey Gooey Cake
Heavenly Chocolate Peanut Butter Ooey Gooey Cake FAQs
You can substitute the chocolate cake mix with yellow or devil’s food cake mix for variety, but chocolate works best with peanut butter.
Check when edges are set and a toothpick inserted comes out with moist crumbs, not completely clean. This ensures a gooey, soft texture.
Stick with creamy peanut butter for a smoother filling and better blending. Crunchy peanut butter might create uneven texture and disrupt the cake’s consistency.
Yes, you can prepare the cake a day in advance. Store it covered at room temperature and reheat slightly before serving for the best flavor and texture.
Print
Heavenly Chocolate Peanut Butter Ooey Gooey Cake Recipe
- Total Time: 45-55 minutes
- Yield: 12 1x
Description
Chocolate peanut butter ooey gooey cake delivers pure indulgence in every rich, creamy slice. Sweet meets salty in this irresistible dessert that promises maximum satisfaction for serious dessert enthusiasts.
Ingredients
Main Ingredients:
- 1 box (15.25 ounces / 432 grams) chocolate cake mix
- 1 cup (240 milliliters) creamy peanut butter
- 3 large eggs
- 1/2 cup (113 grams) unsalted butter, melted
Liquid Ingredients:
- 1/2 cup (120 milliliters) milk
- 1 teaspoon (5 milliliters) vanilla extract
Instructions
- Preheat the oven to 350°F (175°C) and thoroughly coat a 9×13-inch baking dish with non-stick spray or butter.
- In a spacious mixing bowl, whisk together the chocolate cake mix, creamy peanut butter, melted butter, eggs, vanilla extract, and milk until the mixture achieves a velvety, uniform consistency.
- Transfer the cake batter into the prepared baking dish, carefully spreading it to create an even layer across the surface.
- Prepare the peanut butter filling by blending creamy peanut butter, powdered sugar, and softened butter in a separate bowl until smooth and well-incorporated.
- Distribute dollops of the peanut butter filling strategically across the cake batter’s surface.
- Using a knife or toothpick, gently weave through the filling, creating an artistic marbled pattern that intertwines the two batters.
- Place the baking dish in the preheated oven and bake for 30-35 minutes, monitoring until the edges firm up and a toothpick inserted near the center reveals moist, clinging crumbs.
- Remove from the oven and let the cake rest on a wire rack for 15-20 minutes, allowing it to set and cool slightly.
- Slice into decadent squares and serve warm or at room temperature for maximum indulgence.
Notes
- Swap cake mix for gluten-free version to accommodate dietary restrictions, ensuring everyone can enjoy this decadent dessert.
- Reduce sugar content by using alternative sweeteners like stevia or monk fruit for a lower-calorie treat that still satisfies sweet cravings.
- Create dairy-free option by substituting butter with coconut oil and using non-dairy milk alternatives like almond or oat milk.
- Enhance texture by chilling cake briefly before serving, which helps peanut butter swirls set and intensifies flavor complexity.
- Prep Time: 15-20 minutes
- Cook Time: 30-35 minutes
- Category: Desserts
- Method: Baking
- Cuisine: American
Nutrition
- Serving Size: 12
- Calories: 455
- Sugar: 29 g
- Sodium: 290 mg
- Fat: 27 g
- Saturated Fat: 9 g
- Unsaturated Fat: 15 g
- Trans Fat: 0.5 g
- Carbohydrates: 44 g
- Fiber: 3 g
- Protein: 11 g
- Cholesterol: 75 mg
Sarah Mitchell
Content Specialist & Home Cooking Enthusiast
Expertise
Education
Asheville-Buncombe Technical Community College – Asheville, NC
American Fitness Professionals & Associates – Online
Sarah’s passion for food was sparked by weekend trips to the farmers’ market and her belief that healthy meals should never feel boring.
After earning her culinary diploma and becoming a certified Nutrition and Wellness Consultant, she set out to help others fall in love with simple, wholesome cooking.
She’s all about celebrating the small wins in the kitchen: a colorful yogurt bowl, a new twist on a classic dish, or a homemade snack that feels just a little extra special.
Outside the kitchen, Sarah is a gardener at heart, a yoga enthusiast, and a believer that fresh herbs can brighten any meal, and any day.