Homemade Crunch Bars Recipe with Crispy Sweet Flavor
Crafting delectable homemade crunch bars in your kitchen promises a delightful chocolate adventure.
Sweet cravings often strike when least expected.
Chocolate lovers appreciate simple recipes that deliver maximum satisfaction.
Familiar store-bought treats pale in comparison to these handmade delights.
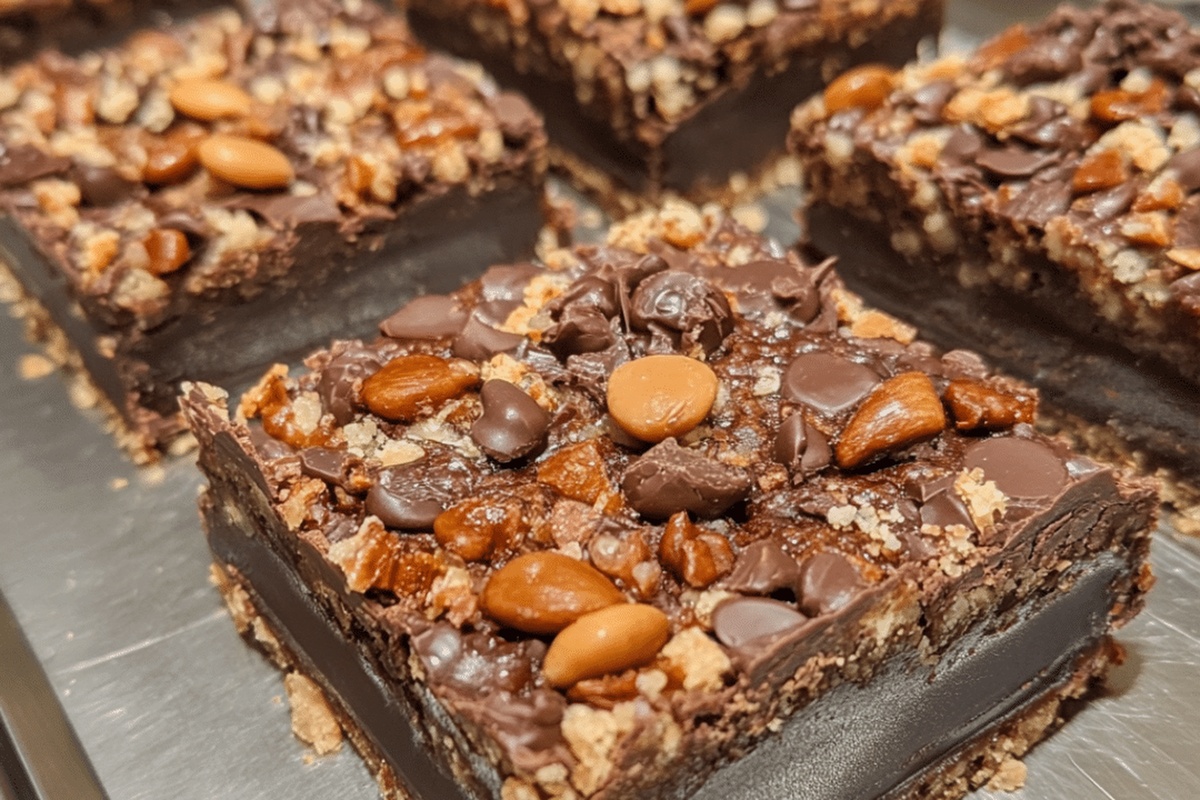
Rich layers of chocolate and crispy elements combine for an irresistible snack.
Each bite delivers a perfect balance of smooth and crunchy textures.
Why Homemade Crunch Bars Are a Sweet Treat

Ingredients for Homemade Crunch Bars
Base Ingredients:Binding Ingredients:Preparation Ingredients:How to Prepare Homemade Crunch Bars
Step 1: Combine Crispy Base
Grab a spacious mixing bowl and toss in crispy rice cereal with smooth chocolate chips. Mix these ingredients gently to create a delectable foundation for your sweet adventure.
Step 2: Create Gooey Binding Sauce
Select a microwave-safe container and combine creamy peanut butter with golden honey. Place in microwave and heat in short bursts, stirring between each interval until the mixture transforms into a silky, glossy liquid.
Step 3: Blend Ingredients Thoroughly
Pour the warm peanut butter and honey mixture over the cereal and chocolate chip combination. Use a sturdy spatula to fold and mix, ensuring every single crisp gets coated with the delicious binding sauce.
Step 4: Shape Your Treat
Select a baking dish and line it with parchment paper for easy removal. Transfer the mixture into the dish, using gentle pressure to spread it evenly across the surface. Make sure the layer is uniform and smooth.
Step 5: Chill and Set
Place the prepared dish in the refrigerator for at least one hour. This cooling period allows the bars to firm up and develop a perfect, satisfying texture.
Step 6: Slice and Serve
Remove the chilled treat from the refrigerator. Using a sharp knife, cut into rectangular bars. Your homemade chocolate crunch bars are now ready to be devoured and enjoyed!
Pro Tips for Crunch Bar Perfection

Variations to Try With Crunch Bars
Pairing Suggestions for Crunch Bars
Storage Tips for Homemade Crunch Bars
FAQs on Homemade Crunch Bars
Yes, you can substitute rice cereal with corn flakes, crispy rice, or any crunchy cereal that provides a similar texture.
It depends on the type of cereal you use. Choose a certified gluten-free cereal to make the entire recipe gluten-free.
Add a scoop of protein powder to the peanut butter mixture or use protein-packed nut butter like almond butter for extra nutrition.
Absolutely! Kids love the sweet and crunchy combination, and they’re easy to make together as a fun family activity.
Print
Homemade Crunch Bars Recipe
- Total Time: 1 hour 15 minutes
- Yield: 8 1x
Description
Irresistible homemade crunch bars bring childhood nostalgia to life with a simple, delightful chocolate treat that melts in your mouth. Crispy rice cereal adds perfect texture, making this quick dessert a crowd-pleaser you’ll want to share with everyone.
Ingredients
Chocolate Base:
- 1 cup chocolate chips
- 1/2 cup peanut butter
Binding Ingredients:
- 1/4 cup honey
Crunch Topping:
- 2 cups rice cereal
Instructions
- Create a crisp foundation by thoroughly mixing rice cereal with chocolate chips in a spacious mixing vessel.
- Gently liquify peanut butter and honey together in a microwave-safe container, stirring at 30-second intervals until achieving a silky, uniform consistency at approximately 30-45 seconds.
- Pour the warm, glossy peanut butter and honey blend over the cereal and chocolate mixture, folding carefully to ensure complete ingredient integration.
- Transfer the combined mixture into a parchment-lined rectangular baking pan, using a spatula to distribute and compress the ingredients evenly across the surface.
- Place the prepared pan into the refrigerator, allowing the bars to solidify and set for 60-90 minutes until firm and cohesive.
- Remove from refrigerator and slice into uniform rectangular segments using a sharp knife.
- Serve chilled for optimal crunch and texture, storing any remaining bars in an airtight container within the refrigerator for up to one week.
Notes
- Choose crispy, fresh rice cereal for the best crunch and texture in your homemade bars.
- Experiment with different chocolate types like dark, milk, or white chocolate for unique flavor variations.
- Swap peanut butter with almond or sunflower seed butter for nut-free alternatives that still provide creamy richness.
- Drizzle melted chocolate on top or sprinkle sea salt for added gourmet touch and elevated taste profile.
- Prep Time: 10 minutes
- Cook Time: 5 minutes
- Category: Snacks, Desserts
- Method: No-bake
- Cuisine: American
Nutrition
- Serving Size: 8
- Calories: 194
- Sugar: 11 g
- Sodium: 45 mg
- Fat: 9 g
- Saturated Fat: 3 g
- Unsaturated Fat: 5 g
- Trans Fat: 0 g
- Carbohydrates: 24 g
- Fiber: 2 g
- Protein: 4 g
- Cholesterol: 0 mg
Michael Thompson
Founder & Recipe Developer
Expertise
Education
Cascade Culinary Institute – Bend, OR
ServSafe Food Handler Certification – Portland, OR
Focus: Certified in core food safety and hygiene principles for both home and professional kitchens, with emphasis on ingredient handling, kitchen cleanliness, and safe preparation methods.
Mike’s kitchen journey began with a single goal: to make everyday meals feel like something worth celebrating.
After earning his Certificate in Culinary Arts from Cascade Culinary Institute, he spent years working with local farmers and small kitchens across Oregon, learning the beauty of seasonal, small-batch cooking.
Mike’s approach is simple, cook with what’s fresh, keep it approachable, and always leave room for a little creativity. When he’s not testing yogurt marinades or designing single-serving meals, you’ll find him hiking trails or hunting down the best berries at local markets.