Homemade Krispy Kremes Recipe for Sweet Doughnut Fans
Crafting delectable krispy kremes at home brings pure joy to any pastry enthusiast’s kitchen.
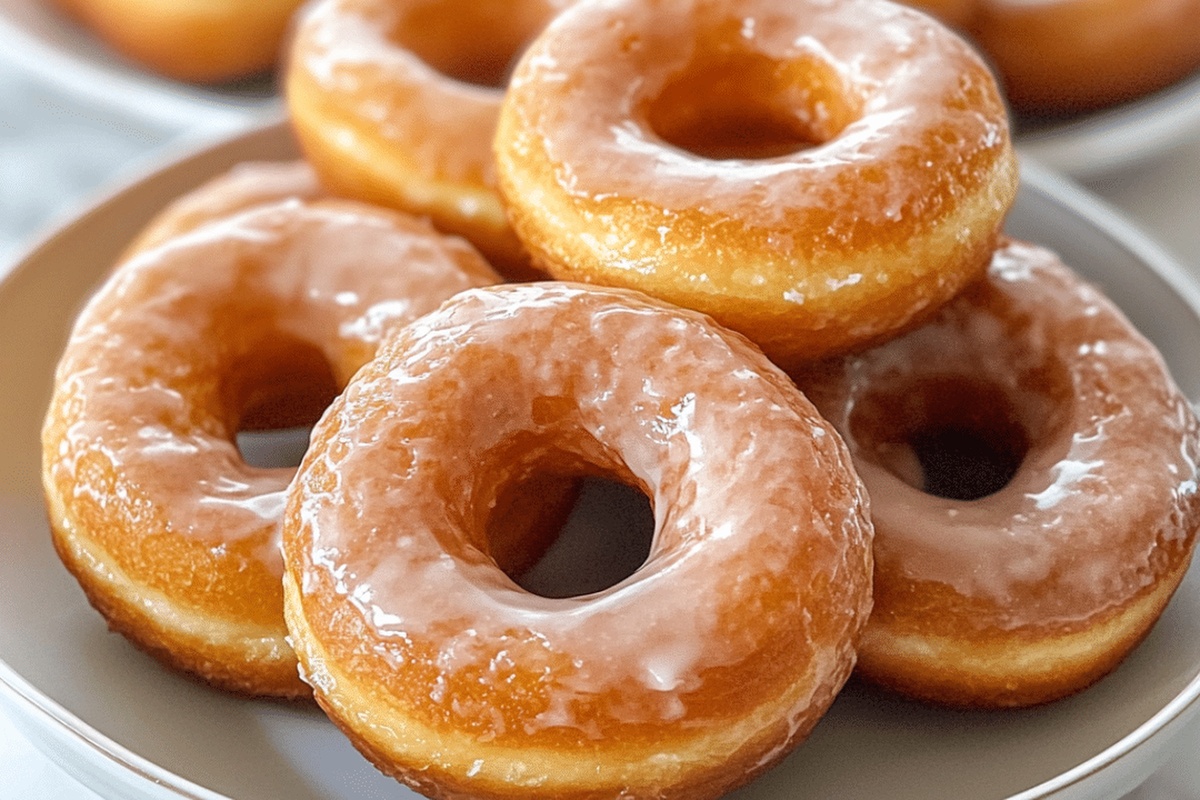
Soft clouds of sweet dough transform into golden rings of deliciousness.
Perfecting these iconic donuts requires patience and precise techniques.
Careful mixing and gentle handling create that signature light texture we all adore.
Professional bakers know the secret lies in understanding temperature and ingredient interactions.
Each bite promises a nostalgic journey back to childhood memories.
You’ll find this recipe simple yet magical, turning ordinary ingredients into extraordinary treats.
Let’s embark on a delightful culinary adventure that will impress everyone around the table.
Why Homemade Krispy Kremes Taste Like The Real Deal
What Goes In Homemade Krispy Kreme Doughnuts
Main Ingredients:Fats and Sweeteners:Seasoning and Liquid Ingredients:Steps To Make Homemade Krispy Kremes
Step 1: Prepare Milk Mixture
Warm milk gently in a small saucepan until tiny bubbles form. Remove from heat and stir in sugar until completely dissolved. Allow the mixture to cool down to a lukewarm temperature.
Step 2: Activate Yeast
In a separate small bowl, combine yeast with warm water. Let the mixture sit quietly until it becomes creamy and frothy, which takes about 10 minutes.
Step 3: Create Dough Base
Grab a large mixing bowl and combine the lukewarm milk mixture, activated yeast, initial portion of flour, salt, shortening, egg, and vanilla extract. Blend everything together until the mixture becomes smooth and well-incorporated.
Step 4: Develop Dough Consistency
Gradually add remaining flour in small increments, stirring thoroughly after each addition. Once the dough starts to come together, transfer it onto a lightly floured surface. Knead the dough with gentle, consistent motions until it becomes silky and elastic, which typically takes around 8 minutes.
Step 5: First Dough Rise
Lightly coat a large bowl with oil. Place the dough inside and rotate to ensure complete coverage. Cover with a damp cloth and let it rest in a warm, draft-free spot until the volume doubles, approximately 1 hour.
Step 6: Shape Doughnuts
Gently press down the risen dough and transfer to a floured surface. Roll out the dough to about half-inch thickness. Use a floured doughnut cutter to create perfect circular shapes. Allow the cut doughnuts to rise again until they double in size, which takes around 30 minutes.
Step 7: Fry to Golden Perfection
Heat oil in a deep fryer or large skillet to 350°F. Carefully slide doughnuts into the hot oil using a wide spatula. Flip them as they rise to ensure even browning. Fry each side until a beautiful golden color emerges, approximately 2 minutes per side.
Step 8: Glaze and Serve
Remove doughnuts from the oil and let them drain on a wire rack. While still hot, dip each doughnut into glaze. Return to the wire rack to allow excess glaze to drip off. Serve immediately and enjoy the delightful homemade treat!
Tips For Soft And Fluffy Doughnuts At Home
Tasty Variations On Krispy Kreme Style Doughnuts
What To Serve With Homemade Doughnuts
How To Store Homemade Krispy Kremes Properly
FAQs For Making Krispy Kreme Doughnuts At Home
The key ingredients include active dry yeast, milk, flour, sugar, egg, vanilla extract, salt, and shortening. These components create the signature soft, tender texture and sweet flavor of classic Krispy Kreme donuts.
Proper proofing is crucial. Let the dough rise in a warm, draft-free area until it doubles in size. Be gentle when handling the dough and avoid over-kneading, which can make donuts tough.
Maintain a consistent oil temperature of 350°F (175°C) when frying. This ensures even cooking, a golden exterior, and prevents the donuts from becoming greasy or undercooked.
Print
Homemade Krispy Kremes Recipe
- Total Time: 1 hour 52 minutes
- Yield: 8 1x
Description
Krispy Kreme donuts bring sweet magic straight to home kitchens with this irresistible recipe. Delicate dough, golden frying, and classic glaze combine for a nostalgic treat that delights taste buds and warms hearts.
Ingredients
Main Ingredients:
- 2 cups all-purpose flour
- 1 cup milk
- 1 egg
Leavening and Sweeteners:
- 1 package active dry yeast
- 1/4 cup sugar
- 1/4 teaspoon salt
Finishing and Cooking Ingredients:
- 1/4 cup shortening
- 1/2 teaspoon vanilla extract
- Oil for frying
- 1/2 cup confectioners sugar
Instructions
- Gently heat milk in a saucepan until tiny bubbles form, then remove from heat. Dissolve sugar completely by stirring, then allow to cool to lukewarm temperature.
- Activate yeast in warm water, waiting until it becomes frothy and creamy, approximately 10 minutes.
- Combine lukewarm milk, activated yeast, initial flour portion, salt, shortening, egg, and vanilla extract in a large mixing bowl. Whisk until smooth and well-integrated.
- Gradually incorporate remaining flour, mixing thoroughly after each addition. Once dough forms a cohesive mass, transfer to a floured surface and knead methodically until achieving a silky, elastic texture, roughly 8 minutes.
- Lightly coat a large bowl with oil, place dough inside, and rotate to ensure complete coverage. Drape with a damp cloth and allow to proof in a warm environment until volume doubles, approximately 1 hour.
- Gently deflate dough and roll out to half-inch thickness on a floured surface. Use a doughnut cutter to shape, then permit rounds to rise again until they double in size, about 30 minutes.
- Heat oil in a deep fryer or heavy skillet to 350°F. Carefully slide doughnuts into hot oil using a wide spatula. Flip periodically to ensure even golden-brown coloration, cooking approximately 2 minutes per side.
- Transfer fried doughnuts to a wire rack for draining. While still piping hot, immerse each doughnut in glaze, allowing excess to drip off before serving.
Notes
- Check milk temperature carefully to avoid killing yeast; lukewarm is perfect around 110°F.
- Use instant yeast for faster rising and more consistent results.
- Ensure dough is soft and elastic when kneading, not too sticky or dry.
- Let doughnuts rise in a draft-free, warm area like near a preheated oven for optimal proofing.
- Maintain consistent oil temperature at 350°F to prevent greasy or undercooked doughnuts.
- Pat doughnuts gently with paper towels to remove excess oil after frying.
- Glaze while doughnuts are still warm for best absorption and shiniest finish.
- Create gluten-free version by substituting all-purpose flour with a blend of rice and almond flour.
- Prep Time: 1 hour 48 minutes
- Cook Time: 4 minutes
- Category: Snacks, Desserts
- Method: Frying
- Cuisine: American
Nutrition
- Serving Size: 8
- Calories: 195 kcal
- Sugar: 11 g
- Sodium: 112 mg
- Fat: 8 g
- Saturated Fat: 3 g
- Unsaturated Fat: 5 g
- Trans Fat: 0 g
- Carbohydrates: 26 g
- Fiber: 1 g
- Protein: 4 g
- Cholesterol: 31 mg
Michael Thompson
Founder & Recipe Developer
Expertise
Education
Cascade Culinary Institute – Bend, OR
ServSafe Food Handler Certification – Portland, OR
Focus: Certified in core food safety and hygiene principles for both home and professional kitchens, with emphasis on ingredient handling, kitchen cleanliness, and safe preparation methods.
Mike’s kitchen journey began with a single goal: to make everyday meals feel like something worth celebrating.
After earning his Certificate in Culinary Arts from Cascade Culinary Institute, he spent years working with local farmers and small kitchens across Oregon, learning the beauty of seasonal, small-batch cooking.
Mike’s approach is simple, cook with what’s fresh, keep it approachable, and always leave room for a little creativity. When he’s not testing yogurt marinades or designing single-serving meals, you’ll find him hiking trails or hunting down the best berries at local markets.