
Strawberry Vanilla Bean Ice Cream Recipe to Try
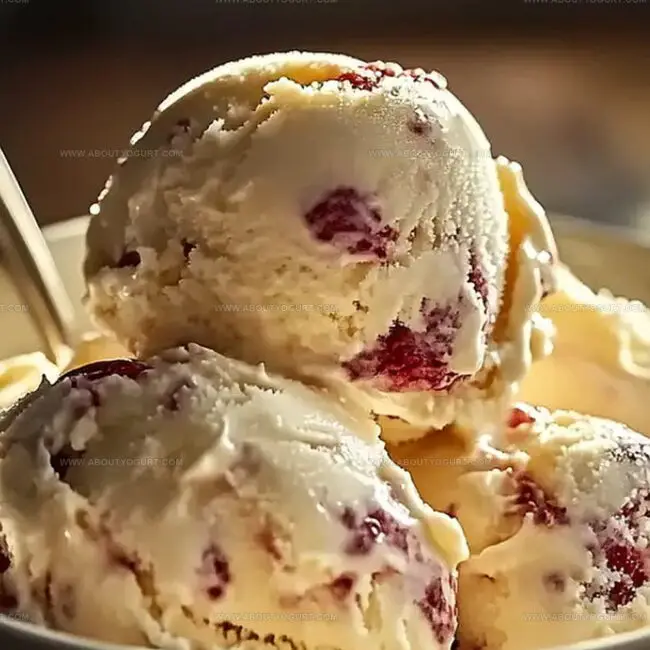
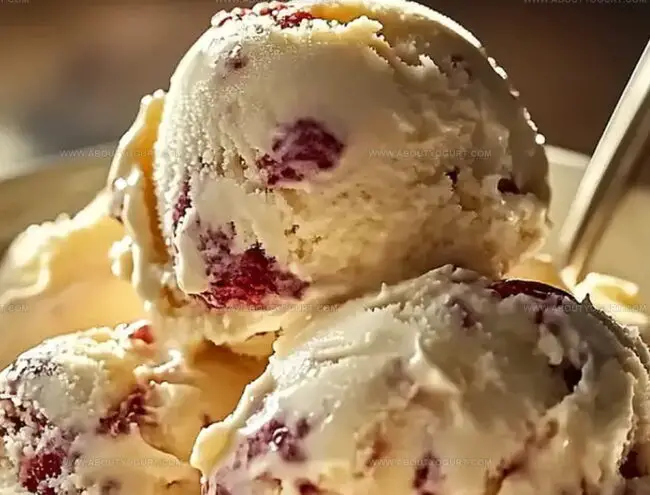
Sweet strawberries dancing with delicate vanilla bean create a dreamy homemade ice cream that melts hearts instantly.
Creamy richness whispers memories of summer afternoons spent picking fresh fruit.
Summer’s bounty transforms into a luxurious dessert with minimal ingredients and maximum flavor.
Each spoonful promises pure, unadulterated pleasure that commercial brands can’t match.
Fresh strawberries blend seamlessly with fragrant vanilla, creating a sophisticated treat.
Kitchen magic happens when simple components combine into something extraordinary.
Prepare to experience a dessert that feels like a cool, sweet embrace of pure happiness.
Homemade Strawberry Vanilla Bean Ice Cream That Melts Hearts
Ingredients to Craft Creamy Strawberry Vanilla Bean Ice Cream
For the Fruits:For the Dairy and Eggs:For the Sweeteners and Flavors:Simple Steps for Making Your Own Ice Cream Masterpiece
Step 1: Create Strawberry Sauce
Toss fresh strawberries, sugar, and vanilla bean seeds into a saucepan. Cook on medium heat until strawberries transform into a soft, glossy mixture and sugar completely melts.
Remove from stove and allow the sauce to cool naturally.
Step 2: Develop Creamy Custard Base
Warm heavy cream and milk in a saucepan until tiny bubbles form around edges.
Remove from heat.
In a separate bowl, gently whisk egg yolks.
Slowly stream hot cream mixture into yolks while continuously whisking to prevent scrambling.
Return combined liquid to saucepan.
Cook on low heat, stirring constantly until custard thickens and coats spoon’s back – approximately 10 minutes.
Step 3: Smooth and Chill Custard
Pour custard through fine mesh strainer to catch any potential lumps.
Let mixture reach room temperature, then refrigerate until completely chilled – around 4 hours.
Step 4: Churn Dreamy Ice Cream
Use ice cream maker to transform custard into smooth frozen delight.
During final churning moments, fold in strawberry sauce creating beautiful swirled patterns.
Step 5: Freeze and Serve
Transfer churned ice cream into freezer-safe container.
Allow to firm up for 2-3 hours. Scoop and savor this homemade treat!
Pro Tips for Smooth, Creamy Homemade Ice Cream
Fun Flavor Swaps to Try with Your Ice Cream Base
Pairings That Elevate Your Strawberry Vanilla Bean Treat
How to Store Homemade Ice Cream So It Stays Perfectly Creamy
Transfer leftover ice cream to an airtight container with a tight-fitting lid. Press plastic wrap directly onto the surface to prevent ice crystals. Keep in the coldest part of the freezer for up to 2 weeks.
Wrap the container in an additional layer of aluminum foil to maintain optimal texture and prevent freezer burn. Store at a consistent temperature of 0°F or below.
Let the ice cream sit at room temperature for 5-10 minutes before serving. Soften gradually to restore creamy consistency. Use a clean, dry ice cream scoop for smooth serving.
Avoid repeated thawing and refreezing, which can degrade texture and introduce ice crystals. Always use clean utensils when scooping to maintain freshness.
FAQs
Tempering prevents the eggs from scrambling when adding hot cream. By slowly whisking hot cream into egg yolks, you gradually raise their temperature, creating a smooth custard base without curdling.
Yes, frozen strawberries work perfectly. Just thaw them first and drain excess liquid to maintain the right consistency in your ice cream mixture.
The custard is ready when it coats the back of a spoon and you can draw a line with your finger that stays clear without the mixture running back together. This indicates it has reached the right consistency.
Print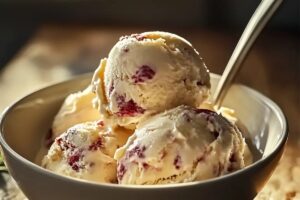
Homemade Strawberry Vanilla Bean Ice Cream Recipe
- Total Time: 5 hours
- Yield: 6 1x
Description
Summer’s sweetest indulgence, homemade strawberry vanilla bean ice cream, brings pure creamy bliss to dessert lovers. Rich strawberry ripples and delicate vanilla essence create a luxurious frozen treat you’ll savor with pure delight.
Ingredients
Dairy and Cream:
- 2 cups heavy cream
- 1 cup whole milk
- 6 large egg yolks
Fruits and Sweeteners:
- 2 cups fresh strawberries, hulled and sliced
- 1 cup granulated sugar
- 1 vanilla bean
Main Flavoring:
- 1 vanilla bean, split and seeds scraped
Instructions
- Macerate strawberries by combining them with sugar and vanilla bean seeds in a saucepan. Simmer over medium heat until fruits soften and sugar dissolves completely, approximately 5-7 minutes. Remove from heat and allow natural cooling.
- Gently warm cream and milk in a separate saucepan until steaming but not boiling. Simultaneously, whisk egg yolks in a heat-resistant bowl until smooth and pale.
- Gradually stream hot dairy mixture into egg yolks while continuously whisking to prevent curdling. Transfer combined liquid back to saucepan and cook over low heat, stirring consistently until custard thickens and coats the back of a wooden spoon, roughly 8-10 minutes.
- Strain custard through a fine mesh sieve to eliminate potential scrambled egg bits. Cool mixture to room temperature, then refrigerate for 3-4 hours until thoroughly chilled.
- Pour cold custard into ice cream machine and churn according to manufacturer’s instructions, typically 20-25 minutes.
- During final churning minutes, fold macerated strawberry mixture into developing ice cream, creating delicate swirls and marbled texture.
- Transfer freshly churned ice cream to a freezer-safe container. Freeze for 2-3 hours until firm and scoopable. Serve chilled and enjoy the vibrant, creamy dessert.
Notes
- Ensure strawberries are ripe and sweet for maximum flavor intensity.
- Use fresh vanilla bean for a more robust and authentic taste compared to extract.
- Temper egg yolks carefully by slowly adding hot cream to prevent scrambling.
- Strain custard through fine-mesh sieve to achieve ultra-smooth texture.
- Chill custard thoroughly before churning to help ice cream set faster and prevent icy crystals.
- For dairy-free version, substitute heavy cream and milk with coconut milk or almond milk.
- Reduce sugar for a less sweet version or use alternative sweeteners like honey or maple syrup.
- Add chopped dark chocolate or toasted nuts during final churning for extra crunch and complexity.
- If no ice cream maker available, freeze mixture and stir every 30 minutes to break ice crystals.
- Prep Time: 20 minutes
- Cook Time: 4 hours 40 minutes
- Category: Desserts
- Method: Simmering
- Cuisine: American
Nutrition
- Serving Size: 6
- Calories: 399 kcal
- Sugar: 39 g
- Sodium: 44 mg
- Fat: 34 g
- Saturated Fat: 21 g
- Unsaturated Fat: 9 g
- Trans Fat: 0.5 g
- Carbohydrates: 37 g
- Fiber: 1.3 g
- Protein: 6 g
- Cholesterol: 213 mg
Michael Thompson
Founder & Recipe Developer
Expertise
Education
Cascade Culinary Institute – Bend, OR
ServSafe Food Handler Certification – Portland, OR
Focus: Certified in core food safety and hygiene principles for both home and professional kitchens, with emphasis on ingredient handling, kitchen cleanliness, and safe preparation methods.
Mike’s kitchen journey began with a single goal: to make everyday meals feel like something worth celebrating.
After earning his Certificate in Culinary Arts from Cascade Culinary Institute, he spent years working with local farmers and small kitchens across Oregon, learning the beauty of seasonal, small-batch cooking.
Mike’s approach is simple, cook with what’s fresh, keep it approachable, and always leave room for a little creativity. When he’s not testing yogurt marinades or designing single-serving meals, you’ll find him hiking trails or hunting down the best berries at local markets.