
Crispy Baked Shrimp Recipe for Easy Dinners
Discovering a magic crispy baked shrimp recipe can revolutionize your dinner game in unexpected ways.
Seafood enthusiasts understand the challenge of achieving perfect crunchiness without deep-frying.
Delicate shrimp deserve special treatment, and this method guarantees incredible texture every single time.
Simple ingredients blend together to create an irresistible coating that seals in moisture while producing an extraordinary crisp exterior.
Kitchen experiments often lead to delightful surprises, and this particular approach transforms humble ingredients into something spectacular.
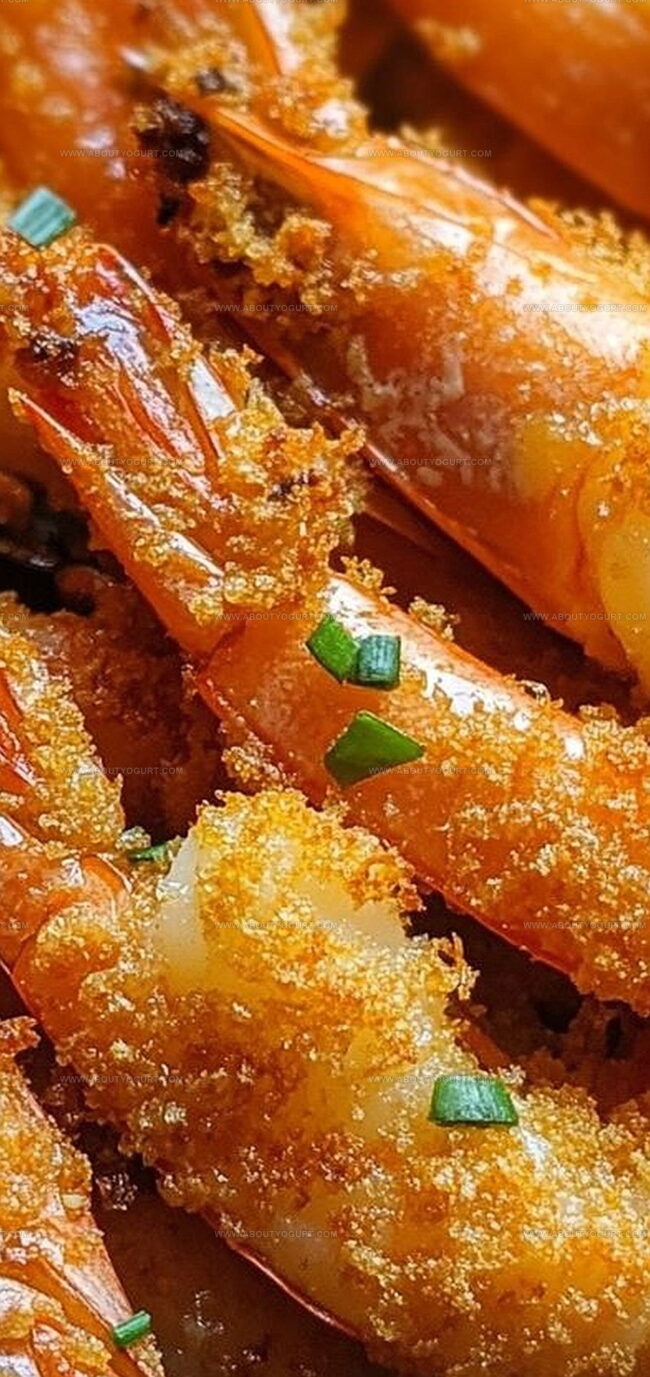
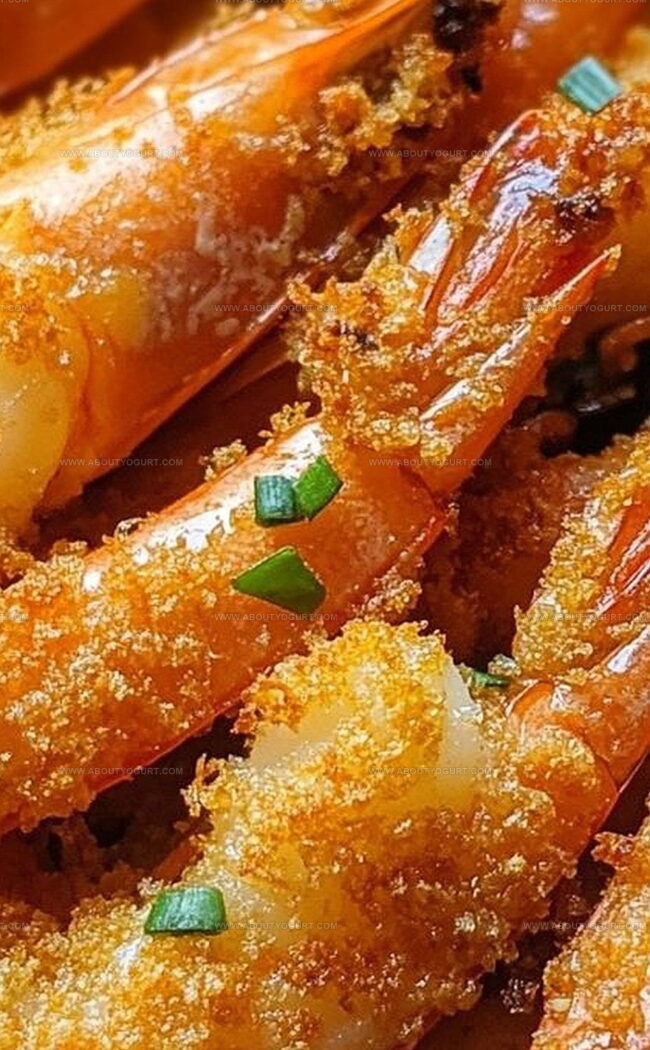
Crisp, golden-brown edges beckon you to savor each succulent bite.
We challenge you to experience this game-changing technique that will make shrimp night the most anticipated meal of the week.
Why Magic Crispy Baked Shrimp Is a Must-Try
Ingredients for Magic Crispy Baked Shrimp
Main Protein:Coating Ingredients:Seasoning and Flavor Enhancers:How to Make Magic Crispy Baked Shrimp
Step 1: Prepare Baking Surface
Grab a baking sheet and line it with parchment paper. If you don’t have parchment paper, lightly coat the sheet with cooking spray to prevent sticking.
Step 2: Heat the Oven
Turn your oven on and set the temperature to 400°F (200°C). Let it warm up completely before adding the shrimp.
Step 3: Season the Shrimp
In a mixing bowl, combine the following ingredients:Toss the shrimp gently to ensure every piece is evenly coated with the seasoning.
Step 4: Arrange on Baking Sheet
Spread the seasoned shrimp in a single layer on the prepared baking sheet. Make sure they’re not overlapping to help them cook evenly and get crispy.
Step 5: Bake to Perfection
Place the baking sheet in the preheated oven. Bake for 8-10 minutes, flipping the shrimp halfway through. They’re done when they turn pink and curl slightly.
Step 6: Add Final Touch
Remove the shrimp from the oven and let them rest for 2 minutes. Squeeze fresh lemon juice over the top for a bright, zesty flavor.
Step 7: Serve and Enjoy
Transfer the crispy baked shrimp to a serving plate. Garnish with chopped parsley if desired and serve immediately while hot and crunchy.
Pro Tips for Magic Crispy Baked Shrimp
Delicious Variations of Magic Crispy Baked Shrimp
Best Pairings for Magic Crispy Baked Shrimp
Storage Guidelines for Magic Crispy Baked Shrimp
FAQs About Magic Crispy Baked Shrimp
Yes, just thaw them completely and pat dry with paper towels before coating to ensure crispy results.
Panko breadcrumbs are ideal because they create an extra crispy and light coating compared to regular breadcrumbs.
Avoid overcooking by baking just until the shrimp turn pink and opaque, which typically takes 8-10 minutes depending on their size.
Use gluten-free panko or almond flour instead of regular breadcrumbs to make the recipe gluten-free and suitable for those with wheat sensitivities.
Print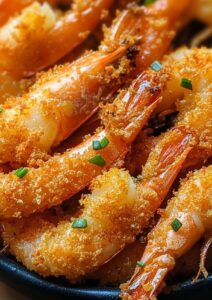
Magic Crispy Baked Shrimp Recipe
- Total Time: Not specified
- Yield: 4 1x
Description
Seafood enthusiasts will dive into this magic crispy baked shrimp recipe, a Mediterranean-inspired delight that brings coastal flavors directly to your kitchen. Crisp, golden edges and tender succulent shrimp promise a delectable meal you can effortlessly create with minimal ingredients and maximum satisfaction.
Ingredients
Main Protein:
- 1 pound (454 grams) large shrimp, peeled and deveined
Coating Ingredients:
- 1 cup (240 milliliters) panko breadcrumbs
- 1/2 cup (50 grams) grated Parmesan cheese
- 2 large eggs
- 2 tablespoons (30 milliliters) milk
Seasoning Blend:
- 1 teaspoon garlic powder
- 1 teaspoon onion powder
- 1 teaspoon smoked paprika
- 1/2 teaspoon dried oregano
- 1/2 teaspoon dried thyme
- 1/2 teaspoon salt
- 1/4 teaspoon black pepper
Cooking Accessory:
- Cooking spray
Instructions
- Preheat oven to 400°F (200°C) and prepare a baking sheet with parchment paper or a light coating of cooking spray to prevent sticking.
- Pat shrimp thoroughly dry with paper towels to ensure maximum crispiness and better coating adhesion.
- Create a dredging station with three separate shallow dishes: one for flour, one for beaten eggs, and one for seasoned breadcrumbs or panko.
- Dip each shrimp first into the flour, shaking off excess, then coat completely in beaten egg, and finally roll in breadcrumbs, pressing gently to ensure a complete and even coating.
- Arrange breaded shrimp in a single layer on the prepared baking sheet, ensuring they are not touching to allow even heat circulation and crispy texture.
- Lightly spray or drizzle olive oil over the breaded shrimp to enhance golden browning and crispiness.
- Bake in the preheated oven for 10-12 minutes, turning halfway through, until shrimp are golden brown, crispy, and cooked through with a pink color and slight curl.
- Remove from oven and let rest for 2-3 minutes to allow coating to set and shrimp to finish cooking.
- Serve immediately with lemon wedges, cocktail sauce, or preferred dipping sauce for a delightful crispy seafood appetizer or main dish.
Notes
- Use jumbo or large shrimp for the best texture and most impressive presentation.
- Pat shrimp completely dry with paper towels to ensure maximum crispiness and prevent excess moisture during baking.
- Create a foolproof crispy coating by mixing panko breadcrumbs with grated parmesan cheese, which adds extra crunch and rich flavor.
- For a gluten-free version, replace regular breadcrumbs with gluten-free panko or crushed almond flour to maintain the crispy exterior.
- Prep Time: Not specified
- Cook Time: Not specified
- Category: Lunch, Dinner, Appetizer, Snacks
- Method: Baking
- Cuisine: American
Nutrition
- Serving Size: 4
- Calories: 275 kcal
- Sugar: 1 g
- Sodium: 575 mg
- Fat: 9 g
- Saturated Fat: 3 g
- Unsaturated Fat: 5 g
- Trans Fat: 0 g
- Carbohydrates: 23 g
- Fiber: 1 g
- Protein: 28 g
- Cholesterol: 165 mg
Sarah Mitchell
Content Specialist & Home Cooking Enthusiast
Expertise
Education
Asheville-Buncombe Technical Community College – Asheville, NC
American Fitness Professionals & Associates – Online
Sarah’s passion for food was sparked by weekend trips to the farmers’ market and her belief that healthy meals should never feel boring.
After earning her culinary diploma and becoming a certified Nutrition and Wellness Consultant, she set out to help others fall in love with simple, wholesome cooking.
She’s all about celebrating the small wins in the kitchen: a colorful yogurt bowl, a new twist on a classic dish, or a homemade snack that feels just a little extra special.
Outside the kitchen, Sarah is a gardener at heart, a yoga enthusiast, and a believer that fresh herbs can brighten any meal, and any day.