
Crunchy Malteser Tray Bake Recipe for Snack Moments
Sweet chocolate lovers often dream about creating irresistible malteser tray bake that melts in your mouth with creamy decadence.
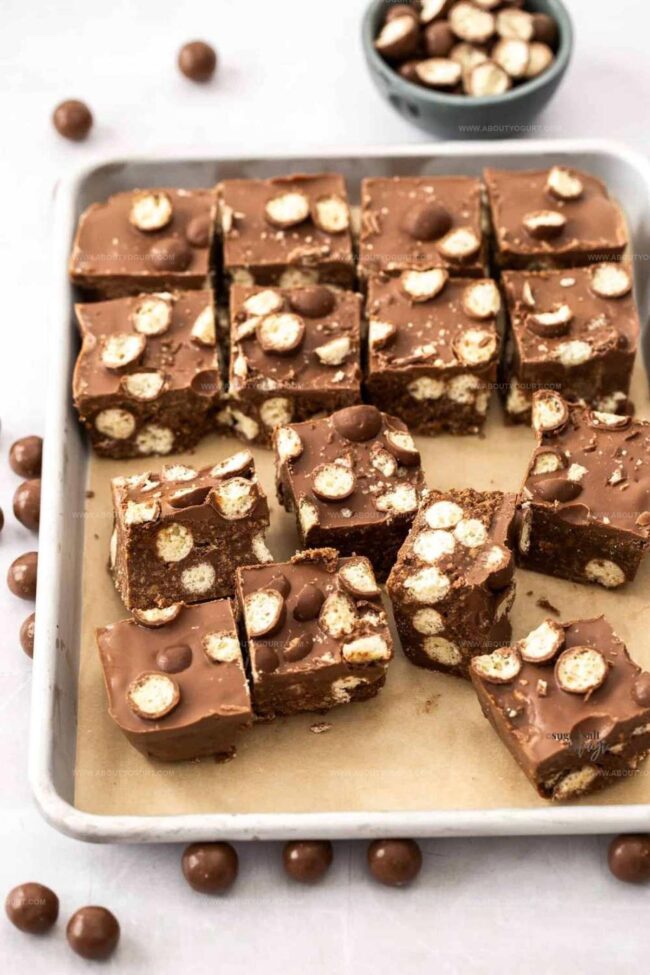
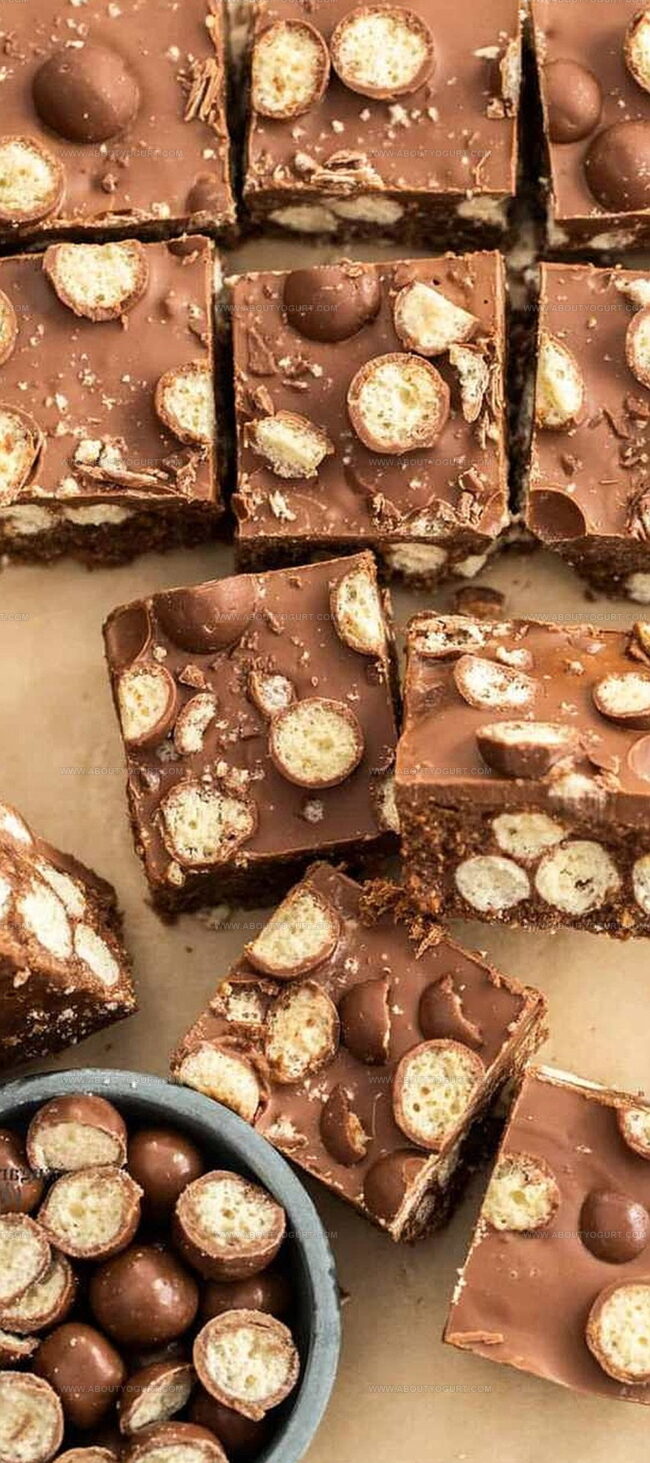
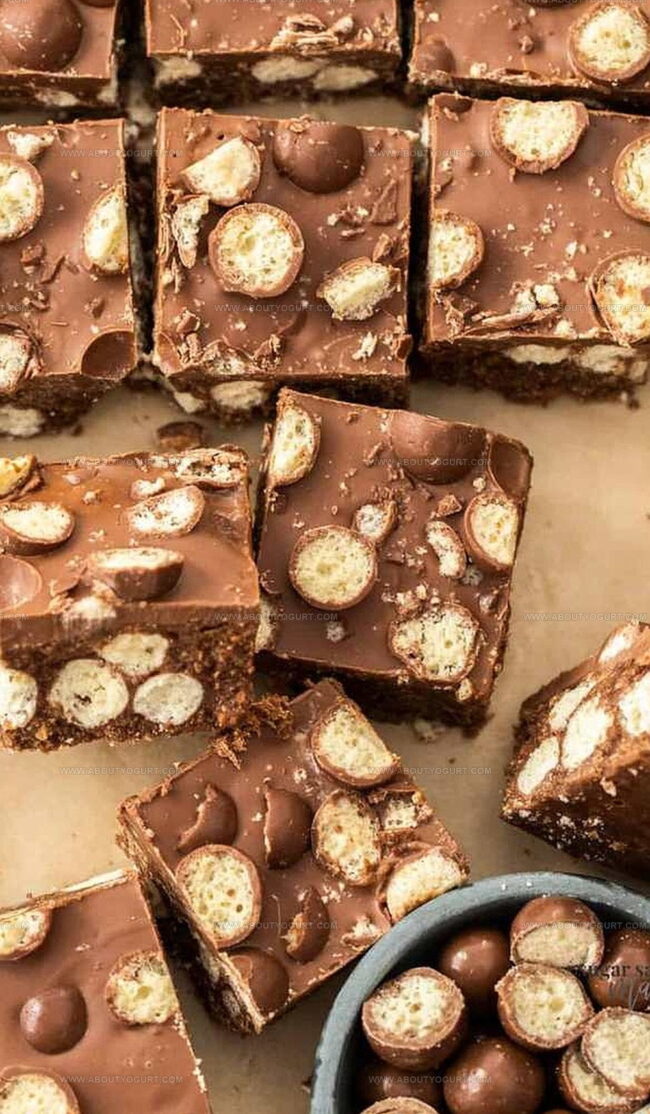
Crushed malt balls sprinkled throughout this delightful dessert guarantee an unexpected crunch.
Layers of smooth chocolate and crunchy maltesers combine into a magical treat that feels like a celebration.
Rich textures and indulgent flavors dance across your palate with each delectable bite.
Simple ingredients transform into an extraordinary dessert that will surprise even experienced bakers.
Quick mixing techniques mean you can whip up this crowd-pleasing confection in less than thirty minutes.
Trust me, one slice will have everyone asking for your secret recipe.
Why Mary Berry Malteser Tray Bake Is A Treat
What You’ll Need For Mary Berry Malteser Tray Bake
Base Ingredients:Biscuit Ingredients:Maltesers Ingredients:Topping Ingredients:Steps To Make Mary Berry Malteser Tray Bake

Step 1: Prepare Baking Vessel
Line a square or rectangular baking tin with parchment paper and lightly grease the surface to ensure easy removal of the dessert later.
Step 2: Create Chocolate Base
In a saucepan over low heat, gently melt together:Stir continuously until the mixture becomes completely smooth and glossy.
Step 3: Cool Chocolate Mixture
Remove the saucepan from heat and allow the chocolate blend to cool for a few minutes, preventing potential burning or separation.
Step 4: Combine Crunchy Elements
Fold into the slightly cooled chocolate mixture:Mix thoroughly to ensure even distribution of ingredients.
Step 5: Press and Chill First Layer
Transfer the mixed ingredients into the prepared baking tin. Use the back of a spoon to press and flatten the mixture evenly. Refrigerate for one hour to set.
Step 6: Create Chocolate Topping
Melt additional chocolate using a double boiler or microwave, ensuring a smooth, liquid consistency.
Step 7: Final Decoration
Pour the melted chocolate over the chilled base. Use a spatula to spread evenly. Sprinkle remaining Maltesers on top for extra crunch and visual appeal.
Step 8: Complete Chilling Process
Return the tray to the refrigerator and let it set completely for another hour until firm.
Step 9: Slice and Serve
Remove from refrigerator, lift out using parchment paper, and cut into squares. Enjoy the decadent Malteser treat.
Helpful Baking Tips For Mary Berry Malteser Tray Bake
Fun Twists On Mary Berry Malteser Tray Bake
Best Pairings With Mary Berry Malteser Tray Bake
How To Store Mary Berry Malteser Tray Bake Correctly
FAQs For Mary Berry Malteser Tray Bake
Yes, you can substitute milk, dark, or white chocolate based on your preference. Just ensure it melts smoothly and complements the Maltesers.
Place digestive biscuits in a sealed plastic bag and use a rolling pin to crush them into consistent small crumbs. This method prevents uneven texture.
Corn syrup or honey can work as substitutes, though they might slightly alter the final flavor. Golden syrup provides the best traditional taste.
Absolutely! The Malteser tray bake can be prepared up to 3-4 days in advance and stored in the refrigerator, making it perfect for advance party planning.
Print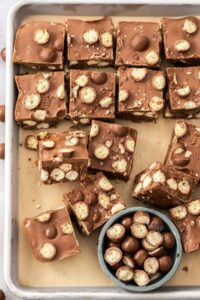
Malteser Tray Bake Recipe
- Total Time: 2 hours 25 minutes
- Yield: 8 1x
Description
Malteser tray bake delights chocolate enthusiasts with its irresistible blend of crunchy malt balls and rich chocolate base. Creamy, indulgent layers promise a sweet escape that will transport dessert lovers to pure bliss.
Ingredients
Chocolate and Malt Base:
- 400 grams (14.1 ounces) milk chocolate, broken into small squares
- 200 grams (7.1 ounces) milk chocolate
- 250 grams (8.8 ounces) digestive biscuits or rich tea biscuits, crushed
Binding and Sweetening Ingredients:
- 200 grams (7.1 ounces) butter
- 3 tablespoons golden syrup
Topping and Decoration:
- 200 grams (7.1 ounces) Maltesers
- 50 grams (1.8 ounces) Maltesers
Instructions
- Prepare a rectangular baking tin by lining with parchment paper and applying a light butter coating.
- Create a chocolate mixture by gently melting butter, chocolate, and syrup in a saucepan over low heat, stirring until achieving a silky, uniform consistency.
- Allow the warm chocolate mixture to cool slightly to prevent potential ingredient separation.
- Incorporate crushed biscuits and Maltesers into the chocolate base, mixing thoroughly to distribute ingredients evenly.
- Transfer the combined mixture into the prepared tin, using a spatula to press and compact the mixture uniformly across the surface.
- Refrigerate the base for approximately 60 minutes, allowing it to set and firm up completely.
- Melt additional chocolate for the topping, ensuring a smooth and glossy texture.
- Drizzle the melted chocolate over the chilled base, using a spatula to create an even layer across the surface.
- Garnish the chocolate topping with remaining Maltesers, strategically placing them for visual appeal.
- Return the tray bake to the refrigerator for another 60 minutes, ensuring the chocolate sets and becomes firm.
- Once fully chilled, remove from the tin, slice into squares, and serve chilled.
Notes
- Butter the tin generously to prevent sticking and ensure easy removal of the tray bake.
- Use milk chocolate for a classic sweet flavor or dark chocolate for a richer, less sweet version.
- Crush Maltesers roughly to maintain some texture and create delightful crunchy bits throughout the dessert.
- Store in an airtight container in the refrigerator for up to 5 days, allowing the chocolate to set perfectly and flavors to meld.
- Prep Time: 15 minutes
- Cook Time: 10 minutes
- Category: Desserts, Snacks
- Method: Melting
- Cuisine: British
Nutrition
- Serving Size: 8
- Calories: 432
- Sugar: 39 g
- Sodium: 65 mg
- Fat: 26 g
- Saturated Fat: 15 g
- Unsaturated Fat: 9 g
- Trans Fat: 0.2 g
- Carbohydrates: 43 g
- Fiber: 2 g
- Protein: 4 g
- Cholesterol: 40 mg
Michael Thompson
Founder & Recipe Developer
Expertise
Education
Cascade Culinary Institute – Bend, OR
ServSafe Food Handler Certification – Portland, OR
Focus: Certified in core food safety and hygiene principles for both home and professional kitchens, with emphasis on ingredient handling, kitchen cleanliness, and safe preparation methods.
Mike’s kitchen journey began with a single goal: to make everyday meals feel like something worth celebrating.
After earning his Certificate in Culinary Arts from Cascade Culinary Institute, he spent years working with local farmers and small kitchens across Oregon, learning the beauty of seasonal, small-batch cooking.
Mike’s approach is simple, cook with what’s fresh, keep it approachable, and always leave room for a little creativity. When he’s not testing yogurt marinades or designing single-serving meals, you’ll find him hiking trails or hunting down the best berries at local markets.