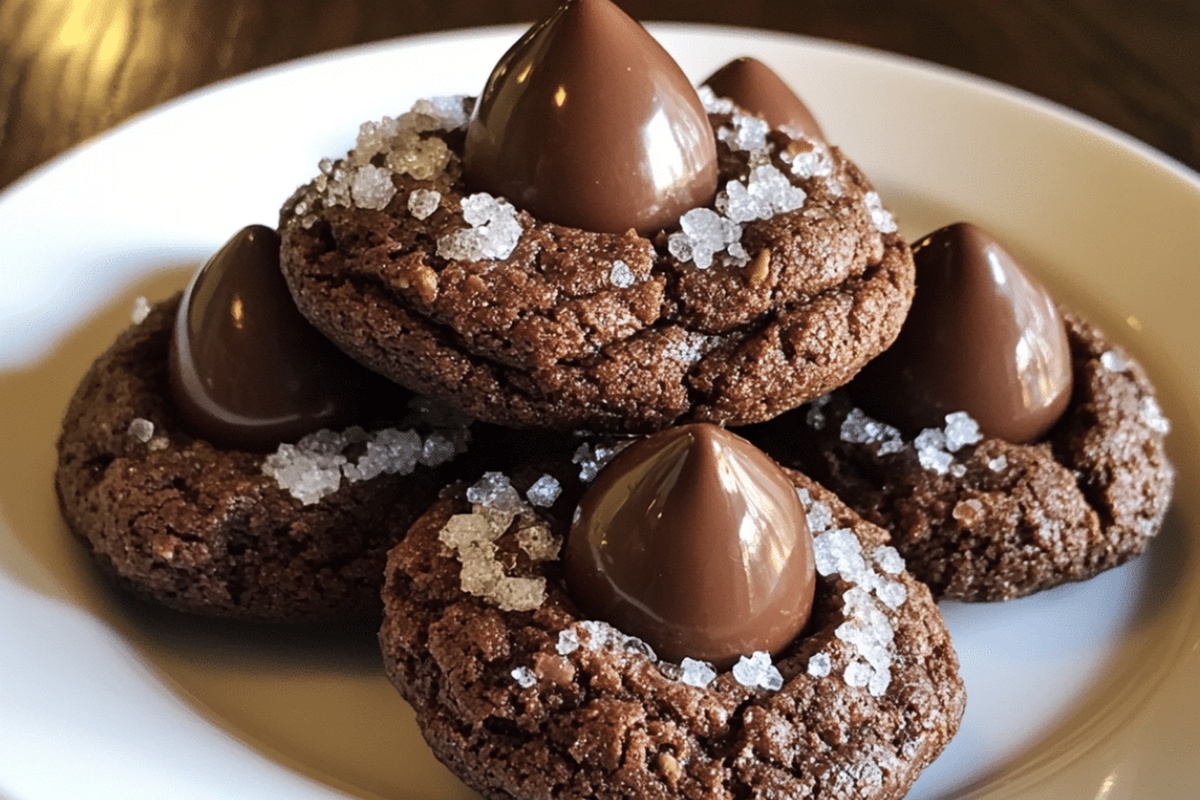
Heavenly Meltaway Brownie Cookies Recipe: Chocolatey Magic
Sweet chocolate dreams come alive with these meltaway brownie cookies that dissolve on your tongue like edible velvet.
Chocolate lovers know the magic happens when rich cocoa meets buttery softness.
Delicate yet intensely flavored, these treats promise a moment of pure indulgence.
Crisp edges give way to a tender center that whispers decadence.
Minimal ingredients blend into something extraordinary, proving simplicity can create culinary magic.
Such cookies turn an ordinary afternoon into a celebration of pure pleasure.
What Makes Meltaway Brownie Cookies Irresistible
Ingredients List for Meltaway Brownie Cookies
Chocolate Base:Dry Ingredients:Wet Ingredients and Flavor Enhancers:How to Bake Meltaway Brownie Cookies
Step 1: Warm Up the Oven
Crank the oven to 350°F (175°C). Grab a baking sheet and line it with parchment paper to prevent any sticky situations.
Step 2: Create Chocolate Magic
Grab a microwave-safe bowl and combine:Melt these together in short 30-second bursts, stirring between each zap until the mixture turns silky smooth. Let it cool down for a moment.
Step 3: Mix Dry Ingredients
In a separate bowl, whisk together:Blend these dry ingredients until they’re perfectly combined.
Step 4: Whip Up the Wet Base
In a large mixing bowl, beat together:Whip these ingredients until they become light and fluffy. Pour in the melted chocolate mixture and stir until everything is well incorporated.
Step 5: Combine Everything
Slowly add the flour mixture to the wet ingredients. Mix gently until just combined. If you’re feeling nutty, fold in some chopped walnuts for extra crunch.
Step 6: Shape the Cookies
Use a spoon to drop dollops of dough onto the prepared baking sheet. Space them about 2 inches apart to give them room to spread.
Step 7: Bake to Perfection
Slide the baking sheet into the preheated oven. Bake for 10-12 minutes until the cookies look set and slightly crisp around the edges.
Step 8: Cool and Enjoy
Let the cookies rest on the baking sheet for a few minutes. Transfer them to a wire rack to cool completely. Get ready to experience melt-in-your-mouth deliciousness!
Tips for Soft and Chewy Brownie Cookies
Flavor Variations for Meltaway Brownie Cookies
Best Pairings for Meltaway Brownie Cookies
Storing Meltaway Brownie Cookies Properly
FAQs on Meltaway Brownie Cookies
These meltaway brownie cookies are soft, fudgy, and have a texture between a traditional brownie and a cookie – crisp on the outside and tender on the inside.
Absolutely! The walnuts are optional. You can omit them entirely or substitute with chocolate chips, pecans, or another nut of your choice without affecting the overall recipe.
Look for slightly set edges and a slightly crackly top. They might seem slightly underbaked in the center, but they’ll firm up as they cool, creating that classic meltaway texture.
Print
Meltaway Brownie Cookies Recipe
- Total Time: 25-27 minutes
- Yield: 24 1x
Description
Chocolate lovers rejoice with these meltaway brownie cookies, a delightful fusion of intense cocoa and delicate texture. Rich, fudgy centers nestled in crisp edges promise a sensational dessert experience you’ll savor with each delectable bite.
Ingredients
Main Ingredients:
- 1 cup semisweet chocolate chips
- 2 large eggs
- 1/2 cup granulated sugar
- 1/4 cup unsalted butter
Dry Ingredients:
- 2/3 cup all-purpose flour
- 1/2 teaspoon baking powder
- 1/4 teaspoon salt
Additional Ingredients:
- 1 teaspoon vanilla extract
- 1 cup chopped walnuts (optional)
Instructions
- Prepare the oven by heating to 350F (175C) and line a baking sheet with parchment paper for easy cookie removal.
- Create a smooth chocolate base by microwaving chocolate chips and butter in 30-second intervals, stirring between each session until fully melted and blended. Allow mixture to cool slightly.
- Combine dry ingredients by whisking flour, baking powder, and salt in a separate bowl to ensure even distribution.
- Whip eggs, sugar, and vanilla in a large mixing bowl until the mixture becomes light and aerated, creating a fluffy texture.
- Incorporate the cooled melted chocolate into the egg mixture, stirring gently to maintain the airiness of the batter.
- Fold the dry flour mixture into the wet ingredients, mixing until just combined to prevent overmixing and maintain a tender cookie texture.
- If desired, gently fold in chopped walnuts for added crunch and flavor.
- Portion the cookie dough onto the prepared baking sheet using a tablespoon, spacing each dollop approximately 2 inches apart to allow for spreading.
- Bake in the preheated oven for 10-12 minutes until the edges are set and the centers appear slightly soft.
- Remove from oven and let cookies rest on the baking sheet for a few minutes to firm up, then transfer to a wire rack for complete cooling.
Notes
- Ensure chocolate and butter are melted smoothly to create a rich, uniform base for the cookies.
- Cool the melted chocolate mixture slightly before adding to prevent scrambling the eggs.
- Use room temperature eggs for better incorporation and smoother batter texture.
- Avoid overmixing the flour to keep the cookies tender and prevent tough texture.
- Line baking sheet with parchment paper for easy cookie removal and even baking.
- For gluten-free version, substitute all-purpose flour with almond or gluten-free flour blend.
- Chop walnuts finely to distribute evenly and create consistent texture throughout cookies.
- Check cookies at 10 minutes to prevent overcooking, as they continue to set while cooling.
- Store in airtight container at room temperature for up to 5 days to maintain softness.
- Prep Time: 15 minutes
- Cook Time: 10-12 minutes
- Category: Desserts, Snacks
- Method: Baking
- Cuisine: American
Nutrition
- Serving Size: 24
- Calories: 122
- Sugar: 8 g
- Sodium: 30 mg
- Fat: 8 g
- Saturated Fat: 3 g
- Unsaturated Fat: 4 g
- Trans Fat: 0 g
- Carbohydrates: 12 g
- Fiber: 1 g
- Protein: 2 g
- Cholesterol: 18 mg
Michael Thompson
Founder & Recipe Developer
Expertise
Education
Cascade Culinary Institute – Bend, OR
ServSafe Food Handler Certification – Portland, OR
Focus: Certified in core food safety and hygiene principles for both home and professional kitchens, with emphasis on ingredient handling, kitchen cleanliness, and safe preparation methods.
Mike’s kitchen journey began with a single goal: to make everyday meals feel like something worth celebrating.
After earning his Certificate in Culinary Arts from Cascade Culinary Institute, he spent years working with local farmers and small kitchens across Oregon, learning the beauty of seasonal, small-batch cooking.
Mike’s approach is simple, cook with what’s fresh, keep it approachable, and always leave room for a little creativity. When he’s not testing yogurt marinades or designing single-serving meals, you’ll find him hiking trails or hunting down the best berries at local markets.