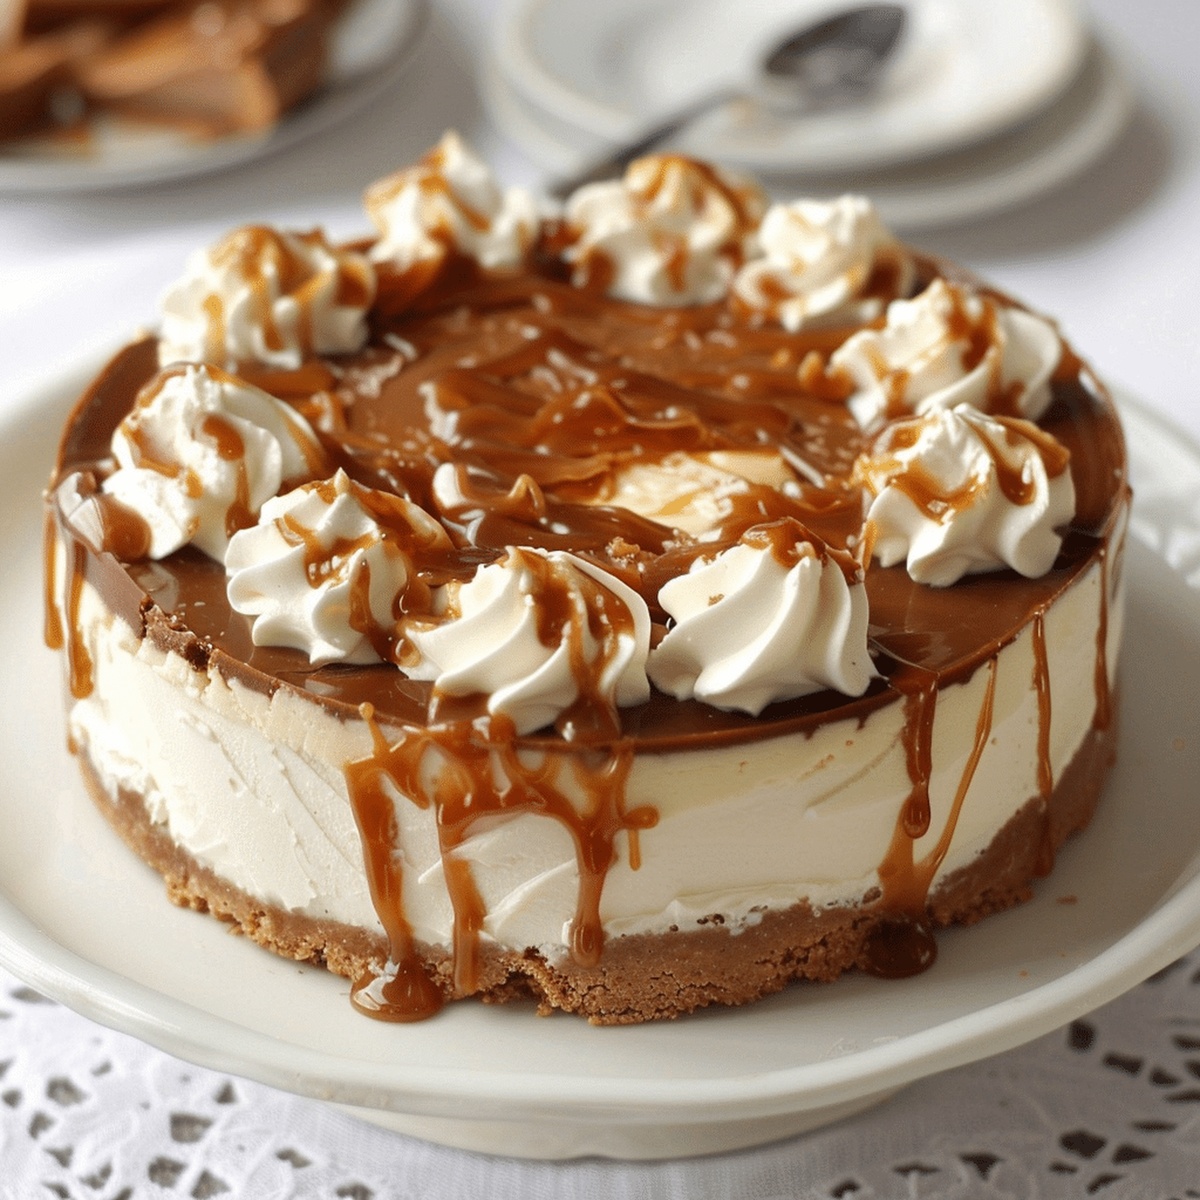
Easy No-Bake Caramel Cheesecake Recipe That Melts in Your Mouth
Creamy no-bake caramel cheesecake promises a delightful dessert adventure without turning on your oven.
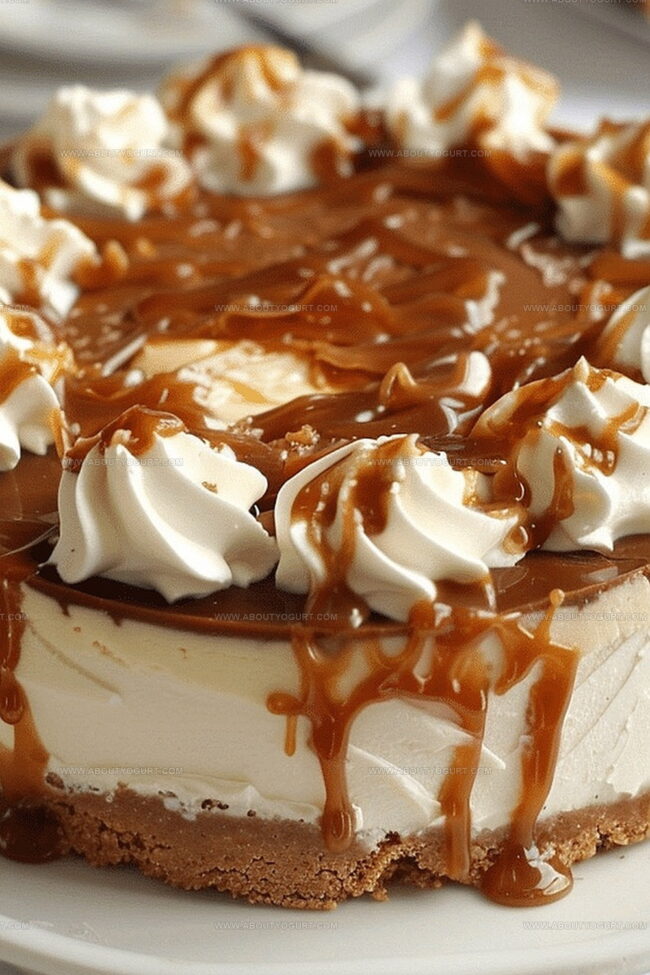
Soft cream cheese blends perfectly with golden caramel notes for an irresistible treat.
Sweet graham cracker crusts provide a delectable foundation that crumbles softly under each spoon.
Cool refrigeration helps set this dreamy confection into a silky smooth masterpiece.
Minimal ingredients and simple steps make this recipe accessible for kitchen novices and seasoned bakers alike.
Quick preparation means you can whip up this decadent dessert in under thirty minutes.
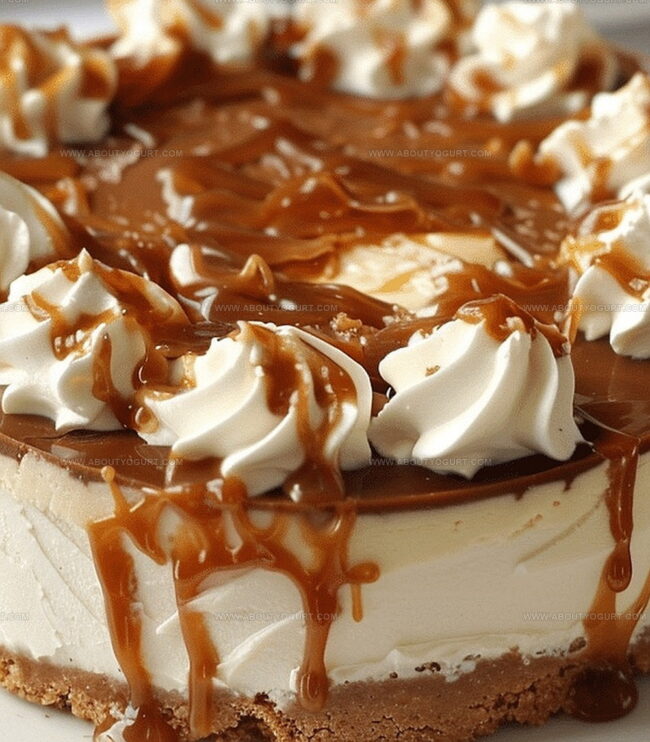
Indulge in a slice that will make everyone at your table swoon with pure dessert delight.
No-Bake Caramel Cheesecake: Effortless Elegance
Ingredients for No-Bake Caramel Cheesecake Success
Base Layer:Filling Layer:Topping Layer:How to Prepare No-Bake Caramel Cheesecake Step-by-Step
Step 1: Crush Graham Crackers
Break graham crackers into fine crumbs using a food processor or place them in a sealed plastic bag and crush with a rolling pin until they become a sandy texture.
Step 2: Melt Butter
Gently melt butter in a small saucepan or microwave until completely liquefied and smooth.
Step 3: Create Cracker Base
Mix crushed graham crackers with melted butter until the mixture resembles wet sand. Carefully spoon this mixture into the bottom of small shooter glasses, pressing down gently to create a compact base.
Step 4: Whip Cream Cheese Filling
In a mixing bowl, combine cream cheese and two-thirds of the sweetened condensed milk. Blend using an electric mixer until the mixture becomes creamy and fully incorporated, with no lumps.
Step 5: Layer Cream Cheese
Carefully spoon the cream cheese mixture over the graham cracker base in each shooter glass, creating an even layer.
Step 6: Repeat Layering
Add another layer of graham cracker crumbs on top of the cream cheese layer, followed by another layer of cream cheese mixture.
Step 7: Prepare Caramel Sauce
Blend the remaining condensed milk with caramel sauce until smooth and well combined.
Step 8: Fill Glasses
Pour the caramel mixture into the glasses, filling them to the top.
Step 9: Chill Dessert
Place the shooter glasses in the refrigerator and let them set for one hour until firm.
Step 10: Garnish and Serve
Top each dessert with a dollop of whipped cream before serving. Enjoy your delightful no-bake caramel cheesecake shooters!
Pro Tips to Achieve a Smooth No-Bake Caramel Cheesecake
Variations to Personalize No-Bake Caramel Cheesecake
Pairing Ideas for No-Bake Caramel Cheesecake
Storage Advice to Maintain No-Bake Caramel Cheesecake Freshness
FAQs to Perfect No-Bake Caramel Cheesecake
Graham crackers or digestive biscuits are perfect for creating a crispy, buttery foundation that complements the creamy cheesecake texture.
Yes, you can prepare these no-bake cheesecake shooters up to 2 days in advance and keep them refrigerated until ready to serve.
Chill each layer for about 10-15 minutes before adding the next one. This helps set the layers and keeps them distinct and visually appealing.
Reduce the amount of condensed milk or use an unsweetened cream cheese to balance the sweetness of the caramel and condensed milk.
Print
No-Bake Caramel Cheesecake Recipe
- Total Time: 1 hour 15 minutes
- Yield: 6 1x
Description
Silky caramel cheesecake promises indulgent layers of creamy delight without turning on the oven. Rich graham cracker crust and smooth caramel topping create a dreamy dessert you’ll savor with pure dessert bliss.
Ingredients
Primary Ingredients:
- 250 grams (8.8 ounces) cream cheese
- 1 can condensed milk
- 1 can caramel
Crust Ingredients:
- 130 grams (4.6 ounces) tennis biscuits
- 4 tablespoons (60 milliliters) butter
Topping Ingredients:
- Whipped cream
Instructions
- Crush graham crackers into fine, uniform crumbs using a food processor or rolling pin.
- Melt butter completely until smooth and liquid.
- Mix cracker crumbs with melted butter thoroughly, creating a compact base mixture.
- Evenly distribute the crumb mixture into the bottom of shooter glasses, pressing firmly to create a solid foundation.
- In a separate mixing bowl, blend cream cheese with two-thirds of the condensed milk until smooth and creamy.
- Carefully spoon the cream cheese mixture over the cracker base, creating an even layer.
- Prepare a second layer of cracker crumbs, gently spreading over the cream cheese layer.
- Combine remaining condensed milk with caramel sauce until well integrated.
- Pour the caramel mixture into the glasses, filling them to the top.
- Chill in the refrigerator for approximately 60 minutes until set and firm.
- Garnish with a delicate swirl of whipped cream just before serving.
Notes
- Choose graham crackers or digestive biscuits for a classic base that provides crunch and subtle sweetness.
- Ensure butter is completely melted and mixed thoroughly with crumbs to create a stable, compact bottom layer.
- Use room temperature cream cheese to prevent lumps and achieve a smooth, creamy texture when mixing with condensed milk.
- Experiment with alternative crusts like crushed Oreos or gluten-free cookies for different flavor profiles and dietary needs.
- Layer ingredients carefully and evenly to create visually appealing shooter glass desserts with clean, distinct layers.
- Chill glasses between layers to help each component set quickly and maintain structural integrity.
- Drizzle extra caramel sauce on top for additional indulgence and visual appeal before serving.
- Make ahead and store in refrigerator for up to 3 days, allowing flavors to meld and develop deeper richness.
- Prep Time: 15 minutes
- Cook Time: 0 minutes
- Category: Desserts
- Method: Refrigerating
- Cuisine: American
Nutrition
- Serving Size: 6
- Calories: 510
- Sugar: 40 g
- Sodium: 180 mg
- Fat: 32 g
- Saturated Fat: 19 g
- Unsaturated Fat: 10 g
- Trans Fat: 0.5 g
- Carbohydrates: 45 g
- Fiber: 1 g
- Protein: 6 g
- Cholesterol: 75 mg
Sarah Mitchell
Content Specialist & Home Cooking Enthusiast
Expertise
Education
Asheville-Buncombe Technical Community College – Asheville, NC
American Fitness Professionals & Associates – Online
Sarah’s passion for food was sparked by weekend trips to the farmers’ market and her belief that healthy meals should never feel boring.
After earning her culinary diploma and becoming a certified Nutrition and Wellness Consultant, she set out to help others fall in love with simple, wholesome cooking.
She’s all about celebrating the small wins in the kitchen: a colorful yogurt bowl, a new twist on a classic dish, or a homemade snack that feels just a little extra special.
Outside the kitchen, Sarah is a gardener at heart, a yoga enthusiast, and a believer that fresh herbs can brighten any meal, and any day.