Quick & Sweet: No-Bake Cherry Fudge Recipe for All Ages
Sweet and creamy no-bake cherry fudge can make dessert lovers swoon with its irresistible charm.
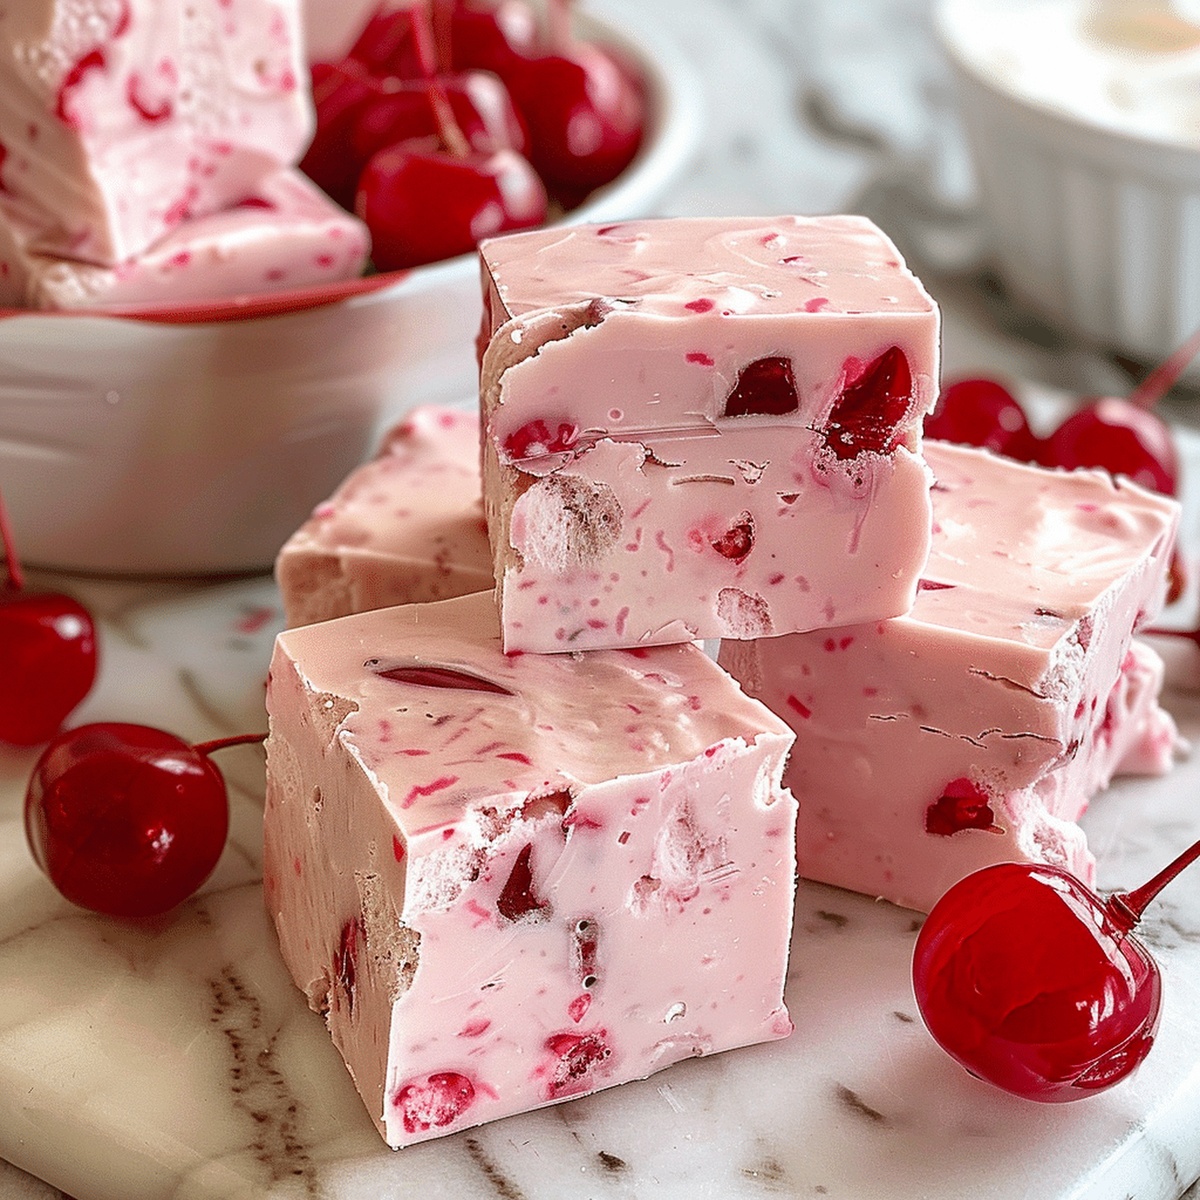
Chocolate and cherries dance together in this simple treat that requires zero oven time.
Cool kitchen vibes meet decadent flavors through this effortless recipe.
Minimal ingredients combine to create a dreamy confection that looks impressive but takes minutes to prepare.
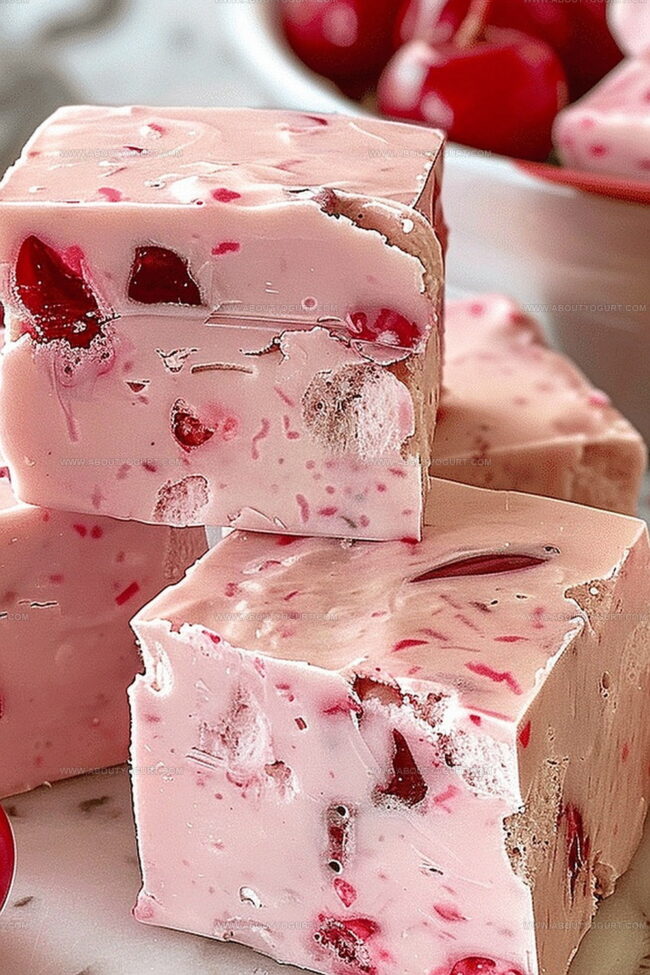
Every bite promises rich, smooth texture with bursts of fruity brightness.
Rich dark chocolate provides depth while bright cherries add a playful twist.
You’ll fall in love with how quickly this delightful dessert comes together.
Grab a pan and start making magic happen!
Why No-Bake Cherry Fudge Is a Quick and Tasty Treat
Ingredients for No-Bake Cherry Fudge
Base Ingredients:Flavor Enhancers:Finishing Ingredients:Instructions to Make No-Bake Cherry Fudge
Step 1: Prepare Baking Station
Line an 8×8-inch pan with parchment paper, allowing excess paper to hang over the edges for easy removal later.
Step 2: Prepare Cherries
Place diced cherries on a clean paper towel and gently pat dry, removing as much liquid as possible while reserving a small amount of cherry juice for later use.
Step 3: Create Fudge Base
In a medium saucepan, combine:Step 4: Melt and Boil
Heat the mixture over medium-high heat, stirring constantly until sugar and butter completely dissolve. Bring the mixture to a rolling boil.
Step 5: Monitor Temperature
Insert a candy thermometer and continue cooking, stirring frequently until the temperature reaches exactly 300°F (hard crack stage).
Step 6: Add Creamy Elements
Remove pan from heat and quickly stir in:Mix until completely smooth and fully incorporated.
Step 7: Enhance Flavor and Color
Gently fold in:Step 8: Incorporate Cherries
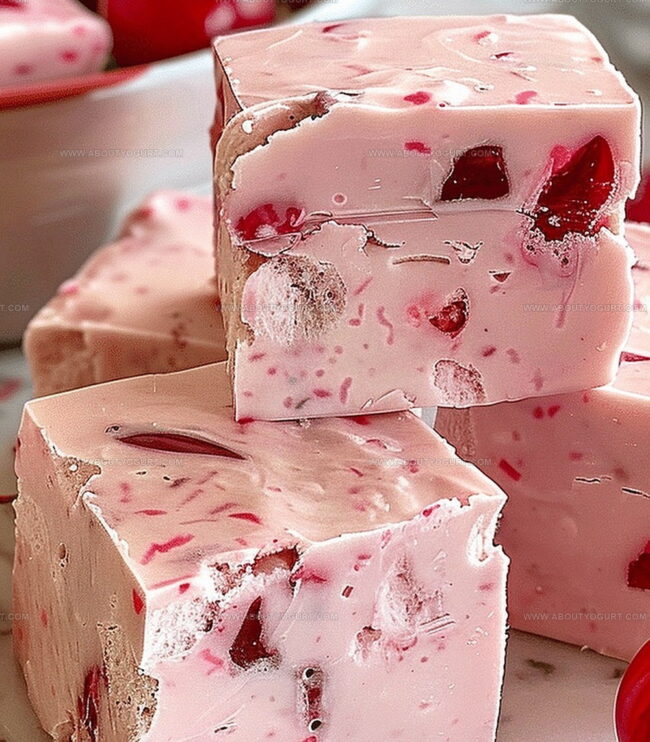
Fold chopped cherries into the fudge mixture, ensuring even distribution.
Step 9: Set and Cool
Pour the fudge into the prepared pan, smoothing the top with a spatula to create an even layer. Allow fudge to set at room temperature for 3-4 hours.
Step 10: Slice and Serve
Once fully set, lift fudge from pan using parchment paper edges. Cut into small 1-inch squares for perfect bite-sized treats.
Tips to Achieve Perfect No-Bake Cherry Fudge Texture
Creative Twists on No-Bake Cherry Fudge
Ideal Pairings for No-Bake Cherry Fudge
Storing No-Bake Cherry Fudge Correctly
Frequently Asked Questions About No-Bake Cherry Fudge
Removing excess moisture prevents the fudge from becoming too watery and ensures a proper texture and consistency.
The candy thermometer helps you accurately reach the precise temperature of 300F, which is crucial for creating the perfect fudge texture and preventing crystallization.
White chocolate chips work best for this recipe because they melt smoothly and create a creamy base for the cherry fudge, maintaining the desired flavor and texture.
The fudge is ready when it reaches 300F on the candy thermometer and has a smooth, glossy appearance after combining all ingredients thoroughly.
Print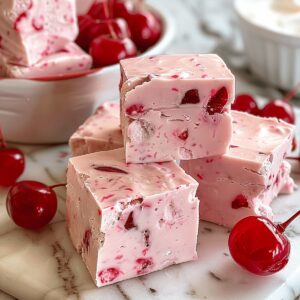
No-Bake Cherry Fudge Recipe
- Total Time: 3 hours 25 minutes
- Yield: 24 1x
Description
Indulgent no-bake cherry fudge delivers sweet summer memories with minimal kitchen effort. Creamy chocolate and tart cherries create a delightful dessert you can whip up in minutes without turning on the oven.
Ingredients
Main Ingredients:
- 2 cups sugar
- 1 1/2 cups white chocolate chips
- 3/4 cup + 2 tablespoons marshmallow cream
Cherry Ingredients:
- 3/4 cup finely chopped maraschino cherries
- 1/2 teaspoon cherry juice
- 1 drop pink food coloring
Dairy and Seasoning Ingredients:
- 1/2 cup unsalted butter
- 3/4 cup heavy cream
- 1/2 teaspoon salt
Instructions
- Prepare an 8×8-inch baking pan by lining it with parchment paper, ensuring complete coverage.
- Gently pat diced cherries with paper towels to remove excess moisture, maintaining some reserved liquid.
- In a medium saucepan, combine butter, sugar, cream, and salt over medium-high heat, stirring consistently until ingredients melt and integrate.
- Allow the mixture to reach a rolling boil, then immediately insert a candy thermometer.
- Continue cooking, stirring frequently, until the temperature precisely hits 300°F.
- Remove pan from heat and swiftly incorporate white chocolate chips and marshmallow cream, mixing until completely smooth and glossy.
- Introduce pink food coloring and reserved cherry juice, blending thoroughly to create a vibrant, consistent color.
- Fold chopped cherries into the fudge mixture, distributing evenly throughout the creamy base.
- Transfer the fudge to the prepared pan, using a spatula to spread into a uniform layer.
- Let the fudge rest at room temperature for 3-4 hours, allowing it to set completely and develop its rich texture.
- Once set, slice into neat 1-inch cubes for an elegant, bite-sized treat.
Notes
- Pat cherries thoroughly to prevent excess moisture from ruining fudge texture.
- Reserve some cherry juice for adjusting color and intensifying fruity flavor.
- Use a candy thermometer for precise temperature control to ensure perfect fudge consistency.
- Allow fudge to set completely at room temperature for clean, smooth cutting edges.
- Prep Time: 10 minutes
- Cook Time: 15 minutes
- Category: Desserts, Snacks
- Method: Boiling
- Cuisine: American
Nutrition
- Serving Size: 24
- Calories: 230
- Sugar: 29 g
- Sodium: 65 mg
- Fat: 11 g
- Saturated Fat: 7 g
- Unsaturated Fat: 4 g
- Trans Fat: 0.2 g
- Carbohydrates: 32 g
- Fiber: 0.3 g
- Protein: 1.5 g
- Cholesterol: 25 mg
Michael Thompson
Founder & Recipe Developer
Expertise
Education
Cascade Culinary Institute – Bend, OR
ServSafe Food Handler Certification – Portland, OR
Focus: Certified in core food safety and hygiene principles for both home and professional kitchens, with emphasis on ingredient handling, kitchen cleanliness, and safe preparation methods.
Mike’s kitchen journey began with a single goal: to make everyday meals feel like something worth celebrating.
After earning his Certificate in Culinary Arts from Cascade Culinary Institute, he spent years working with local farmers and small kitchens across Oregon, learning the beauty of seasonal, small-batch cooking.
Mike’s approach is simple, cook with what’s fresh, keep it approachable, and always leave room for a little creativity. When he’s not testing yogurt marinades or designing single-serving meals, you’ll find him hiking trails or hunting down the best berries at local markets.