
Peanut Butter Bread Recipe for Cozy Mornings
Crafting a delightful peanut butter bread can turn an ordinary afternoon into a memorable culinary adventure.
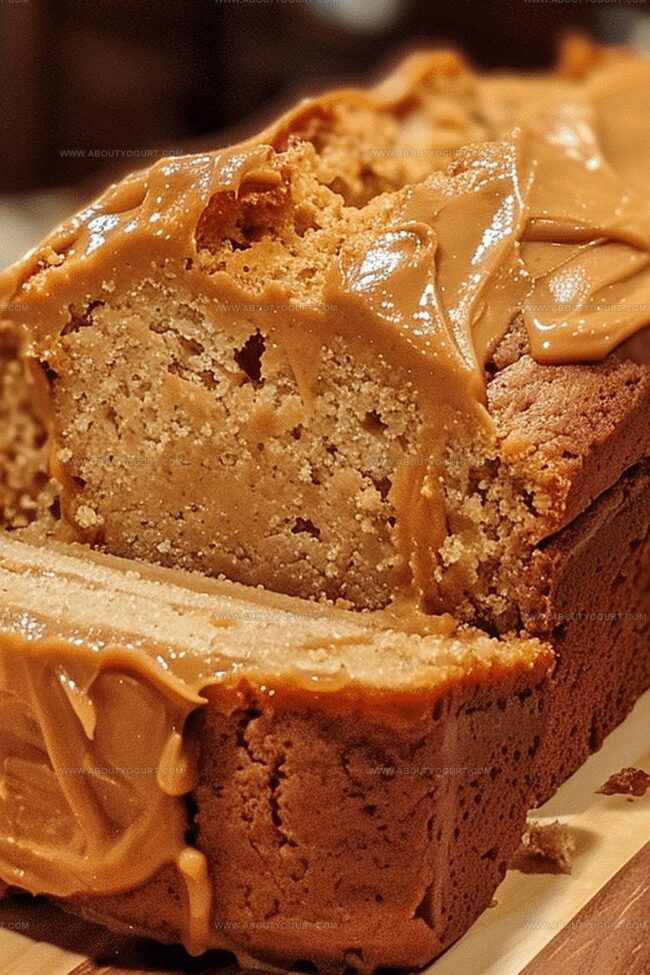
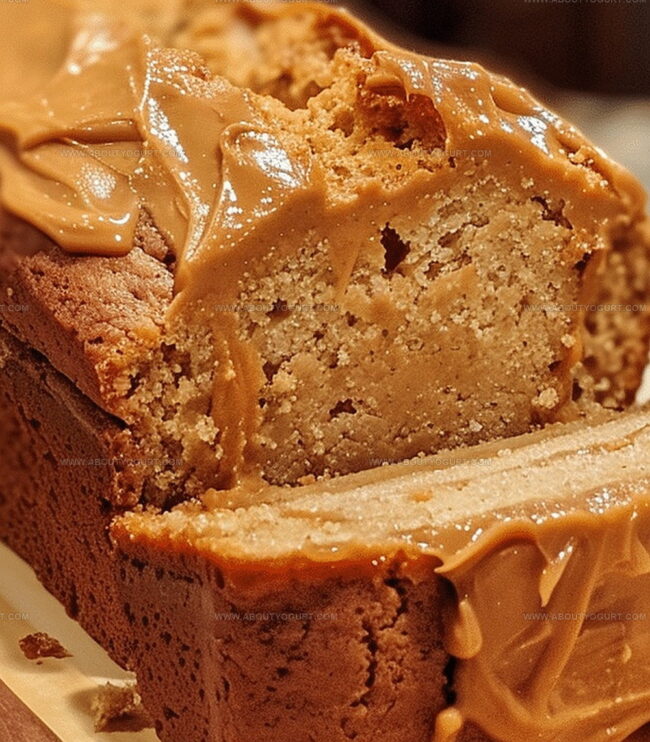
Soft crumbs and rich nutty flavors promise a comforting experience in every slice.
Homemade goodness fills your kitchen with warmth and anticipation.
Simple ingredients come together effortlessly, creating a treat that surprises and delights.
Baking enthusiasts and novice cooks alike will find joy in this straightforward recipe.
Smooth, creamy textures blend perfectly with a hint of sweetness.
Jump into this delectable journey and let your taste buds celebrate the magic of homemade peanut butter bread.
Reasons to Enjoy Peanut Butter Bread
Ingredients for Peanut Butter Bread
Main Ingredients:Liquid Ingredients:Leavening and Seasoning Ingredients:How to Bake Peanut Butter Bread
Step 1: Warm Up the Oven
Crank the oven to 350F (175C) and give your loaf pan a quick spray of cooking oil to prevent sticking.
Step 2: Mix Dry Ingredients
Grab a spacious mixing bowl and toss in:Stir these ingredients together until they’re well combined.
Step 3: Blend Wet Ingredients
In a separate bowl, whisk together:Keep whisking until the mixture looks smooth and uniform.
Step 4: Combine Ingredients
Pour the wet ingredients into the dry ingredients. Gently fold everything together using a wooden spoon or spatula. Stop mixing as soon as the batter looks mostly blended – a few small lumps are totally okay.
Step 5: Prepare for Baking
Transfer the batter into your greased loaf pan. Use a spatula to spread the mixture evenly across the pan.
Step 6: Bake the Bread
Slide the pan into the preheated oven. Bake for 50-60 minutes. Check doneness by inserting a toothpick into the center – it should come out clean with no wet batter.
Step 7: Cool and Enjoy
Let the bread rest in the pan for 10 minutes. Then carefully transfer to a wire cooling rack. Allow the bread to cool completely before slicing and serving.
Pro Tips for Peanut Butter Bread
Variation Suggestions for Peanut Butter Bread
Pairing Ideas for Peanut Butter Bread
Storage Recommendations for Peanut Butter Bread
FAQs for Peanut Butter Bread
Peanut butter bread provides protein and some nutrients from peanut butter, but it’s still a treat with added sugar and calories. Enjoy in moderation as part of a balanced diet.
Yes, creamy or crunchy peanut butter works well. Natural or commercial brands are both fine, but avoid super runny or extremely dry varieties that might affect texture.
You can use an 8×8 square baking pan or muffin tins. Just adjust baking time – muffins might need 15-20 minutes, while a square pan could require 40-45 minutes.
Print
Peanut Butter Bread Recipe
- Total Time: 60-70 minutes
- Yield: 8 1x
Description
Homemade peanut butter bread delivers comfort straight from grandma’s kitchen with its rich, nutty essence. Warm slices promise pure indulgence, inviting hungry souls to savor each delectable crumb crafted with simple ingredients and heartwarming love.
Ingredients
Main Ingredients:
- 1 3/4 cups (220 grams) all-purpose flour
- 1/2 cup (120 milliliters) milk
- 1/2 cup (128 grams) creamy peanut butter
- 1 large egg
Sweeteners:
- 1/2 cup (100 grams) granulated sugar
Leavening and Seasoning Agents:
- 1 tablespoon (15 milliliters) baking powder
- 1/2 teaspoon (2.5 milliliters) salt
- 2 tablespoons (30 milliliters) vegetable oil
Instructions
- Prepare the oven by heating to 350F (175C) and lightly coat a 9×5-inch loaf pan with cooking spray or butter.
- Sift together the dry ingredients in a spacious mixing vessel, ensuring even distribution of flour, sugar, baking powder, and salt.
- In a separate bowl, thoroughly blend the liquid components – whisk peanut butter, milk, egg, and vegetable oil until the mixture achieves a silky, uniform consistency.
- Create a well in the center of the dry ingredients and gently fold in the wet mixture, stirring with minimal agitation to prevent gluten development.
- Transfer the batter into the prepared loaf pan, smoothing the surface with a spatula to ensure an even layer.
- Place the pan in the preheated oven and bake for 55-65 minutes, rotating midway through cooking to promote uniform browning.
- Test for doneness by inserting a wooden skewer into the bread’s center – it should emerge clean and free of raw batter.
- Remove from oven and let the bread rest in the pan for 10-15 minutes, allowing residual heat to complete the cooking process.
- Carefully extract the bread from the pan and position it on a wire cooling rack to reach room temperature before slicing.
Notes
- Use natural, unsweetened peanut butter for a more robust, less sweet flavor profile that allows the bread’s true taste to shine.
- Swap regular milk with almond or oat milk to create a dairy-free version that’s equally moist and delicious.
- Fold in chocolate chips or chopped nuts right before baking to add extra texture and make the bread more exciting for different palates.
- Store the bread wrapped tightly in plastic wrap or in an airtight container at room temperature for up to 4 days to maintain its soft, tender crumb.
- Prep Time: 10 minutes
- Cook Time: 50-60 minutes
- Category: Breakfast, Snacks
- Method: Baking
- Cuisine: American
Nutrition
- Serving Size: 8
- Calories: 210 kcal
- Sugar: 10 g
- Sodium: 230 mg
- Fat: 11 g
- Saturated Fat: 2 g
- Unsaturated Fat: 8 g
- Trans Fat: 0 g
- Carbohydrates: 23 g
- Fiber: 1 g
- Protein: 6 g
- Cholesterol: 30 mg
Sarah Mitchell
Content Specialist & Home Cooking Enthusiast
Expertise
Education
Asheville-Buncombe Technical Community College – Asheville, NC
American Fitness Professionals & Associates – Online
Sarah’s passion for food was sparked by weekend trips to the farmers’ market and her belief that healthy meals should never feel boring.
After earning her culinary diploma and becoming a certified Nutrition and Wellness Consultant, she set out to help others fall in love with simple, wholesome cooking.
She’s all about celebrating the small wins in the kitchen: a colorful yogurt bowl, a new twist on a classic dish, or a homemade snack that feels just a little extra special.
Outside the kitchen, Sarah is a gardener at heart, a yoga enthusiast, and a believer that fresh herbs can brighten any meal, and any day.