Dreamy Peanut Butter & Jelly Cheesecake Recipe for Sweet Lovers
My childhood memories always sparkle with peanut butter and jelly moments that inspired this dreamy cheesecake creation.
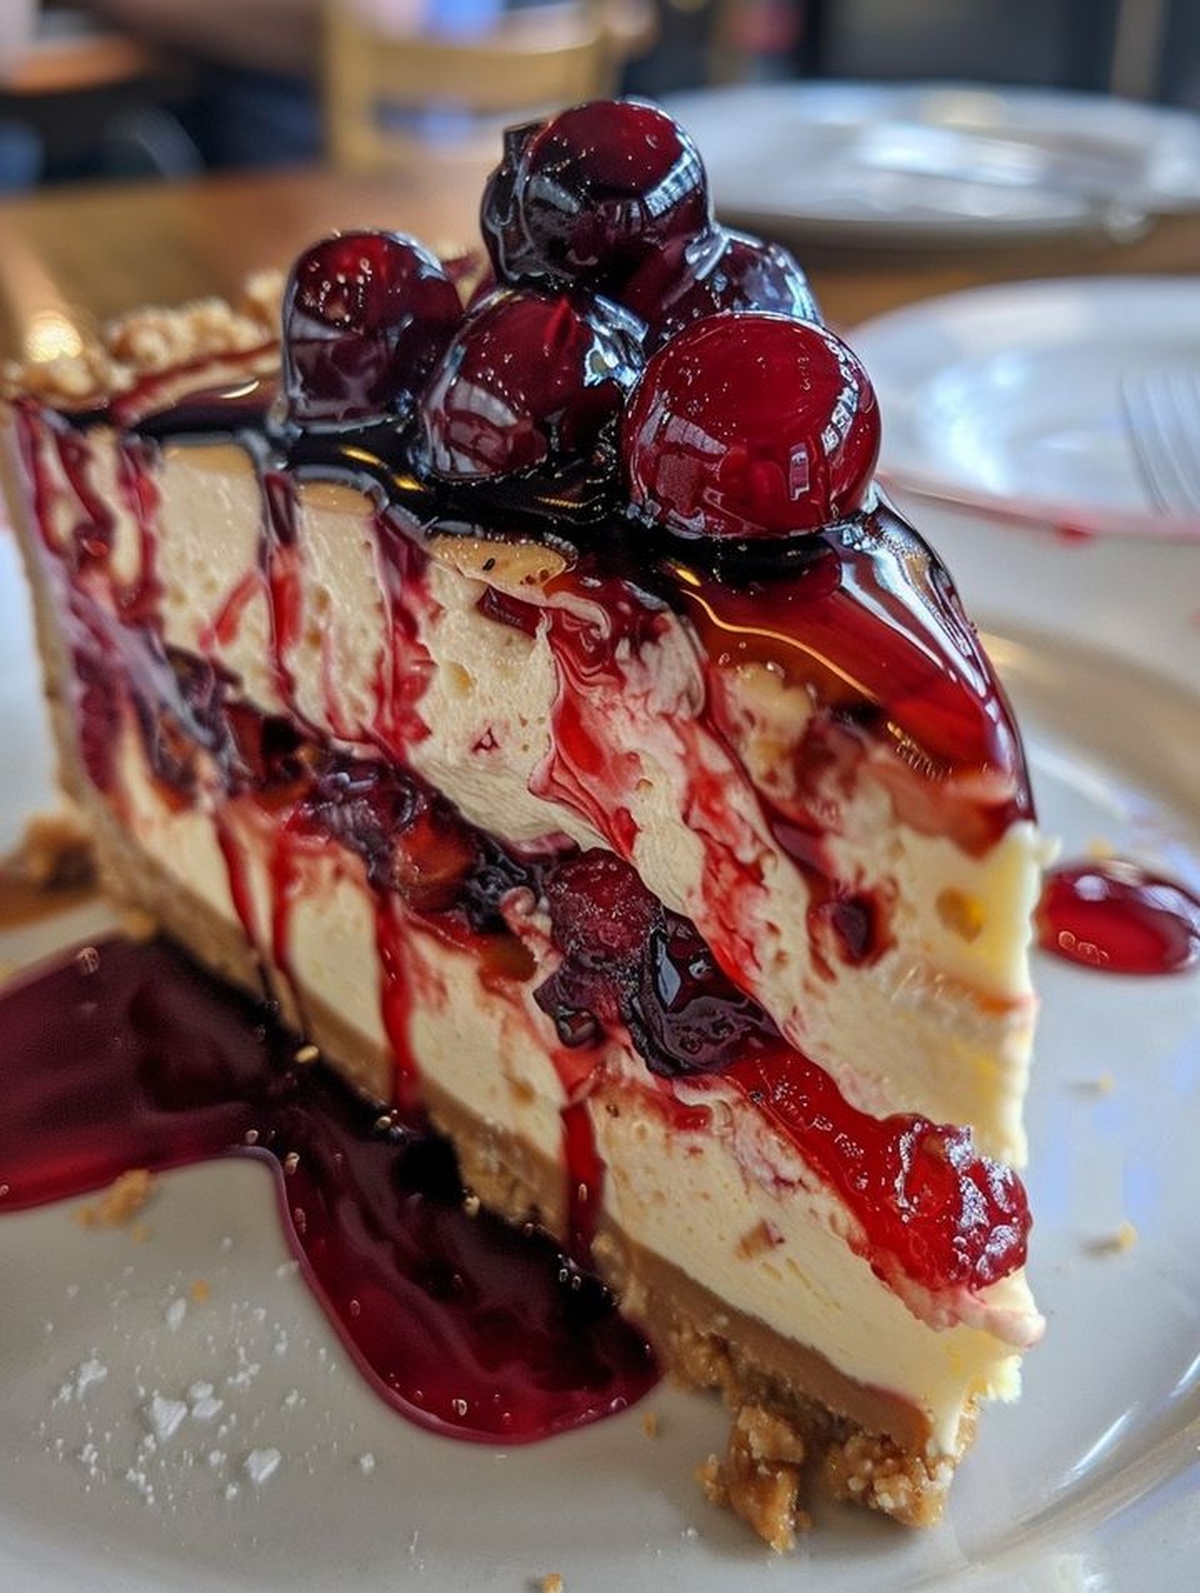
Classic sandwich flavors dance through a creamy dessert landscape, promising pure nostalgia.
Sweet memories blend seamlessly with rich cream cheese and smooth nut butter layers.
Childhood comfort meets sophisticated baking technique in this unexpected culinary adventure.
Smooth textures and vibrant berry swirls promise an irresistible experience that connects generations.
Each slice delivers a playful reminder of simple sandwich joy transformed into decadent dessert magic.
What Makes Peanut Butter & Jelly Cheesecake So Tempting
Ingredients for Peanut Butter & Jelly Cheesecake
Crust Ingredients:Cheesecake Filling Ingredients:Topping Ingredients:How to Make Peanut Butter & Jelly Cheesecake
Step 1: Prepare Baking Setup
Warm up your oven to 325F (160C). Grab a 9-inch springform pan and coat its interior with a light butter spray or grease to prevent sticking.
Step 2: Create Crunchy Crust
Combine in a bowl:Press this mixture firmly and evenly across the bottom of the springform pan, creating a solid foundation for your cheesecake.
Step 3: Whip Creamy Peanut Butter Base
In a large mixing bowl, blend softened cream cheese and peanut butter until silky smooth. Add sugar and vanilla extract, continuing to mix until the texture becomes light and fluffy.
Step 4: Incorporate Eggs and Sour Cream
Gently add eggs one at a time, mixing thoroughly after each addition. Fold in sour cream until the mixture achieves a completely smooth consistency.
Step 5: Pour Cheesecake Mixture
Transfer the creamy peanut butter mixture into the prepared springform pan, spreading it evenly across the graham cracker crust.
Step 6: Swirl Jelly Design
Warm jelly in a small saucepan over low heat until it becomes easily pourable. Drop spoonfuls of jelly across the cheesecake surface.
Step 7: Create Marbled Pattern
Use a knife or toothpick to gently swirl the jelly through the cheesecake batter, generating a beautiful marbled effect.
Step 8: Bake to Perfection
Slide the pan into the preheated oven. Bake for 40-45 minutes until the edges look set and the center maintains a slight jiggle.
Step 9: Cool and Chill
Remove from oven and allow the cheesecake to cool completely at room temperature. Refrigerate for a minimum of 4 hours or overnight to ensure perfect setting.
Step 10: Serve and Enjoy
Carefully release the springform pan, slice, and serve this decadent peanut butter and jelly cheesecake.
Pro Tips for Peanut Butter & Jelly Cheesecake
Delicious Variations of Peanut Butter & Jelly Cheesecake
Best Pairings with Peanut Butter & Jelly Cheesecake
Storage Advice for Peanut Butter & Jelly Cheesecake
FAQs for Peanut Butter & Jelly Cheesecake
Graham cracker crumbs provide a classic sweet and crunchy base that complements the creamy cheesecake and creates a traditional dessert texture.
Avoid overmixing the batter, bake at a low temperature, and let the cheesecake cool gradually at room temperature to prevent cracking.
Yes, you can experiment with various fruit jellies like strawberry, raspberry, or grape to create different flavor combinations with the peanut butter cheesecake.
Print
Peanut Butter & Jelly Cheesecake Recipe
- Total Time: 4 hours 60-65 minutes (including chilling)
- Yield: 8 1x
Description
Creamy peanut butter & jelly cheesecake delivers nostalgic childhood memories with a gourmet twist. Sweet graham cracker crust and luscious cream cheese filling blend classic comfort flavors into an irresistible dessert you’ll crave again and again.
Ingredients
Cheesecake Base:
- 1 1/2 cups (360 milliliters) graham cracker crumbs
- 1/3 cup (66 grams) granulated sugar
- 1/2 cup (113 grams) unsalted butter, melted
Cheesecake Filling:
- 16 ounces (454 grams) cream cheese, softened
- 1/2 cup (128 grams) creamy peanut butter
- 1/2 cup (100 grams) granulated sugar
- 1 teaspoon (5 milliliters) vanilla extract
- 2 large eggs
- 1/4 cup (60 milliliters) sour cream
Topping:
- 1/4 cup (60 milliliters) strawberry or grape jelly
Instructions
- Prepare the oven at 325F (160C) and lightly coat a 9-inch springform pan with cooking spray.
- Blend graham cracker crumbs, sugar, and melted butter into a cohesive mixture, then firmly press into the pan’s bottom to create a compact crust.
- In a large bowl, whip cream cheese and peanut butter until completely smooth and integrated.
- Incorporate sugar and vanilla extract, mixing thoroughly until the texture becomes uniform and creamy.
- Gently fold in eggs one at a time, ensuring each is fully incorporated before adding the next.
- Fold in sour cream, stirring until the mixture achieves a silky, consistent texture.
- Transfer the cream cheese batter into the prepared crust, smoothing the top with a spatula for an even surface.
- Warm jelly in a small saucepan over low heat until it reaches a liquid consistency.
- Delicately dollop jelly across the cheesecake’s surface using a spoon.
- Create a marbled pattern by drawing a knife or toothpick through the jelly and cheesecake batter.
- Bake for 40-45 minutes until edges are firm and center maintains a slight wobble.
- Allow cheesecake to cool completely at room temperature.
- Refrigerate for minimum 4 hours or overnight to ensure thorough chilling and setting.
Notes
- Soften cream cheese and butter at room temperature for at least 30 minutes to ensure smooth, lump-free mixing and easier blending.
- Choose a high-quality, creamy peanut butter without added oils for the best texture and rich flavor in the cheesecake.
- Avoid overmixing the batter after adding eggs to prevent air bubbles that can cause cracking during baking.
- Create a water bath by placing the springform pan in a larger pan filled with hot water to ensure even baking and prevent surface cracks.
- Prep Time: 20 minutes
- Cook Time: 40-45 minutes
- Category: Desserts
- Method: Baking
- Cuisine: American
Nutrition
- Serving Size: 8
- Calories: 405 kcal
- Sugar: 30 g
- Sodium: 210 mg
- Fat: 29 g
- Saturated Fat: 11 g
- Unsaturated Fat: 16 g
- Trans Fat: 0.5 g
- Carbohydrates: 28 g
- Fiber: 2 g
- Protein: 9 g
- Cholesterol: 85 mg
Sarah Mitchell
Content Specialist & Home Cooking Enthusiast
Expertise
Education
Asheville-Buncombe Technical Community College – Asheville, NC
American Fitness Professionals & Associates – Online
Sarah’s passion for food was sparked by weekend trips to the farmers’ market and her belief that healthy meals should never feel boring.
After earning her culinary diploma and becoming a certified Nutrition and Wellness Consultant, she set out to help others fall in love with simple, wholesome cooking.
She’s all about celebrating the small wins in the kitchen: a colorful yogurt bowl, a new twist on a classic dish, or a homemade snack that feels just a little extra special.
Outside the kitchen, Sarah is a gardener at heart, a yoga enthusiast, and a believer that fresh herbs can brighten any meal, and any day.